Rooting Out the Answer: How Long Does Sod Take to Establish?
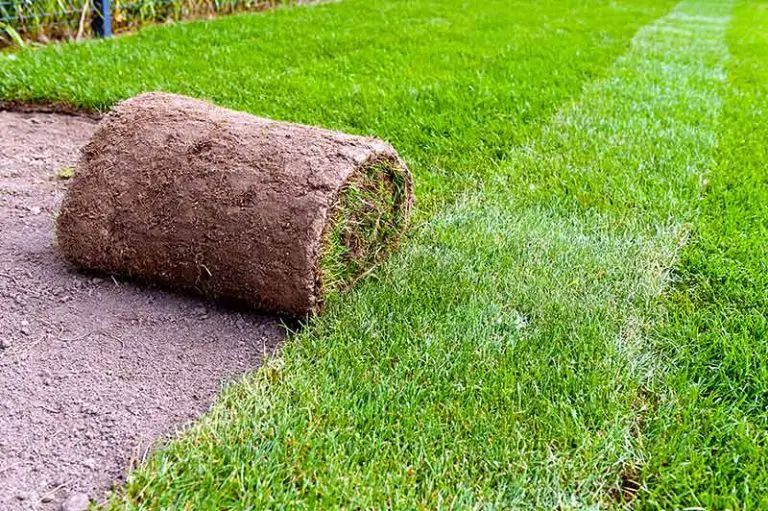
One of the biggest advantages of laying sod is that it’s the fastest way to get yourself a brand new lawn. Unlike seeding, you’ll get the instant effect of new grass as soon as you lay your sod. However, you still need to wait some time for your sod to root before you can use your lawn to its full extent.
From installation, it takes sod between 2 and 6 weeks to root. The sod’s roots go through two stages of growth over these weeks; it will initially develop shallow roots, before growing fully established deep roots after 6 weeks. How long it takes your sod to root will depend on your aftercare over these weeks, including watering and mowing at the right time.
How Long Does Sod Take to Root?
Sod takes between 2 and 6 weeks to root. After 2 weeks from installation, your new sod will initially develop a shallow root system; the roots will grow over the following weeks before becoming fully established around 4 to 6 weeks after installation.
At 2 Weeks: Sod Forms Shallow Roots
With the right care, sod typically develops an initial set of shallow roots within 14 days of installation. You need to water your sod immediately upon installation and keep up with a proper watering schedule over these weeks.
In addition to watering your new sod properly, you must also avoid walking on or mowing your lawn during this period. The sod is very delicate at this stage of growth and any traffic may interrupt the rooting process. Keeping off the lawn and watering sufficiently will ensure your sod develops shallow roots in these first 2 weeks.
At 6 Weeks: Sod Forms Deep Roots
After 2 weeks, you can start reducing the frequency of your watering sessions, watering more deeply each time. This will encourage the sod to grow more extensive roots that reach deeper into the soil. Doing so will ultimately leave your sod with fully formed roots at the 6-week mark.
Even though it takes 4 to 6 weeks for sod to root fully, you can start mowing when your sod develops shallow roots after 2 weeks. You should still keep general foot traffic to a minimum over the following weeks until your sod has fully taken root.

How to Tell if Sod Has Taken Root
You can conduct a simple pull test to determine whether your new sod has taken root. Use your hand to gently pull up on a corner of a section of sod. If you feel little to no resistance when you pull on the sod, the roots are not fully developed. If you have to tug on the piece to pull it up, the sod has fully taken root.
How To Encourage Sod to Root Faster
To get your sod to take root quickly, you need to lay it at the right time, prepare the soil properly before installation, then water properly in the weeks following installation. You will also see benefits from using a lawn roller on the newly-laid sod.
Lay Sod at Right Time
If you are yet to lay your sod, you can get it off to the best start by planning the installation for the right time. The best time to lay sod is during the spring or fall, depending on the type of grass you’re planting.
If you’re laying cool-season grass, the ideal time to install your sod is during the fall. At this point, temperatures are cool enough after summer while being warm enough to support the sod’s root development.
If you’re laying warm-season grass, the best time for sod installation is in the spring. The warming temperatures at this time of year are ideal for the warm-season sod’s root establishment.
With that said, you can essentially lay sod at any time of the year with success. The only condition under which you cannot lay sod is when the ground is frozen solid; otherwise, it’s possible to lay sod of any grass species at any point in the year. This is because the grass in sod is already mature, and is therefore able to withstand less optimal planting conditions. However, if you want your sod to root as quickly as possible, lay it at the ideal time for your grass.
Prepare Soil Properly Before Laying Sod
To encourage fast rooting, you need to properly prepare the soil before laying your sod. Proper soil preparation will ensure that you’re laying the sod into ideal conditions for the grass to develop deep roots.
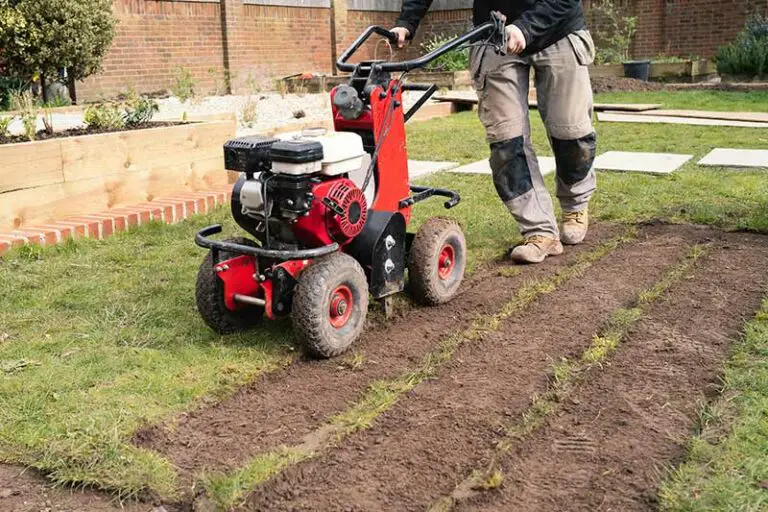
Preparing soil for sod initially involves removing existing grass and weeds, rough-grading the soil, tilling the soil, and adding topsoil. After this initial preparation, you should conduct a soil test; the results of the test will reveal the current nutrient content and pH level in the planting area. You can then use these results to determine what amendments your soil needs to get into optimal growing condition.
From the results of your soil test, choose a suitable fertilizer with the best fertilizer ratio for your lawn. Even if the soil isn’t lacking any particular nutrients, the sod will greatly benefit from an addition of starter fertilizer. If necessary, you should also add any amendments to adjust pH at this stage, such as lime or sulfur. Till your amendments into the planting area before finishing by grading and leveling the soil.
Use Lawn Roller After Laying Sod
Straight after installation, it may be a beneficial step to use a lawn roller across the newly laid sod. A lawn roller or sod roller is a piece of equipment that looks like a large drum with handles.
To use a lawn roller, you fill the drum with water or sand to add weight to the equipment. You then simply roll the lawn roller across the entire lawn in one direction, then again in the opposite direction. If you don’t already own a lawn roller, these are available to purchase or rent from your local hardware store.
Using a lawn roller in this way will help your newly laid sod to make firm contact with the underlying soil. As a result, the roots of the sod will be able to access the soil’s nutrients and water immediately; the sod’s roots will also begin knitting into the underlying soil much more quickly. Rolling the sod will also help to remove trapped air pockets and areas of unevenness from the soil. Not only does this encourage your sod to root faster, it will also leave you with a more aesthetically pleasing lawn.
Water Properly After Laying Sod
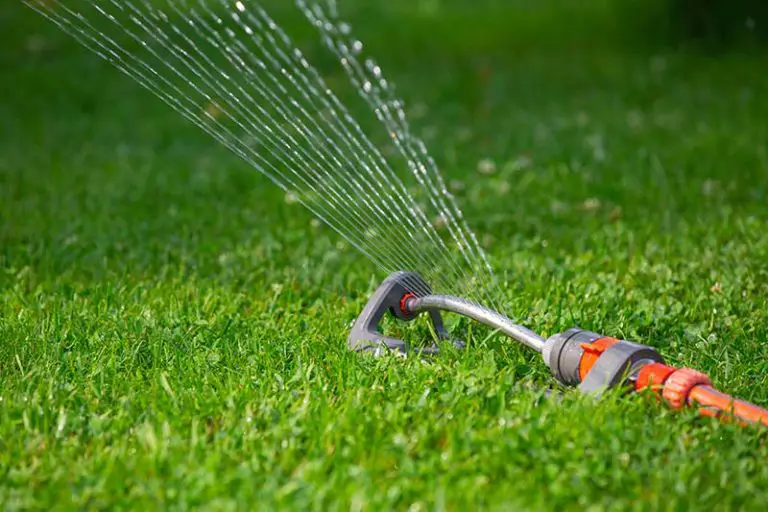
Proper watering is an essential element of success when planting new grass, especially if you’re laying sod. You need to water the new sod immediately upon installation, then continue to water daily for the next 2 weeks.
Within 30 minutes of laying your sod, water the lawn to add 3 to 4 inches of water to the planting area. On this first day, check the sod every few hours to ensure it remains consistently moist; if it starts to dry out at all, add more water.
Over the following 2 weeks, water your sod twice daily, doing so in the morning and afternoon. Only add enough water to moisten the top ½ inch of soil. If you add any more than this, you may suffocate the new sod’s short roots. You can then begin to reduce the frequency of your watering sessions as your sod develops deeper roots.
Why Isn’t My Sod Taking Root?
1. You’re Overwatering the Sod
If you add too much water in the first 2 weeks after laying the sod, you may suffocate the grass’ short roots. Also, if you overwater or water too frequently, the sod’s roots won’t reach deeper into the soil to find moisture. In summary, watering too much or too frequently will discourage your sod from taking root properly.
2. You’re Underwatering the Sod
If your sod doesn’t receive enough water, the turf and its roots will quickly dry out. This is a particular concern if you live in a warmer climate, you’re laying the sod in hot temperatures, or you have sandy soil. Make sure you’re watering your sod enough to keep it consistently moist in the first 2 weeks after installation. Take note that areas near buildings and pavements will dry out faster and may therefore need additional water to stay moist.
3. You Didn’t Add a Starter Fertilizer to Your Sod
Although starter fertilizer isn’t absolutely necessary, an addition of this amendment will significantly improve your new sod’s rooting process. Starter fertilizer contains the primary nutrients nitrogen (N), phosphorus (P), and potassium (K) in the ideal balance for new grass. Adding starter fertilizer to your soil as part of your soil preparation for sod will trigger its root growth straight away.
4. You Didn’t Prepare the Soil Properly Before Laying the Sod
As we’ve explained, there are a few steps you should take to prepare your soil for sod. Compact soil, or soil without enough nutrients, water, or with an incorrect pH level will all impact the sod’s rooting process. You must properly aerate and amend your soil before installation to ensure your sod takes root with ease.
5. You Mowed or Walked on the Sod Too Soon
Mowing or walking on the new sod too soon will impact its delicate roots. Before it can tolerate traffic, you need to allow the sod enough time to develop its root system and establish itself. You can mow new sod for the first time 2 weeks after installation; the sod will then be able to withstand regular usage at the 4 to 6 week mark.
6. Your Sod is Poor Quality
If your sod isn’t taking root even with meticulous care, it may be the case that the sod is poor quality. The quality of your sod relies on the sod farm and supplier from which it came.
For sod to have a healthy transition from the farm to your lawn, little time must pass between harvesting and installation. Reputable sod farmers only harvest the sod once they have an order, and a reputable supplier will then deliver it straight to your door.
Unfortunately, some sod farmers or suppliers may store the sod overnight or over a weekend. They’ll water the sod to keep the top pieces green; despite this, exposed to warm temperatures and the air, the sod will likely dry out. If your sod isn’t taking root, it may be because the roots of your sod suffered during the harvesting process. Make sure to purchase from a reputable supplier to avoid this issue.
When Can You Mow New Sod?
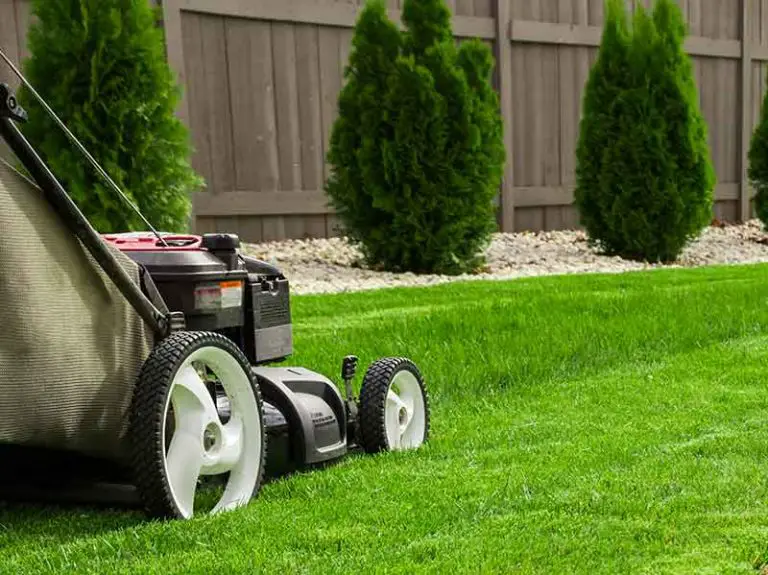
Typically speaking, you can mow new sod for the first time 2 weeks after installation. This is dependent on the care you give your sod over these weeks. Once the sod has developed its shallow root system, you can mow for the first time.
When you mow your sod for the first time, make sure not to cut the grass too short. Taking off too much of the grass’ height will shock it and may damage the tender sod. Follow the ⅓ rule, i.e. never take off more than ⅓ of the grass’ height each time you mow. As an additional tip, make sure you mow with sharp mower blades.
When Can You Walk on New Sod?
You can walk on your new sod after 2 weeks when you mow for the first time. Your new sod will be able to withstand light usage at this point; however, you should still keep traffic to a minimum until the sod develops deep roots at the 4 to 6 week mark. This is also the point when your sod lines should disappear.

