Eliminating Spurge Weeds from Your Lawn
Being particularly prevalent in the south, spurge is a common weed to lawns in the US. This low-growing weed can establish itself in a lawn or garden bed, spreading quickly by seed to form a full infestation.
You can kill spurge weeds in a lawn either by digging up the weeds by hand or using a selective post-emergent herbicide. To kill spurge in a garden bed, you also have the option of solarizing the soil or spot treating with a non-selective herbicide. You should follow up the removal with a preventative measure like mulching the soil or treating it with a pre-emergent herbicide for spurge weeds.
What is Spurge?
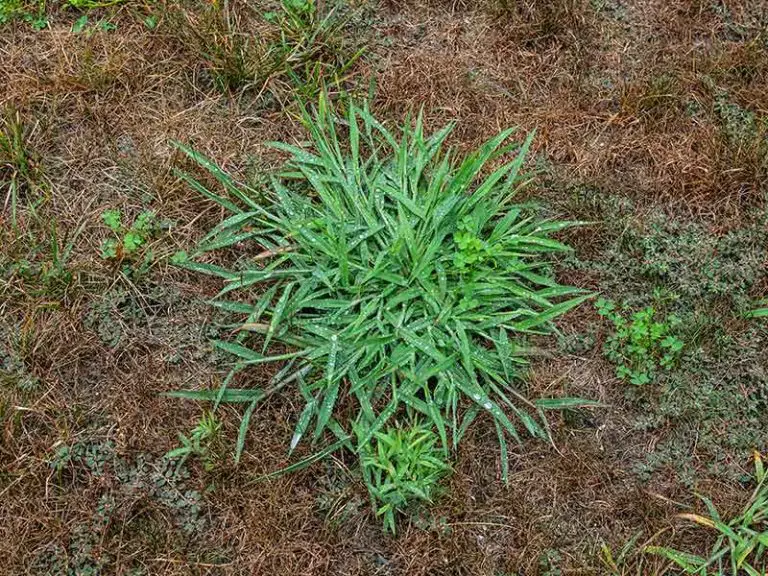
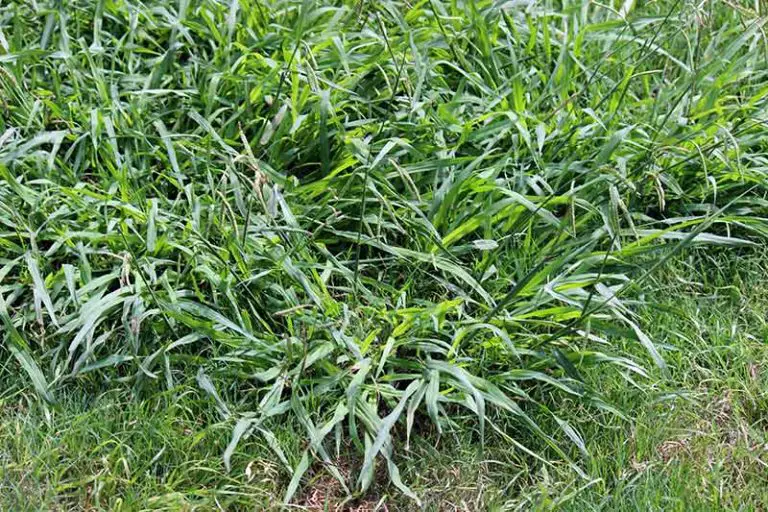
Spurge is a common annual broadleaf weed that grows in lawns and gardens throughout the US. Although spurge is a summer weed by nature, it can persist into the winter months in warmer climates. This weed is hardy and adaptable, growing well in a range of conditions.
In lawns, spurge is unaffected by mowing as it grows so close to the ground. Lawns with patchy or thin grass and poor quality soil are the most susceptible to spurge weed infestations; when your lawn is struggling, spurge can move in and quickly take over, smothering the remaining healthy grass. This is also a common weed to find in garden beds, landscape beds, and in the cracks of sidewalks.
What Time of Year Does Spurge Grow?
Spurge is a summer weed, growing most vigorously in warmer temperatures. Depending on where you live, you may see spurge growing in your yard at any point from February to September.
Spurge will begin growing when soil temperatures in your area reach 60°F. At this temperature, the spurge weed seeds will begin to germinate. The weeds will establish themselves and continue to grow throughout summer; spurge will keep growing until temperatures drop and the first frost of winter occurs.
Because of this growth habit, spurge is often more of an issue for those in the south. The warmer weather in the southern states provides this weed with a much longer growing season.
Types of Spurge Weed
Spurge is a large, diverse genus of plant, with there being roughly 2000 different species within this family.
In the US, the most common types of spurge weed include:
- Spotted spurge/prostrate spurge
- Creeping spurge
- Petty spurge/milkweed
- Nodding spurge
Spurge Identification
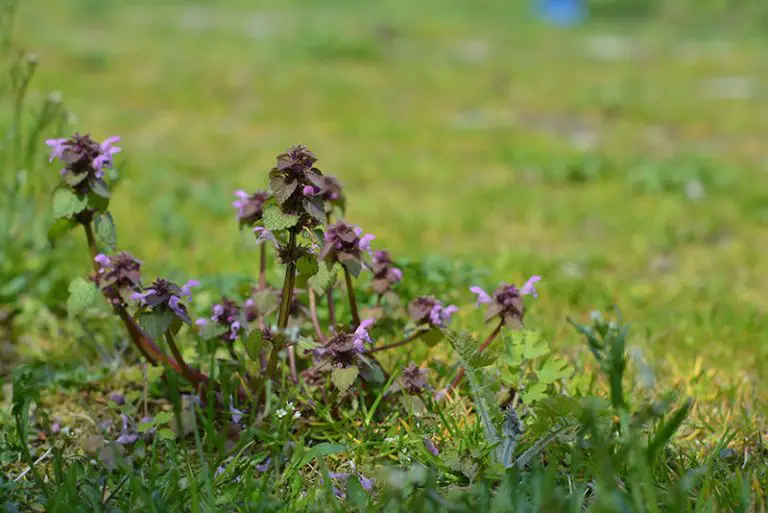
Spurge weeds typically grow low to the ground, having stems with oppositely-arranged leaves. When you break these leaves, they will release a milky sap that can cause irritation to your skin and eyes. Spurge also grows one main, long, central root called a taproot.
Spotted Spurge/Prostrate Spurge
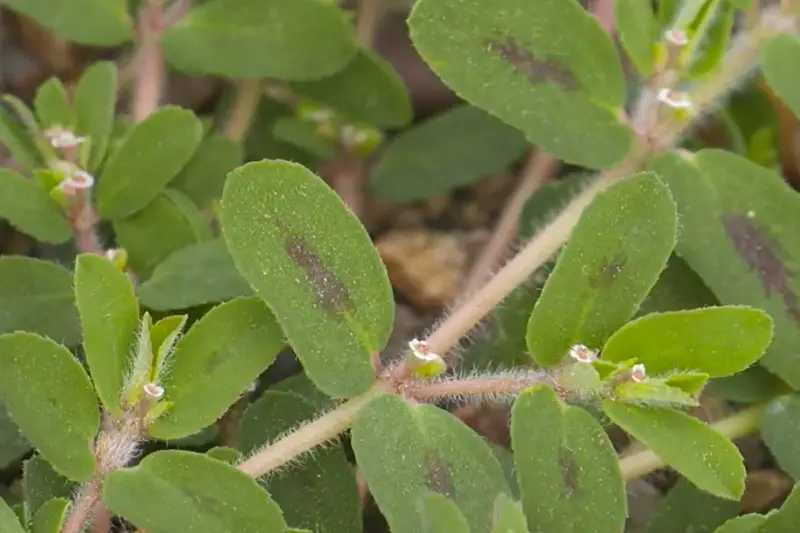
The most common type of spurge is spotted spurge, also referred to as prostrate spurge. Spotted spurge can be toxic to pets and wildlife if they consume a large amount of the weed. These weeds are identifiable by the maroon-colored spot or line that runs down the center of their leaf veins.
Spotted spurge typically grows horizontal stems, growing as a groundcover weed. However, the stems may also grow upward when the weed is under competition for light with other plants. These stems are purple or pink; this feature makes spotted spurge easily distinguishable from other spurge weed species.
Creeping Spurge
Creeping spurge is a type of spurge that grows small white flowers. You can differentiate this type of spurge from spotted spurge as creeping spurge weeds do not have any markings on their leaves.
Creeping spurge grows prostate to the ground, forming stems that can reach up to 20 inches long. On these stems are egg-shaped, slightly hairy leaves; the leaves of creeping spurge can be light green, pale red, or white in color.
Petty Spurge/Milkweed
Petty spurge most often grows in garden beds, around shrubs, or near buildings. This type of spurge weed thrives in moist, shady soils.
Petty spurge has thin pale green leaves. The leaves of this spurge weed can be oval, round, or egg-shaped. Petty spurge also grows small yellow flowers that are held in bunches of its leaves.
Nodding Spurge
Nodding spurge thrives in dry, poor-quality soil in areas with full sunlight. Gravel, sand, or clay soils are all typical growing locations for this type of spurge.
Nodding spurge grows pink to reddish-colored stems. This spurge has oblong leaves that are green in color, sometimes having a red spot in the leaf’s center. Occasionally, nodding spurge weeds can be entirely reddish-green.
How to Kill Spurge
You can kill spurge in a lawn or garden bed by hand-pulling or treating the area with a selective herbicide. For garden beds, it’s also possible to kill spurge by solarizing the soil or spot treating the weeds with a non-selective herbicide.
Dig Up Spurge By Hand
Providing the infestation isn’t too severe, it’s possible to get rid of spurge by hand pulling the weeds. This method is most effective if you carry it out before the spurge weed goes to seed.
Method
1. Moisten Soil
Give the lawn or garden a light watering to moisten the soil before attempting to hand pull. This step will significantly reduce the labor involved in the removal process. It also reduces the risk of parts of the spurge’s roots breaking off into the soil during the removal.
2. Put on Protective Clothing
Put on protective clothing like gloves, long pants, and a long-sleeved shirt. Spurge weeds release a milky sap that can cause irritation if it gets into contact with your skin.
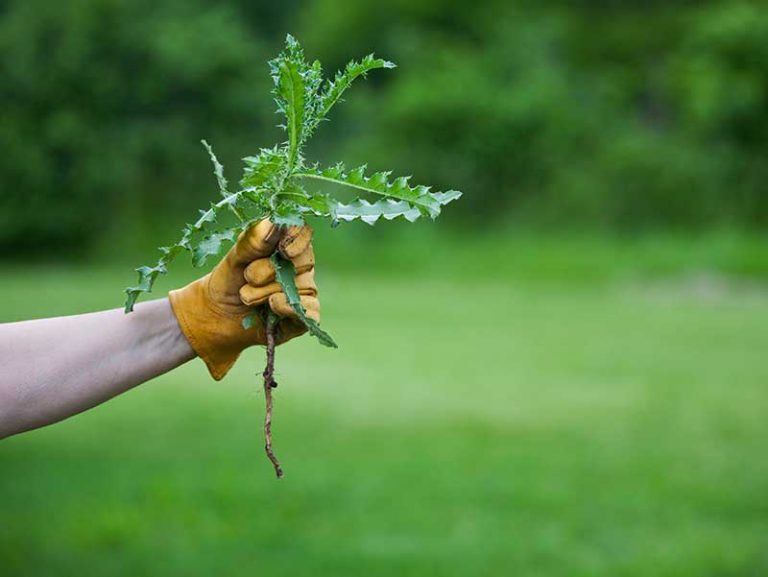
3. Pull Up Spurge
Use a trowel to dig down and loosen the soil around the taproot of the spurge weed. Grasping the weed at its base, gently but firmly pull up on the spurge to remove the entire plant and its taproot. Make sure to leave no part of the weed or its roots in the soil. Continue pulling until you’ve removed all of the spurge you can see.
4. Repeat Process As Necessary
With hand pulling, it’s a near guarantee you’ll need to repeat this process several times to completely eradicate the spurge. Monitor the lawn or garden bed for regrowth and repeat the previous steps as necessary.
Solarize Soil
An organic method to kill spurge in a garden bed is to solarize the soil. Solarization is a way to kill weeds naturally by harnessing the sun’s heat; this method involves laying clear plastic sheeting over the soil to essentially bake the spurge to death.
Method
1. Wait for Right Conditions to Solarize Soil
As solarization relies on the sun, you’ll need to wait for the right conditions to use this method. You’ll see the best results from the solarization process if you carry it out during the summer, in a period of bright, hot sun. For this reason, solarization will be much less effective if you live somewhere cool or foggy.
2. Prepare Soil for Solarization
To prepare the soil for the solarization process, remove rocks and plants from the area using a hoe or spade. Next, break up the soil by tilling it with a rototiller or simply by digging with a shovel. After tilling, make sure the soil is level; you can use a leveling rake or similar tool to smooth the soil after tilling it.
3. Water Soil
Water the soil to a depth of 12 inches. Doing so will allow the sun’s rays to penetrate deeper into the soil; this will kill more of the spurge seeds buried deep in the turf. You can determine your watering depth by pushing a screwdriver into the soil; if it sinks 12 inches deep with little effort, you can stop watering.
4. Lay Clear Plastic Sheeting Over Soil
Place a layer of clear plastic sheeting over the soil in the affected area. Lay the sheeting as close to the soil as possible before weighing down the corners of the sheeting with rocks. You could also use a black tarp for this purpose, but you’ll see the best results from clear plastic. Take note that, in addition to the spurge weeds, any plants beneath the sheeting will also die. Cut holes in the sheeting for any plants you do not wish to smother.
5. Leave Clear Plastic Sheeting in Place
Leave the clear plastic sheeting in place for about 4 to 6 weeks. After this period, the solarization process should have eliminated the last of the spurge. You can then remove the sheeting and continue gardening in the area as usual.
Kill Spurge with Chemical Herbicide
For severe or widespread infestations, you can kill spurge using a chemical herbicide.
Method
1. Purchase an Appropriate Weed Killer for Spurge
To kill spurge weeds after they germinate, you’ll need to use a suitable post-emergent herbicide. You can either use a non-selective herbicide containing glyphosate or a selective herbicide for broadleaf weeds.
Non-selective chemical herbicides kill all plants, while selective herbicides are designed to kill specific types of plants only. If you’re trying to kill spurge in a garden bed, you can use either type of herbicide; however, it’s crucial to use selective herbicide when treating a lawn to avoid killing the grass. Make sure whatever product you choose is safe to use on your grass or around your plants.
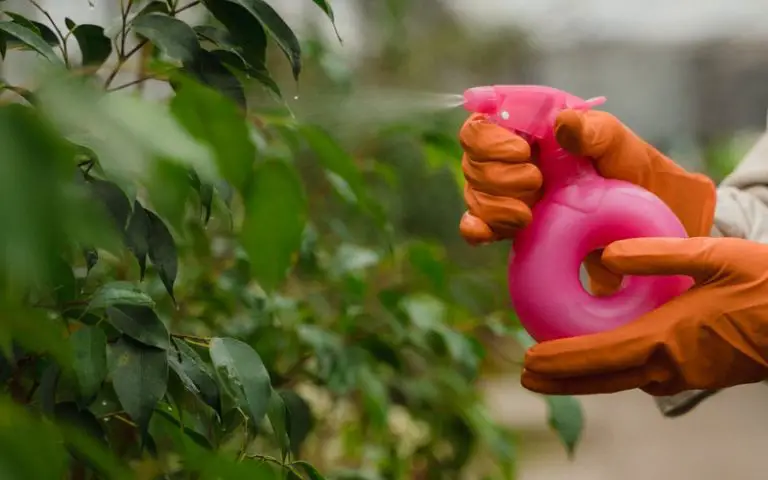
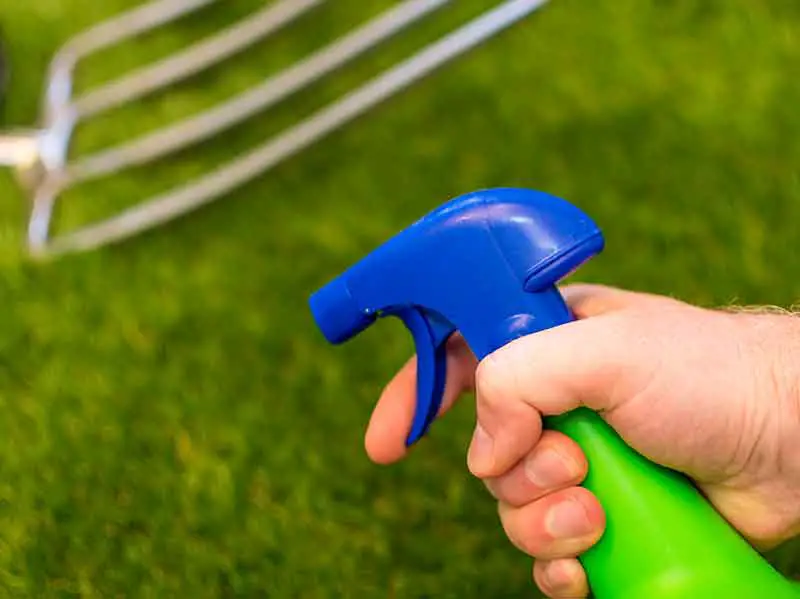
2. Apply Weed Killer to Spurge
Read the application and safety instructions for your particular herbicide carefully. Before applying your weed killer, put on protective clothing like gloves and goggles to minimize the risk of injury. Spray the weed killer directly onto the spurge, then keep off the treated area for as long as your product recommends.
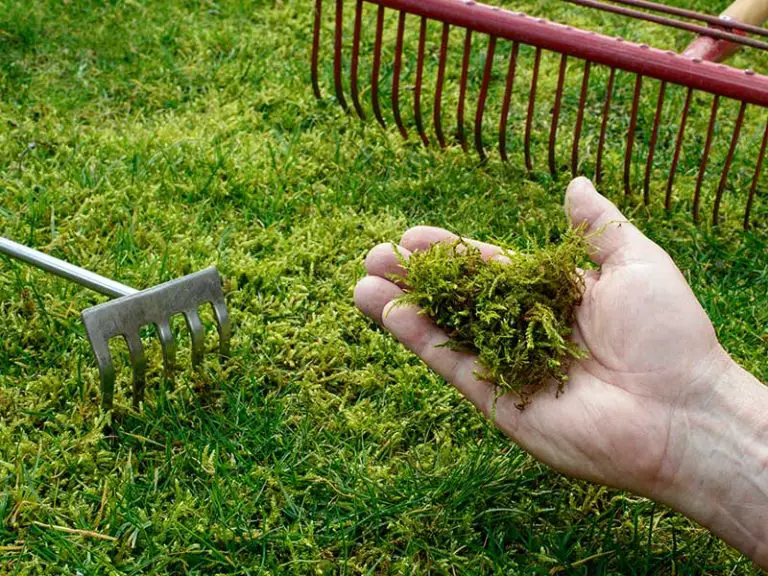
3. Remove Dead Spurge
Once the spurge turns brown and dies off, remove the dead plant matter using a rake or trowel. Dispose of the dead weeds appropriately; avoid placing them on your compost pile, as this can reintroduce the weed back into your yard when you use the compost.
How to Control Spurge and Prevent Future Infestations
Treat Soil with Preemergent Herbicide
You can prevent spurge weed infestations in a lawn or garden by treating the soil with a pre-emergent herbicide.
Pre-emergent herbicide is a type of weed killer that works to kill weed seeds before they become established weeds. By applying this type of herbicide at the right time, you can kill spurge weed seeds, preventing infestations early in the season.
Purchase a suitable pre-emergent herbicide labeled for broadleaf weeds, including spurge. If treating a lawn, make sure that the herbicide is safe for use on your specific grass type. Read the label of your chosen product carefully for exact safety and application instructions. As spurge weed seeds germinate at 60°F, you’ll need to apply your pre-emergent herbicide when soil temperatures are around 55°F.
Mulch Soil
If you’d rather an organic method, you can control spurge weed in a lawn or garden by mulching the soil.
Weed control is one of the many benefits that mulch can provide to the underlying soil. When you add a layer of mulch to your lawn or garden, it acts like a barrier between the sun and the soil surface. This blocks sunlight from reaching spurge and other weed seeds and prevents them from germinating.
In addition to this, the mulch layer will improve moisture retention and temperature control in the soil. Organic mulches, like grass clipping or leaf mulch, have the added benefit of acting like slow-release fertilizers as they decompose. Simply add a 2 to 4-inch-thick layer of your chosen material to the soil, replenishing the mulch as necessary.