How to Grade a Yard: Step by Step
All yards need to have a slight slope to their surface, which is also known as the yard’s ‘grade’. Having a yard with a grade that slopes the wrong way or having one with no grade at all can have some significant consequences on the health of your lawn and the buildings nearby.
It’s necessary to grade a yard in order to control the directional flow of water from rainfall, runoff, and overwatering, diverting it so that it flows away from the foundations of nearby buildings and structures instead of flowing towards them. This guide will take you through a step-by-step method on how to measure the grade of a yard, followed by steps on how to grade a yard by hand.
What’s the Difference Between Grading a Yard and Leveling a Yard?
Some use the terms interchangeably, but this is inaccurate – to grade a yard and to level a yard are two separate activities with different methods and end goals.
Grading is a landscaping term referring to the act of sloping a yard, in which the gardener creates a very slight grade that controls the flow of water causing it to drain away from the foundations of nearby buildings and structures
Leveling is the process of smoothing out the surface of a yard, leveling the soil to make it even and free of dips and mounds
They are two different jobs, but they are usually done in tandem with each other. When trying to level a yard, often it’s necessary to grade the yard first to ensure that you’re solving the original drainage or surface issues without creating any further problems in the process. See our full guide on How to Level a Yard to carry out this process after you have finished grading.
How Do I Know If I Need to Grade My Yard?
If your grade is sloping the wrong way, which for most would mean that the grade is sloping down and towards the foundations of property and structures, it will cause water to flow towards your house. This leaves the foundations at risk of becoming saturated with moisture and water, which can result in a host of water-damage related structural issues such as leaks, rot, and mold.
If there are ungraded areas of your lawn where the soil is flat, it prevents excess water from flowing in any direction. When it’s unable to drain, the water will start to pool, forming puddles of nasty stagnant water throughout your yard. Not only is this a problem aesthetically, it too can result in damage to the foundations of nearby buildings and structures. Stagnant water also attracts harmful pests, particularly mosquitoes, and can trigger lawn fungus infestations or kill off your grass and plants.
How to Measure Existing Grade
You’ve maybe noticed some of the tell-tale signs that you need to regrade, or perhaps you’re grading your lawn in preparation to level it and sow it with new grass seed. If you want to be completely sure that you need to grade your lawn before you launch into your project, you can follow this method to assess the current grade of your yard and to establish how you will regrade it in the following steps.
You will need:
- A hammer
- A spirit level
- Measuring tape
- Two 3ft long stakes
- At least 100ft string
Step 1: Drive Stakes Into Ground
Take two 3ft long stakes – if you don’t have any lying around, you can easily purchase some eco-friendly bamboo stakes here. Take one of the 3ft long stakes and use a hammer to drive it 1ft deep into the soil at the base of your property. Then, measure a distance of 100ft away from your property. At this spot, take the second 3ft stake and drive that 1ft deep into the soil.
Step 2: Attach String to Stakes
Take ~100ft piece of string and attach one end of it at ground level to the first stake nearest to your property. Attach the other end of the string to the second stake, and use a spirit level to make sure it’s running completely straight along from one stake to the next.
Step 3: Measure Distance from Ground to String
At the second stake farthest from your property, measure the vertical distance between the string and the ground. If the distance measures about 3 inches to 2 feet, you should be able to DIY and grade the yard yourself with relative ease. If you find that the drop is more than this, or that there is an upward slope, it may be a better idea to contact a professional landscaping company to take over the job.
Planning for Potential Issues
So, you’ve established that you definitely need to grade your yard and you’re ready to DIY. But, you should still hold off from starting the job before you have done a bit of planning and considered the potential issues that might arise when grading your own yard.
Too Little Space to Grade
There’s a possibility that you won’t have enough space to properly grade your yard. This is the case if you’re grading the slope away from your house, but you aren’t able to raise the soil high enough so that it’s above the point of the yard that needs to become the lower end of the slope. In addition to this, it’s crucial that you leave a minimum of 6 inches of your foundation showing, otherwise you risk damaging your property’s structure. 6 inches is the minimum, however, some properties need 8 inches of foundation showing or more. You should check with your local building officials if you’re unsure about the exact amount of foundation that needs to be on show. Not only does this ensure you’re not going to cause any damage to your property, but it is also a regulation that’s part of the International Residential Code adopted by most US cities.
Pipes, Traps, Vents, and Other Fixtures
You should first locate any pipes, traps, vents, and other similar fixtures of your property that may be impacted by the grading process. Pipes that need to be raised so they don’t get buried under the new ground level can be extended with the use of some extra fittings; you could buy these from a hardware store and attempt to fit them yourself, but it’s a much better idea to have this done by a professional unless you really know what you’re doing. You also need to make sure you don’t cover up or block any traps, vents, or anything else important when you’re applying the new layer of soil.
Basement Windows
If you have a basement with windows, you might find that your planned new ground level is going to come up too high against the height of the windows. This problem can be solved with the use of a window well, a half-moon shaped fitting which is installed around the basement window enabling it to be used properly and to let sunlight in.
If it seems like there’s no possible way to grade your yard because of any of these potential issues, the alternative option is to install a French drain. A French drain is essentially a pipe that has holes in the top of it, which is buried underground at an angle during installation. The water seeps down through the ground and trickles into the pipe, where it’s redirected to flow away in the direction of the pipe’s slope.
How to Grade a Yard
It can be quite a challenging and labor-intensive DIY job to grade a yard by hand, especially if it needs to be done on a large area or on an area with a very severe grade. Read through these steps and decide for yourself whether you want to take the job on by yourself, or whether it would be a better idea to get some help from a professional landscaping company.
Equipment needed:
- Stakes
- String
- Spirit Level
- Measuring tape
- Topsoil
- Wheelbarrow
- Rake
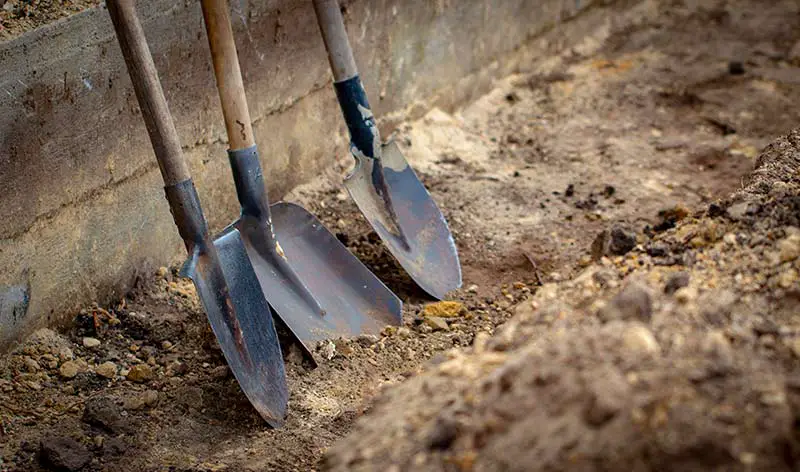
- Shovel
- Brightly colored flags
- Spray paint
Step 1: Mark Utility Lines
Using brightly colored flags or stakes, mark out any utility lines in your yard. These could be water, gas, telephone, or electric lines. This is to make sure you don’t rupture any of them when digging into the ground.
Step 2: Find High and Low Points in Yard
You first need to determine the high and low points of your yard. The high point is at the start of where the water is incorrectly draining from, and the low point is where the water incorrectly drains to and ends up. You’ll be able to identify where the low point is by looking for areas of pooling. You could mark these two points with a visual indicator like spray paint to make them clear.
Step 3: Establish Level Grade Line
Using the high and low points determined in the previous step, you will now need to figure out how much grading you need to do by establishing a level grade line, which can be done by first calculating the run and rise of your land. The ‘run’ is the horizontal distance of a straight, level line between your yard’s high point and low point. The ‘rise’ is the distance of the sloped surface from the high point to the low point. Both are measured in inches or feet.
How to establish grade line: To measure the run, drive a stake into the ground at the yard’s high point, and one at the low point. Attach a spirit level to a tight length of string, and use it to connect the two stakes. Check the spirit level to make sure the string is perfectly straight, and then measure the length of the string to find out the run. Next, measure the distance between the ground and the string at the low point stake to find out the rise.
The level of the ground should be at a slope of ¼-inch downwards for every foot away from your property, or 1 inch for every 4 feet. Use this information when deciding how much you’re going to raise and lower the level of your yard.
Step 4: Purchase Topsoil
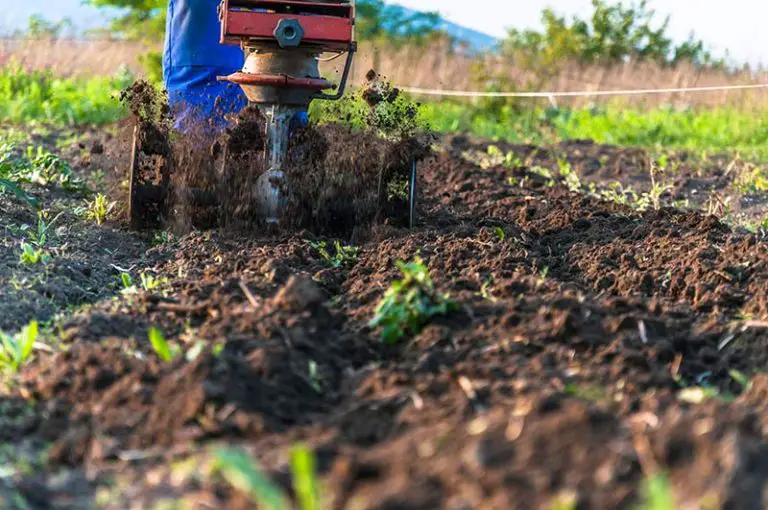
Now you have an idea of how much you’re going to grade the yard, you need to determine how much extra topsoil you may have to purchase. The soil that you dig from your high points can be reused to fill in the low points, but you’ll probably need a bit of extra topsoil on hand to get the grade you want. When it comes to purchasing the topsoil, if you don’t need too large of a quantity, you can easily pick this up from your local hardware store. If it’s a larger quantity that you need, opt for having the topsoil delivered straight to your door.
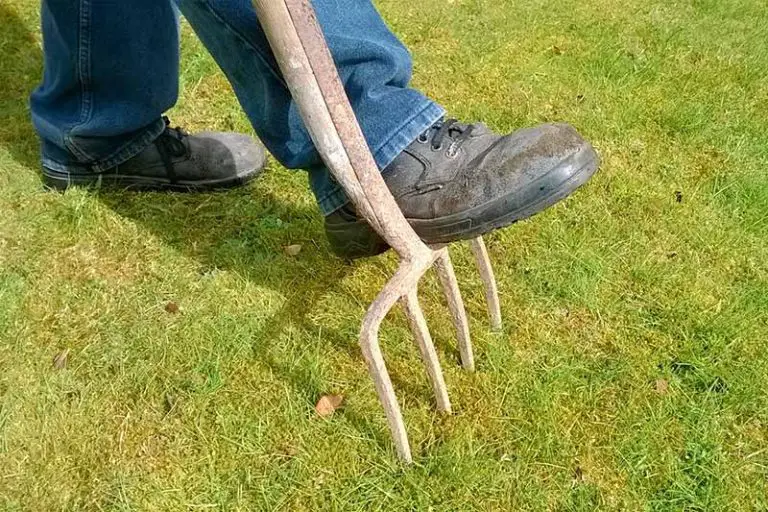
Step 5: Start Digging at High Point
At the high point of the yard’s grade, start digging up the soil. If you’d like to reuse your soil to raise the other end of your yard, either dump it straight onto the low point, or put it into a wheelbarrow to be transported and later dumped onto the low point if this is easier logistically. Keep excavating the high point and spreading the excess soil onto the low point until it starts to even out.
Step 6: Form Soil Into a Downward Slope
When you’re digging out of the high point and building up the low point, you need to form the soil into a downward slope that’s slanting downwards and away from the foundation of your property. This ensures that water will be diverted from your property when the yard is finished. Keep checking periodically that you’re forming the slope to your desired grade using your stakes and string setup from step 3.
How to form the slope: Use a shovel to dig soil from the high point and place it into the low point. The soil can also be dragged from the high point to the low point using the back of a hard rake. You can till additional topsoil into the ground at this stage if you need it to reach your desired grade.
Step 7: Rake, Smooth, and Gently Compact Soil to Level Yard
Once you’ve formed the soil into your desired grade, you should smooth out the soil so that the surface of the ground is free of any dips and mounds, and gently compact it down. This is the process of leveling the soil, and is essential before you can start spreading your new grass seed over the graded lawn. See our page How to Level a Yard for a thorough step-by-step guide on how to level and smooth out your yard and best prepare it for growing new grass seed.
Step 8: Plant New Grass
The final step is to plant new grass seed throughout your newly graded yard to grow it back into a thick, full lawn that successfully drains water away from your property. Refer to our New Grass Seed Guide to find out everything you need to know about growing a lush lawn full of healthy, resilient grass, including a step-by-step DIY method of planting new grass seed.