How to Level a Yard: Step by Step
No one wants a lawn filled with dips and mounds – not only are they unpleasant to the eye, but they’re also unsafe, putting the foundations of nearby buildings and anyone who makes use of the lawn at risk. Read through our guide to properly diagnose the root cause of your uneven ground, followed by a step-by-step method on how to level your yard.
Uneven yards can be caused by a number of reasons, while also creating a lot of problems themselves. They’re aesthetically unappealing, and can trigger drainage issues that lead to more significant problems such as lawn disease, pest infestations, and damage to the foundations of nearby buildings and structures.
Why Level Your Yard?
To start, a smooth, level lawn that’s devoid of mounds and dips is far more aesthetically pleasing than an uneven one. Level yards tend to be healthier and are significantly more easy to maintain, as the flat surface means that the grass can be mowed without the lawn mower jumping up and down over every irregular spot. When a lawn mower is run over an uneven lawn, any areas of depression cause the mower’s blades to drop lower, which in turn causes the mower to cut the grass too low when it passes over the higher areas of the yard. A level yard prevents this from happening and results in a better quality cut, as well as making the actual process of mowing much less physically taxing.
Beyond the cosmetic reasons, level yards are superior in terms of their practicality. They provide you and the other users of your lawn, whether that’s adults, children, or pets, with a surface that’s more usable and safe for any kind of activity. Furthermore, another practical benefit brought about by a level yard is that it improves drainage and prevents the damage done by sitting water or water that drains to the wrong place. Water tends to collect within any low spots or holes in the lawn, which increases the risk of fungal lawn diseases and encourages unwanted disease-ridden pests such as mosquitoes. If water isn’t able to drain away from any buildings or structures in and around the lawn, it will accumulate around the walls of the building’s foundation, causing a buildup of moisture which can potentially lead to serious structural issues such as mold and rot.
Causes of an Uneven Yard
When addressing an uneven lawn, you should take into consideration why it is uneven in the first place. Diagnosing the root cause of the problem is essential before trying to fix the symptoms to ensure you find a long-term solution that will prevent the need for repeated releveling in the future.
People and Animals
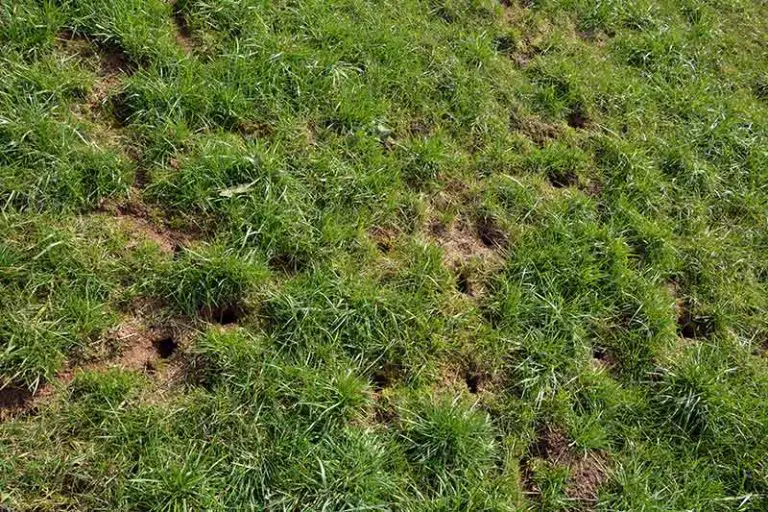
General use from people, pets, and wild animals can create mounds and holes in the ground. Depressions may form if the lawn is used by people or animals when the soil is too soft, such as in the early spring or after a period of heavy rainfall. They may also form in the case that the ground has been dug up by domestic pets or wild animals; if you have an issue with burrowing animals such as moles or groundhogs, you will need to get these repelled to prevent them from doing any more damage. Additionally, while ants aren’t a typically harmful insect, their anthills can form large mounds on the surface of your soil.
Patchy Unhealthy Grass
Patchy, unhealthy lawns with areas of thin or yellow grass are more susceptible to soil erosion, resulting in the formation of depressions on the surface of your lawn. Problems such as lawn disease or insect infestations create areas of bare soil, which are left open to erosion from rainfall, wind, and physical activity. Refer to our guide here if you’re unsure about how to fix a patchy, yellow lawn.
Ground Settling
Ground settling is an inevitable occurrence that can cause areas of your yard to become depressed over time. The problems caused by settling can be exacerbated if you’ve just had a new lawn, or if you’ve recently had heavy-duty equipment or yard work done on it. Cycles of freezing and thawing in winter can also exacerbate settling, particularly in areas with colder climates. The cycles cause the soil to become bumpy and uneven, creating ripples in the lawn that look similar to a bunched-up carpet.
Damaged Drainage Pipes
Damaged water or irrigation pipes can leak water into your yard, causing erosion that eventually leads to irregularities in the level of the soil. Look at where the worst areas of depression are in your yard – if they are concentrated around the areas where your water or drainage pipes may be, then you should investigate further to make sure that the pipes aren’t damaged and leaking water. You can consult with an expert on this issue if needs be.
Damaged Sprinkler System
Sprinkler pipes are notoriously prone to becoming damaged, which can again leak water into your yard and cause erosion of the soil. For this reason, you should make sure that you’re regularly checking and maintaining your sprinkler system, and you should replace it when it starts to wear out. You can investigate whether this is the cause of your uneven lawn by looking over the spray heads and rotors and making sure that they pop out to their full height, checking that the nozzles haven’t become blocked or damaged, and making sure that the heads aren’t leaking.
See our article Holes In Yard: Causes and How to Repair Your Lawn if you’ve noticed holes developing on your lawn but you’re unsure what’s causing them.
What’s the Difference Between Levelling a Yard and Grading a Yard?
The two terms may seem interchangeable, but there is a distinct difference between what it means to either level a yard or grade a yard.
Leveling is the process of smoothing out the surface of a yard, leveling the soil so that it’s even and free of dips and mounds.
Grading is a landscaping term that refers to the process of sloping a yard, creating a very slight grade so that water is able to drain away from the foundations of nearby buildings and structures.
While they are two separate activities, they must both be carried out when you’re adjusting the surface of your lawn to ensure that you’re solving the initial problem of an uneven yard without creating any further problems for yourself in the future to do with drainage and water damage. You should always grade before you level.
When is the Best Time to Level a Yard?
The ideal time to level a yard is during your grass’ period of most vigorous growth, which varies depending on what grass species you have. For warm-season grasses, this is during the warmer months of spring and summer, and for cool-season grasses, during the cooler months. As a rule of thumb, you should absolutely avoid leveling your yard during your grass type’s dormant months. It’s also important that the yard is leveled during a dry spell, as doing so during a rainy period can lead to more soil erosion, which is likely what caused the uneven surface in the first place.
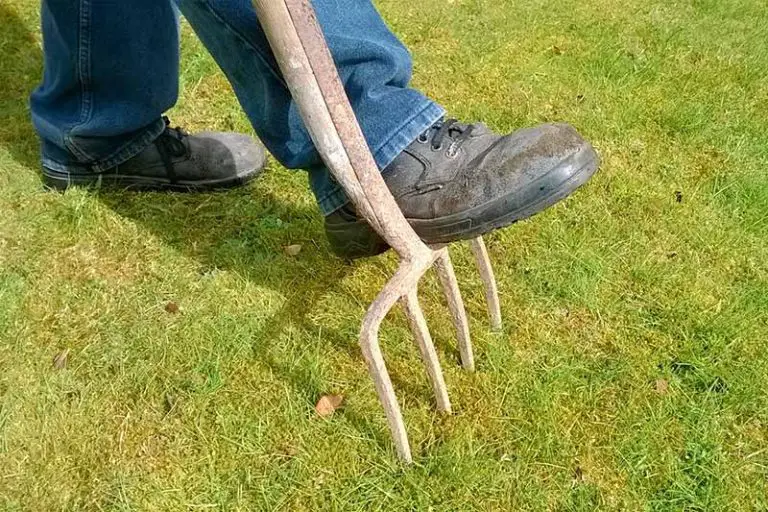
How to Level a Yard
Before you follow this method to level your yard, you must make sure that it has been properly graded. As an additional tip, lightly water the area that needs to be leveled the day before you plan to carry out the job so as to soften the soil.
Equipment You’ll Need
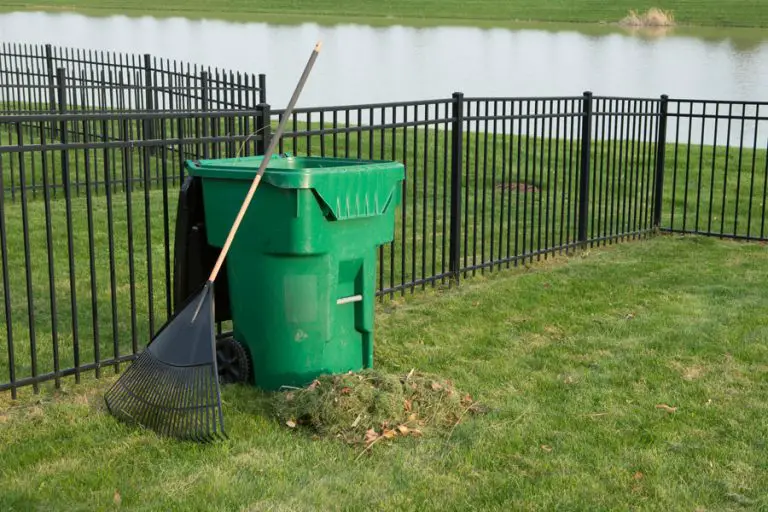
- Lawn mower
- Thatch rake or dethatching machine
- Bow rake
- Shovel
- Push broom
- Topsoil
- Compost
- Sand
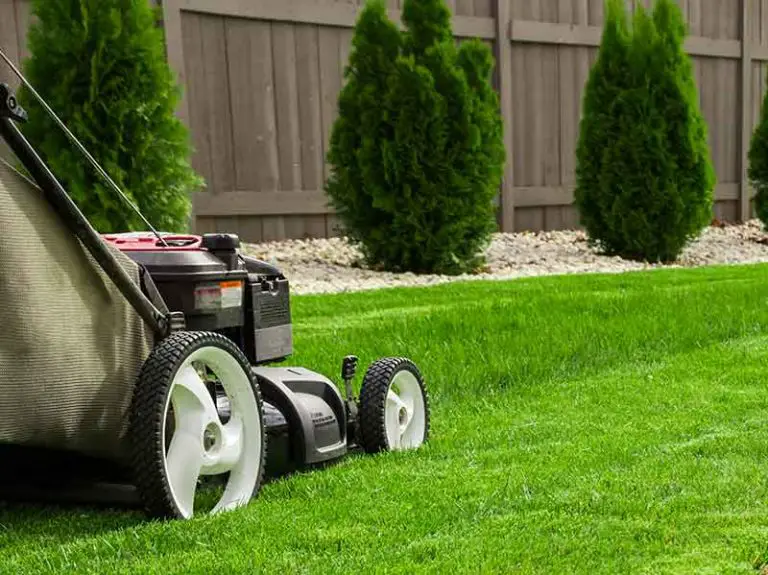
Step 1: Mow Lawn
Skip this step if you’re leveling a new, unplanted lawn.
Start by giving your lawn a mow. Cut the blades relatively short, but avoid cutting the grass so short that you scalp it. Make sure not to cut it short enough that the grass blades stems are visible, otherwise the grass is at risk of drying out.
Step 2: Examine Thatch and Dethatch Where Necessary
Examine the area where the grass roots are and determine how much thatch is on your lawn. If you’re not sure what thatch is, it’s the layer of organic matter and decayed grass that sits at the base of your turf where the grass stems meet the soil and roots. It’s okay to have a thatch of about ¼ to ½ inch thick, but if it’s any thicker than that it could prevent enough air and water from getting to the grass, meaning it needs to be removed.
How to: Remove the thatch, or at least significantly loosen it, by running a thatch rake across the surface of the lawn to rip it up. This Hortem Adjustable Thatch Rake Set will do the trick if you’re working on a small to medium-sized area. If you’re working with a larger area, it’s easier and more efficient to do this step using a dethatching machine. These machines are usually available to rent from home improvement stores, or you can purchase one yourself – we recommend the SunJoe Electric Scarifier & Dethatcher as it has an adjustable deck, as well as a detachable collection bag that enables you to collect the thatch on the go.
Step 3: Determine the Areas That Need to Be Adjusted
You should now take a look over your lawn to visually determine which areas will need to be raised or lowered. Observe where the mounds and dips are, and assess whether they’re confined to one area of the lawn, or if they’re prevalent throughout the whole area. This will help you to determine the root cause of your uneven lawn if you’re still unsure at this point. It also saves you the time and effort wasted on digging up the entire lawn unnecessarily, or on the other hand, digging up one small section to later find out that you would’ve been better off de-turfing the whole lawn.
How to: Walk around your bare or freshly mown lawn, looking and feeling with your feet for grooves, ridges, bumps, or mounds. As you walk around, mentally divide your lawn up into sections and take note of which sections contain level irregularities. To make the job even easier for yourself later, you can demarcate the problem areas of the soil so that it’s clear where the soil needs to be adjusted.
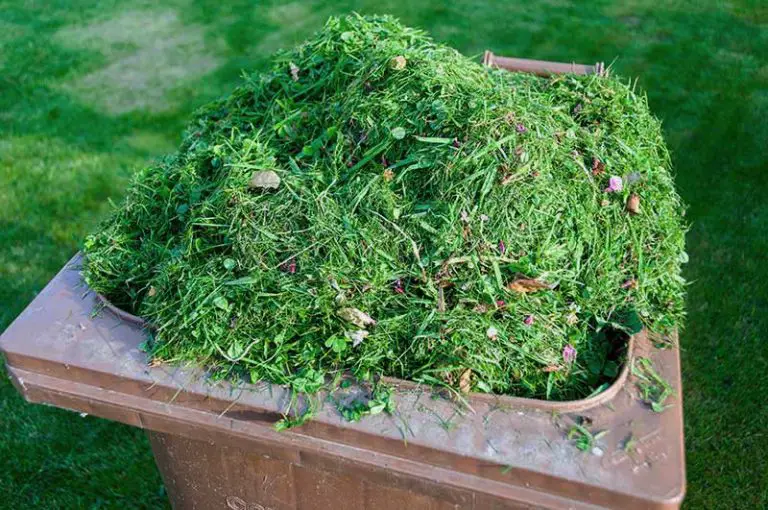
Step 4: Make a Top Dressing Mix of Topsoil, Sand, and Compost
For this step, you will need to combine high-quality topsoil, compost, and sand to create a top dressing mix that can be applied to fill in the sunken areas of your lawn. High-quality topsoil is that which contains a rich and varied mix of the nutrients needed to maintain the health of your lawn and grass, so choose one from a reputable brand. Compost also performs this function but at a slower rate, as the organic matter gradually breaks down. This continuously enriches the soil with nutrients and works to improve the quality of your soil long after it has been applied. Finally, the sand in the mixture is necessary to maintain the level of the yard over time as it doesn’t compact easily, helping to prevent areas of depression from reforming.
How to: Mix the topsoil, sand, and compost at a ratio of 2 parts soil: 2 parts sand: 1 part compost.
Step 5: Dig Up Ground In Sunken Areas and Fill With Top Dressing Mixture
If you’re levelling a new and unplanted lawn, you can skip the digging and go straight ahead to fill in the deeper holes with the top dressing mixture for this step. However, if you’re levelling an existing lawn that currently has grass growing in it, you’ll need to carefully dig up the grass in any areas of depression that are lower than 2 to 3 inches deep before you can start filling in the holes.
How to: For sunken areas of 2 to 3 inches deep in grassy established lawns, place the blade of a shovel at the outside edge of the area and slide it down and under the grass to a depth of around two to three inches to reach beneath the grass roots. Pry the piece of turf up with the shovel, fill the hole with the top dressing mixture, and place the piece of turf back on top. For sunken areas in unplanted lawns, skip the digging and apply the top dressing straight onto the bare soil to fill in the holes.
Step 6: Spread Top Dressing Mixture Across Lawn
Once the deeper holes have been filled in, you can take the remains of your top dressing mixture and spread a thin layer of it throughout the rest of your lawn, covering and smoothing the soil’s surface entirely. Make sure to disperse the mix no more than ½ inch thick, as too thick a layer may end up choking your grass. If your layer of top dressing completely obscures the grass from view, this is too much – you should see mainly grass once complete.
How to: Apply a ¼ to ½-inch thick layer of top dressing mixture across the whole lawn. Spread it evenly across the lawn using the back of a bow rake to pull it and push it, working the mix into the gradual low areas. If working on a grassy lawn and the grass blades appear to be completely covered with the mix, use a push broom to work the mix further down into the base of the turf until the blades are visible again.
Note: If you accidentally smother or kill your grass following either of the previous two steps, you may need to overseed your lawn or grow new grass entirely, depending on the level of damage.
Step 7: Water Lawn
Watering your lawn after you have finished applying the top dressing is key as it helps the mix to settle in the soil and fills in any pockets of air. This step is also key to jumpstarting the infusion of the nutrients in the topsoil and compost, getting it started as soon as possible to do its job of enriching the soil. Make sure that the soil is moist, without overwatering it to the point that there is puddling or run-off.
Step 8: Repeat Process as Necessary
There is a chance that you’ll have to repeat the process of applying the top dressing more than once to completely level the surface of your yard. If your lawn doesn’t appear to be completely level after the first adjustment, you should apply a second layer of the top dressing mix; when you see the grass beginning to grow through the first layer, repeat steps 5, 6 and 7 to cover your lawn with a thin secondary layer of top dressing. Keep repeating this process as the grass grows in until you’re satisfied with the level of your yard.