How to Sharpen Lawn Mower Blades
If you want to keep a healthy green lawn all mowing season long, it’s essential to sharpen your lawn mower blades as soon as they become dull. Mowing the lawn with a sharp mower blade not only ensures that your grass is more resistant to disease and stress, but also eases the mowing process on you and your mower. On top of this, it leaves you with an aesthetically pleasing lawn full of even, clean-cut grass.
Lawn mower blades can be sharpened by either a hand filing method, which utilizes a hand mill file, or with the use of powered sharpening equipment such as a drill-powered blade sharpener or angle grinder.
In this article, we have provided a thorough step-by-step guide on how to sharpen lawn mower blades on a push lawn mower using all three of these tools.
Why is it Important to Sharpen Mower Blades?
It’s important to make sure you always mow using sharp mower blades to keep your lawn looking good and to keep your grass green and healthy. Having sharp mower blades is essential to ensure that you get a clean, even cut on the grass when running your mower across your lawn.
When the mower blades are dull, they have more of a ripping action on the grass. This results in a ragged tear rather than a clean cut. Without a clean cut, the grass plants are susceptible to the growth of fungus and the development of other grass diseases, which can cause patches of your grass to turn yellow or brown and die off.
A clean cut from sharpened mower blades ensures that the grass plants are able to recover quickly from the stress of mowing or disease pathogens; this is particularly important when mowing new grass for the first time. Also, sharpened mower blades ease the process of mowing for both you and the mower; as they make the overall job much faster and less demanding.

Do You Need to Sharpen New Mower Blades?
No, you don’t need to sharpen brand new mower blades before using a new mower for the first time. New lawn mowers come with factory-sharpened blades as a result of the manufacturing process. Since mower blades do come sharpened as standard, you don’t need to sharpen new mower blades yourself before first use.
The first time you sharpen your new mower blades will either be halfway through the first mowing season or at the beginning of the second, depending on your typical mower usage. We have explained how to work out the exact frequency of how often to sharpen mower blades in the following section.
How Often to Sharpen Lawn Mower Blades
As a general rule, it is recommended to sharpen lawn mower blades after every 20 to 25 hours of usage. For most gardeners, this works out at about one to two times per mowing season. However, the exact frequency of how often you sharpen your lawn mower blades will be dependant on how often you mow your lawn.
You can use some simple math to work out when you should sharpen your mower blades throughout the season. First, calculate the total time that your mower runs during a typical mowing session. Next, take that figure and multiply it by the number of mowing sessions you have per week. Keep a record of these individual run times adding them up as you go, and sharpen your mower blades each time you reach the 20 to 25-hour mark.
As a note, you should also sharpen mower blades if you accidentally hit a rock while mowing. Stone easily damages mower blades, so it’s important to sharpen them after colliding with rocks to remove any nicks or dents.
Tip: It’s a good idea to keep a spare mower blade so that you can alternate between two different blades each time they become dull. Swap in the alternate blade when you reach the 20 to 25-hour mark. This ensures that both blades take less stress and will therefore last longer than if you used one blade repeatedly.
What are the Signs that You Need to Sharpen Your Mower Blades?
Aside from the timed method explained in the previous section, there are some physical tell-tale signs that indicate when it’s time to sharpen your mower blades.
Lawn isn’t Recovering Well After Mowing
If your mower blades are dull, it will cause the grass on the lawn to recover more slowly or not at all after mowing. Noticing patches of brown or yellow grass on the lawn, or any other signs of lawn disease, is a typical indication that you need to sharpen your mower blades.
Grass Looks Torn and Uneven
The dull mower blades will be unable to get a clean cut on the grass, leaving you with a lawn full of torn, raggedy grass blades. The grass will also appear to be very uneven in height, which will become increasingly more noticeable as it starts to grow back in. Not only is this bad for the health of the grass, but it also creates an aesthetically displeasing lawn.
Lawn Mower Blades Appear to Have Superficial Damage
Upon inspection of your lawn mower blades, if they appear to have any superficial damage such as dents or nicks you will need to sharpen them. This type of damage is typically caused by running the mower over hard debris, which is why it’s recommended to sharpen your mower blades every time you accidentally run over something like a rock or stone.
How to Sharpen Lawn Mower Blades (Step-by-Step)
This section details a step-by-step method on how to sharpen push mower blades specifically.
Step 1: Remove Mower Blade
Before anything else, you will need to disconnect the mower from its power source and then remove the blade. Make sure to wear protective clothing like gloves and goggles to ensure your safety.
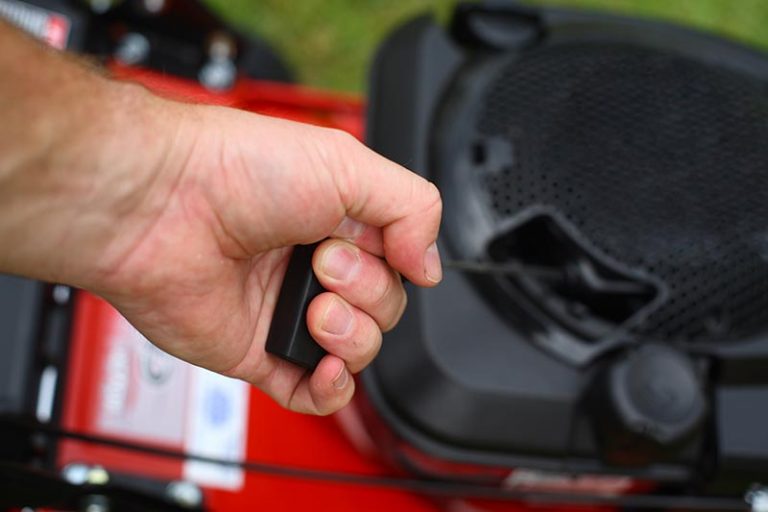
1.1 Disconnect Power Source/Spark Plug
You will need to disconnect the power source from the mower. This is essential to avoid injury from the motor accidentally starting and causing the blades to jump while you’re working on them.
On electric mowers, disconnect the power source, whether that be a battery or a power cord. On gas mowers, disconnect the spark plug wire by pulling it, then fasten it back using something like tape to ensure it won’t accidentally make contact with the spark plug.
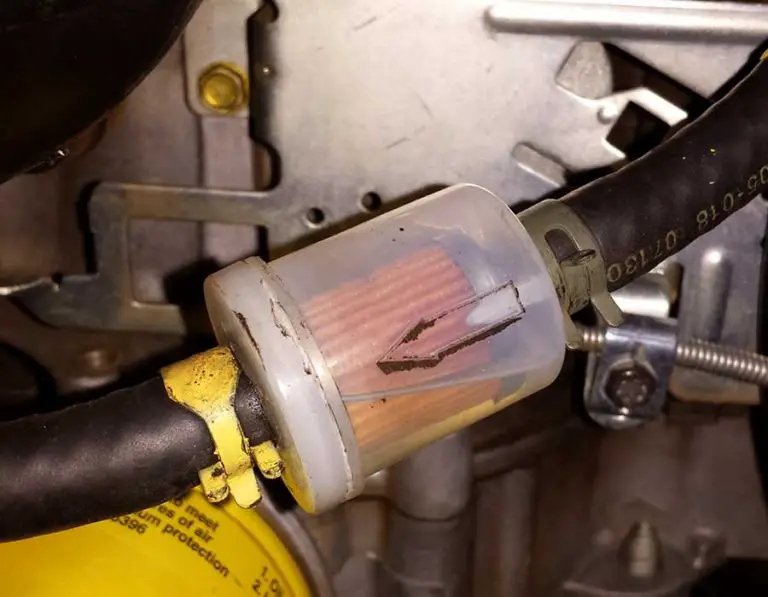
1.2 Drain Gas Tank
We highly recommend that you drain the gas tank to avoid spilling any fuel during the whole process. You can do this easily using a gas siphon. Skip this step if using an electric mower.
1.3 Turn Mower Onto Side
Tip the mower on its side, ensuring the side with the carburetor and air filter faces upwards. If you’re unsure, the carburetor is the part that has throttle cables running to it. This step prevents oil and gas from leaking into the air filter, which can cause the mower to smoke the next time you start it.
1.4 Mark Bottom of Mower Blade
Before removing it, you should mark the bottom side of the mower blade (the side that’s facing you). This helps to ensure that you install it the right way around when replacing it back into the mower. You can mark the bottom of the blade using spray paint, a permanent marker, or a grease pencil.
1.5 Remove Blade from Mower
Clamp the mower blade in place by wedging a 2×4 piece of wood between the blade and the mower deck. Next, look for the nut that holds the mower blade on the drive shaft. Using a long-handled wrench or a ratchet and socket, loosen this nut by turning it counterclockwise until the mower blade is released.
The nut may be quite tough to remove, which is why we recommend using the aforementioned method to wedge the blade in place providing you with more leverage. If the nut is rusted or stuck to the threaded shaft, apply some penetrating oil to the problem areas; leave this to sit for several hours before attempting to remove the nut again.
1.6 Clean Blade and Mowing Deck
With the blades removed from the mower, clean both the mower blades and the underside of the mowing deck.
If the blade only has a light layer of dirt, use a dry rag or microfibre cloth to clean it. For blades that are particularly dirty or caked with old grass clippings, spray them with penetrating oil. Let the oil sit as long as directed, then clean off the debris using a stiff brush. You can use this method to remove debris from the underside of the mower deck too.
1.7 Place Mower Upright
Once you have removed the blades and cleaned the underside of the mower, tip it back up. Place it so it’s sitting on all four wheels until you go to replace the blade after sharpening.
Step 2: Examine Mower Blade
After removing the mower blade, examine it to check how dull it is and look for signs of significant wear. If you notice that it’s severely damaged, for example, if the blade has large cracks, then you will need to replace it entirely.
2.1 Clamp Mower Blade
Using either a vice or a worktable, clamp the mower blade so that the first cutting edge is facing upward.
2.2 Examine Mower Blade
Examine the blade, and assess whether you need to sharpen it or replace it entirely. If the blade has minor nicks, chips, or just appears to be dull, then you should sharpen it. If the blade has signs of more significant damage, such as cracks, large missing pieces, or a severe bend, you will need to replace it instead.
Step 3: Sharpen Mower Blade
You have several options when it comes to sharpening the mower blade. These involve either sharpening the blade by hand using a file, or using machineries like a blade sharpener, bench grinder, or angle grinder. Regardless of the method, you should always wear protective clothing, i.e. long sleeves, gloves, and goggles, when sharpening the blade. Additionally, you should wear ear protection if using machinery.
Tip: When sharpening the mower blade, you should avoid sharpening it to the point that it’s sharp enough to cut your finger. Instead, aim to give the blade a gently sharpened shiny edge with a similar sharpness to a butter knife. This is because overly sharp mower blades will wear out faster and tend to require more maintenance.
3.1 How to Sharpen Lawn Mower Blades With a Hand File
This section details how to sharpen lawn mower blades using a hand filing method. This method uses tools such as a 10 to 12-inch mill file or a grindstone.
3.1.1 Check Mower Blade for Correct Filing Angle
Before you start filing, check the direction of the original cutting angle on the mower blade. You can follow this as a guide to ensure you sharpen the blade at the correct angle. As a note, mulching blades may have longer or more curved cutting edges which may require different types of files; if sharpening this type of blade, use the appropriate files necessary for each part of it.
3.1.2 File Mower Blade
Keeping the file roughly at a 45-degree angle, begin sharpening the mower blade starting from the top side of the cutting edge. File along the cutting edge of the mower blade in one direction, as opposed to sawing back and forth. Applying the right amount of pressure, you should feel the teeth of the file touching the blade; if you can’t feel this, apply a bit more pressure to the blade. File along the angle of the blade edge until you have smoothed out any rough spots or imperfections; the majority of blades will be sufficiently sharp using less than 50 strokes. After finishing the first side of the mower blade, release it from the vise and turn it to the other side. Repeat this process until the blade is as sharp as a butter knife.
Tip: The following two methods utilize powered sharpening tools. If using a powered sharpener, make sure that you don’t cause the edge of the blade to overheat. You can tell that the blade is too hot when it becomes too hot to touch. You can cool the blade down by plunging it into a bucket of cool water.
3.2 How to Sharpen Lawn Mower Blades With a Drill-Powered Blade Sharpener
This section details how to sharpen lawn mower blades using a drill-powered blade sharpener. Make sure you wear eye protection to protect yourself against sparks, as well as gloves and hearing protection.
3.2.1 Clamp Mower Blade and Prepare Drill
Clamp the mower blade firmly into a vise. Take a standard drill, then fix a blade sharpener attachment onto it. This attachment looks like a round grinding stone and has a guide piece and a ¼-inch shank.
3.2.2 Sharpen Mower Blade
Pull down on the drill trigger as usual to power the blade sharpener. Place the grinder of the attachment on the cutting edge of the mower blade, with the flat guide sitting against the back of the blade. If done correctly, the cutting edge of the mower blade should slot down into the bevel of the sharpener, automatically providing the correct sharpening angle for the blade.
Apply a medium amount of pressure as you move the stone back and forth along the edge of the blade. It should only take about four or five strokes to get the blade to the correct sharpness – that of a butter knife – and to be free of nicks or imperfections. Once one side of the mower blade is complete, flip the blade over and sharpen the other side.
3.3 How to Sharpen Lawn Mower Blades With an Angle Grinder
This section details how to sharpen lawn mower blades using an angle grinder. Make sure to wear full safety gear including gloves, and eye and ear protection.
3.3.1 Clamp Mower Blade and Prepare Angle Grinder
Clamp the mower blade into a vise to keep it still during the job. For the angle grinder, we recommend using a flap disc.
3.3.2 Sharpen Mower Blade
Line up the blade of the angle grinder along the cutting edge of the mower blade. Slowly run the grinder along the edge of the mower blade using a back and forth motion. Following the angle of the existing edge, smooth out rough spots and imperfections on the mower blade. After you finish one side, flip the blade over and repeat the same process on the other side.
Step 4: Check Blade Balance
After you complete your chosen method to sharpen your mower blades, you need to check that the blades are balanced. During the process of sharpening mower blades, it’s possible to remove more metal from one side of the blade than the other. This causes the blade to be unbalanced when reinstalled into the mower.
When the blade is unbalanced, it will prevent your mower from running smoothly. Not only does this cause the mower to have irritating vibrations during operation, but it may also destroy the mower’s bearings or blade shaft.
4.1 Hang Mower Blade At Center
Check the balance of the blade by supporting it at its center so that it hangs like a scale. You can do this most easily with the use of a conical blade balancer tool. If you don’t have one of these tools to hand, you can alternatively use a screwdriver or a horizontally fastened nail. Place the mower blade so that it hangs off the screwdriver or nail from the hole in the center of the blade. Hold the blade horizontally, then gently let it go. If it remains level, it’s balanced, but if it drops down more in one direction, it’s unbalanced.
4.2 Adjust Mower Blade if Necessary
If the previous test indicates one side is heavier than the other, adjust the heavier side to balance out the blades. Using your chosen sharpening method, take a few extra strokes from the heavier side (the side which dipped down). Retest the balance and repeat until the mower blades are completely equal.
Step 5: Replace Mower Blade
Once you have sharpened and balanced the lawn mower blade, you can reinstall it into the mower.
5.1 Check Mower Blade for Marking
Check each side of your blade for the marking that you made in the first step. This is the bottom side of the blade, i.e. the side that faces down when you replace the blade in the mower.
5.2 Replace Mower Blade
Insert the blade with the marked side facing you by placing it back on the bolt. Using a socket wrench, secure the blade in place by tightening the nut. It’s important to make sure that the blade is tightly fastened back onto the mower deck; a loose blade can throw off the timing of the engine and may make it difficult to start the mower.
5.3 Reconnect Power Source and Refill Gas Tank
Reconnect your mower’s power source. For a gas mower, this would mean reconnecting the spark plug; for an electric mower, you will need to reconnect the battery or power cable. Then, refill the mower’s gas tank with fuel.
5.4 Start Mower Outdoors
If you’ve been working indoors, roll your mower outside of your garage or shed. If any gas or oil has spilled onto the inner workings of the mower, this will cause the mower to smoke and release fumes upon running, which is why it’s best to start it up outdoors. Start the mower and make sure that it’s running smoothly and that you can’t feel any unusual vibrations.
If upon starting the engine your lawn mower starts to smoke, refer to our guide Lawn Mower Smoking: Reasons Why & How to Fix for a list of potential causes and fixes. If your mower fails to start at all, instead refer to the information provided in Lawn Mower Starts then Dies: Reasons Why & How to Fix.