Preparing Soil for Sod: A Step-by-Step Guide
Sod installation can be costly and time-consuming, regardless of whether you carry it out yourself or have a professional do it for you. You therefore want to get the most out of the resources you spend on the process, to ultimately achieve a lush, new lawn. You can take a few measures to prepare the planting area and create the ideal environment to support the establishment of your new sod.
To prepare your soil for sod, you should kill any weeds and remove debris from the planting area, before grading, tilling, testing, and amending the soil. You can also take this opportunity to install an irrigation system if you don’t already have one. All of these activities will get the planting area in optimal condition to accept the new sod.
Can You Lay Sod Over Existing Grass?
No, it isn’t possible to lay sod over existing grass without first removing it. If you aren’t already working with bare soil, you’ll need to remove the grass as part of your preparation to lay sod in your yard.
Laying sod over existing grass is a bad idea for a few reasons. If you lay sod over existing grass, the sod will have a harder time growing roots into the soil. Unable to grow proper root systems, your new sod will likely turn yellow and die off in the weeks following installation.
Even if the sod survives, it will most likely leave you with an uneven lawn, especially if you only lay the sod in certain areas. The resulting lawn will appear choppy with some parts being higher than others. On top of this, your sod is more susceptible to weed growth if you skip the removal of the grass and weeds currently growing on the lawn.
Can You Install Sod Yourself?
Unless you have experience with the process, it’s best to have a professional install your new sod. It’s possible to lay sod as a DIY job; however, you risk wasting your money and time if you attempt to carry this process out yourself.
With that said, there’s a lot you can do to prepare your soil for sod installation before the professionals take over. Carrying out some simple steps yourself will get the planting area in best condition for your sod installation. We go through all of the steps you can take to prepare your soil for sod in the following section.
How to Prepare Soil for Sod
Before you lay sod or have the professionals lay it for you, follow these steps to best prepare your soil for sod installation.
1. Remove Existing Grass
If you’re working with a planting area that’s already free of grass and vegetation, you can skip this step. However, if the planting area contains existing growth, you’ll need to remove the grass prior to laying your new sod.
There are several different methods you can use to remove grass from your lawn. These include digging up the grass, smothering the grass, or using a selective herbicide to kill the grass. Alternatively, you could remove the grass using a sod knife or sod-cutting machine.
2. Kill Weeds
You will also need to rid the planting area of weeds before you can lay your sod. If you neglect to do so, the weeds will grow up through the new turf soon after you lay it. Hand pull any visible weeds or treat the area with an appropriate herbicide.
3. Install Irrigation System if Desired
If you don’t already have one, this is a great time to install an irrigation system into your new lawn. Installing one now will save you the hassle of tearing up your turf later.
An in-ground irrigation system will also ease the process of watering your new sod after you install it. There are many different types of sprinkler systems, many with the ability to set a timed function for the sprinklers to water your new lawn automatically at set times throughout the day. Take this opportunity to install a new irrigation system to ease the necessary aftercare after laying your sod.
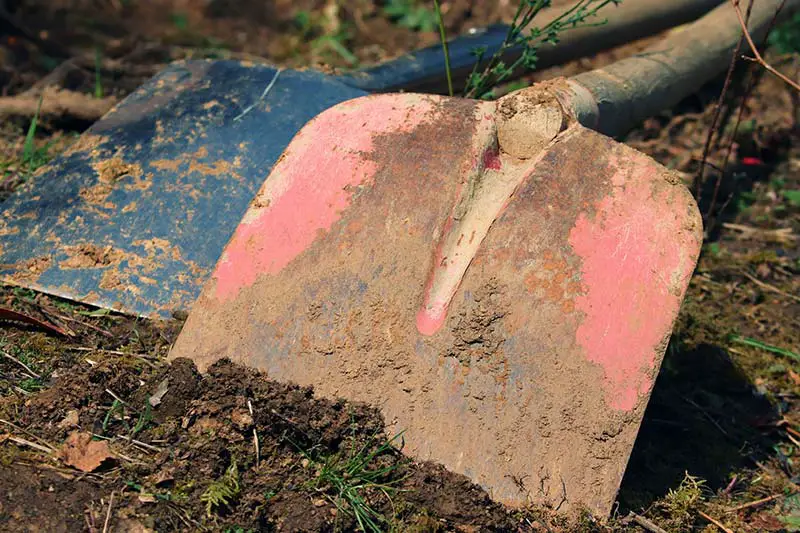
4. Remove Debris
Remove all debris from the bare soil in the planting area. Look for stones, large rocks, wood, buried stumps, and any other debris that measures more than a couple of inches in diameter.
5. Rough Grade Soil
After clearing the planting area, you should begin grading your soil by carrying out a ‘rough-grade’. Soil grading is vital to ensure that your new lawn drains properly.
If you’re working on a smaller area, it’s possible to rough grade your lawn yourself using hand tools. Make sure to slope the grade of the lawn away from the foundations of buildings to allow water to drain away from these structures. If your lawn is particularly large, it may be better to hire a professional company to carry this out for you.
After grading, level the soil to even out any dips or mounds in the soil surface. This process may reveal more debris for you to remove before moving on to the next step.
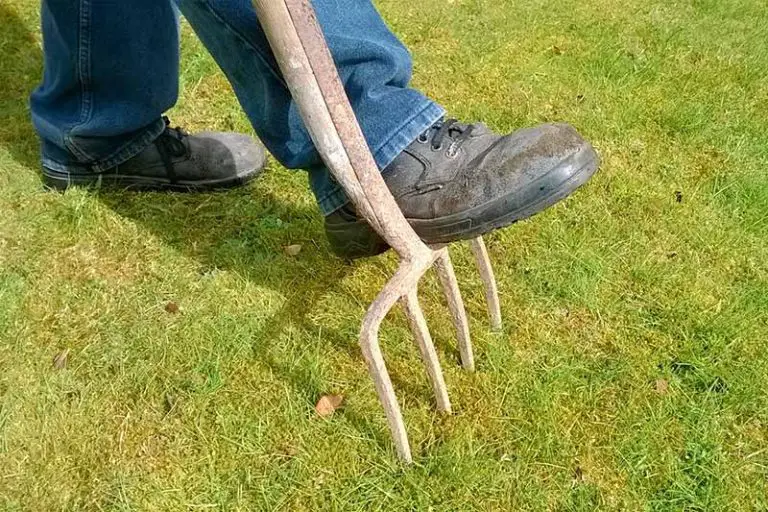
6. Till Soil
Before adding any topsoil or amendments, you should initially till the soil. This will help to break up soil compaction, thus improving the movement of water, air, and nutrients in the turf. It will also allow the sod to grow deep roots easily down into the soil.
If you plan to add topsoil, till the soil to a depth of about 2 inches. If you aren’t going to add topsoil, you should instead till the soil to a depth of 4 to 6 inches. The best tool for this purpose is a rototiller – we recommend using this electric rototiller from SunJoe.
7. Add Topsoil
While this step isn’t entirely necessary, it’s recommended to add a layer of new topsoil and compost to the planting area. This layer will add nutrients and organic matter to the planting area for the sod to draw upon after being laid.
Select a high-quality topsoil and compost, and add them in a layer of a few inches to the planting area. Work the amendments into the top 2 inches of soil. Make sure to use a fine-screened compost for this step.
8. Test Soil
Before adding any further amendments, it’s best practice to test your soil. A soil test will reveal the current pH and nutrient content of the planting area; from these results, you can pick which fertilizer or pH-adjusting materials to add to the soil before laying your sod.
If you want to carry it out yourself, you can use an at-home soil testing kit to conduct a DIY soil test, such as this kit from Luster Leaf. These kits are affordable and easy to use, and will provide you with basic information on the current condition of your soil. For more accurate results, the alternative method is to have a professional lab test your soil for you.
9. Choose Amendments for Soil
Depending on the results of your soil test, you can then determine which amendments to add to your soil. This may include a fertilizer to replenish any missing nutrients, or a pH-adjusting material to raise or lower the soil pH.
The ideal pH range for grass growing is a pH level between 6.5 and 7.0. If your soil test indicates that your soil falls out of this range, you’ll need to amend the soil with a pH-adjusting material. A pH lower than 6.5 can be remedied with a material to raise soil pH, such as sulfur. For pH levels above 7.0, a material to lower pH will be necessary, such as agricultural lime.
Your soil should also contain enough of the primary nutrients that grass needs to grow, these nutrients being nitrogen, phosphorus, and potassium. If your soil test reveals that the planting area lacks any of these nutrients, you can replace them with the addition of a suitable fertilizer.
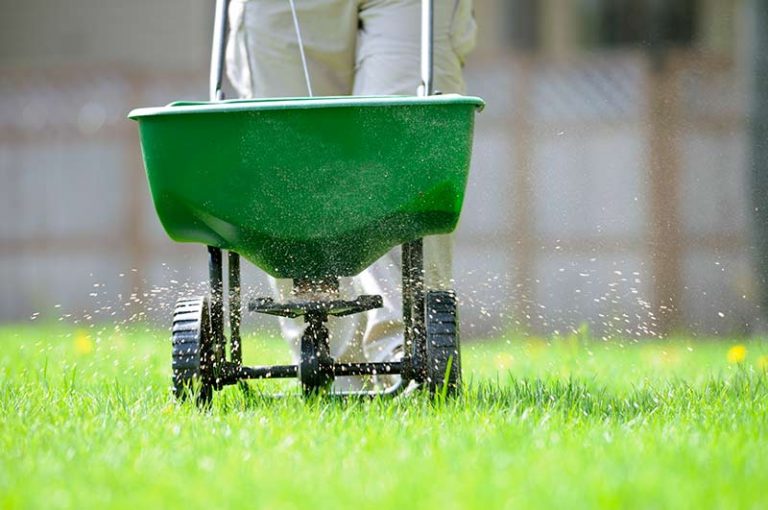
10. Till Amendments into Soil
After choosing your amendments, the next step is to till the fertilizer and/or pH-adjusting materials into the planting area.
Even if the results of your soil test show that the soil contains a good balance of nutrients, your new sod will benefit greatly from an application of starter fertilizer at this stage. Starter fertilizer contains the best fertilizer ratio of nutrients for new grass, i.e., it has a higher amount of nitrogen and phosphorus, and little potassium. This fertilizer is most effective when applied before laying the sod.
Till the amendments into the soil to a depth of 1 to 2 inches.
11. Finish Grading Soil
Finish grading your soil, maintaining the contours and level of your original rough-grade. The final grade of the soil should fall roughly ¾ inches lower than the nearby driveways and sidewalks.
12. Settle Surface of Soil
Finally, finish the preparation of your soil by rolling a lawn roller over the entire planting area. This will help to even out the soil surface, ensuring that your sod will lay as flat and even as possible. Take one last look over the planting area to check for any remaining dips or mounds that need to be leveled.
Next Steps After Preparing Soil for Sod
Following the steps in the previous section, the planting area will now be ready for your new sod. You’ll now be able to schedule the delivery of your sod before you or your hired lawn care professional can lay it.
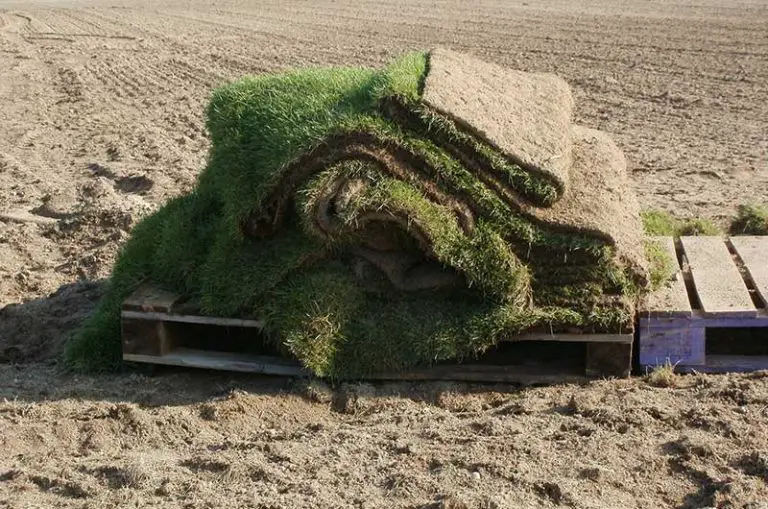
Schedule Sod Delivery
Schedule your sod delivery for the day you plan to install it. It’s crucial that you lay the sod the same day that it arrives, and as soon as possible on that day; leave it too long, and the sod will simply dry out and die before you get to install it.
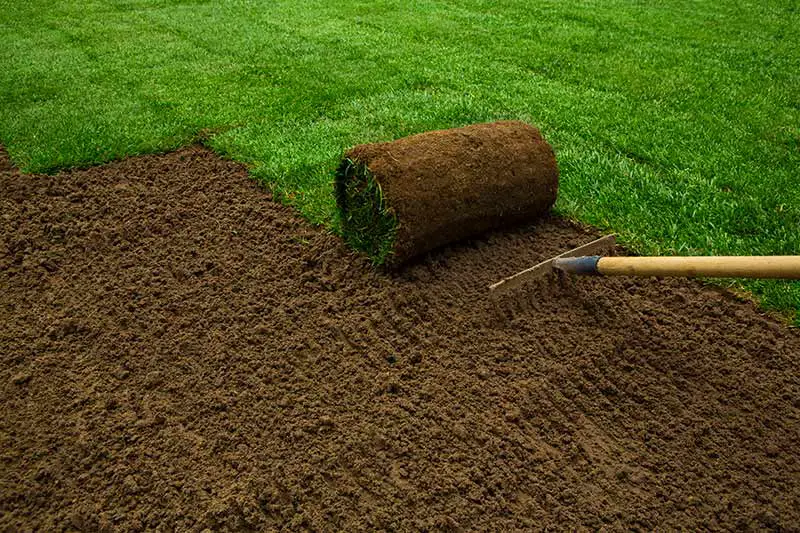
Lay Sod
As soon as the sod arrives, you or your lawn care professional should get to work laying it in the planting area. As we’ve explained, you could lay the sod yourself; however, unless you have experience with this process, it’s probably best to leave this to a professional to carry out. Incorrect installation may leave you with a failed or uneven lawn, rendering all of the money and effort you’ve put into the process so far a waste.
Continue with Sod Aftercare
Once installed, it’s important to keep up with the proper aftercare for your new sod in the following weeks. This involves watering the sod twice per day for 2 to 6 weeks until the sod has taken root. Try to avoid all traffic on the lawn over these weeks to avoid damaging the sod’s newly-forming roots. You can use your new lawn as normal once the sod has completely taken root.