Preparing Soil for Grass Seed: A Step-by-Step Guide
When planting new grass, the seeding process does not begin with sowing your seed. There are several steps you must take before planting in order to prepare soil for grass seed. By carrying out these preparation activities, you’ll create the ideal growing conditions for the successful germination of your new grass.
Soil prep for grass seed involves clearing the planting area, removing existing grass and weeds, and aerating the soil. You should then test the soil’s pH and nutrient levels to understand which amendments you need to use on the lawn; this may include a pH-adjusting material or a certain fertilizer to replace any missing nutrients.
Why is it Important to Prepare Soil for Grass Seed?
By taking the effort to prepare your soil for grass seed, you will maximize the results of your seeding efforts. Preparing the ground for grass seed involves several practices to create the ideal growing conditions for your new grass. As a result, the well-prepared planting area ensures the fastest development and highest yield from your grass seed.
How to Prepare Soil for Grass Seed
1. Clear Planting Area
You should start off by clearing the planting area that you’re preparing for seeding. You need to get rid of any debris in the planting area that may interfere with your equipment or seedlings.
Walk through the planting area and remove any rocks, stones, sticks, and other large pieces of debris that you see. If you’re working on a lawn with existing grass, you can use a rake to gather up this debris; this will also serve as a form of dethatching to remove old dead grass from the planting area. If you’re seeding onto bare soil, till the soil using a rototiller; this will turn up more buried stones and rocks that you can then remove from the planting area before seeding.
2. Remove Existing Grass
You can skip this step if you’re overseeding an existing lawn. If you’re growing a new lawn, you’ll need to remove the existing vegetation in preparation for seeding.
There are several ways to remove grass from an old lawn. When preparing the ground for grass seed, it’s best to opt for a natural method of removal; methods include manually digging up the grass, solarizing the soil, or using a sod cutter. You can remove grass using a non-selective herbicide, but this isn’t the best method to use right before planting new grass seed. Remove all vegetation from the planting area using a natural method suitable for the size of your lawn.
3. Remove Weeds
Weed removal is also an essential step to prep ground for grass seed. Aggressive lawn weeds will rob essential nutrients and water from your grass, choking out your new seedlings. You need to remove the weeds so your grass plants have access to the essential elements they need to grow.
For smaller-scale infestations, you can get rid of most weeds by hand-pulling. Make sure you remove all parts of the weeds and their root systems from the soil to prevent regrowth. You could also treat the weeds with a DIY natural weed killer.
For larger infestations, it may be necessary to treat weeds with a chemical weed killer. You should only use chemical treatments as a last resort when all other organic options have failed. Remember to leave enough time between weed killer application and seeding to prevent harming your new grass.
You should initially identify the type of weed you’re treating, as certain weeds require particular control measures. For instance, treatments designed for grassy weeds such as nutsedge and crabgrass will be ineffective on broadleaf weeds like dandelions or chickweed. Ensure you use a suitable method of control for the specific weed you’re trying to remove.
4. Aerate Soil
Even if your soil isn’t compact, aerating before overseeding or seeding your lawn can be highly beneficial for your new seed. Although you can overseed without aerating, it’s best practice to do so anyway to fully prepare the ground for grass seed.
There are two methods of aeration you can use on your soil. The first method is spike aeration, which utilizes tools like lawn aerating shoes or a pitchfork. Spike aeration is not the most effective aerating method and may actually worsen issues with compaction in soil. The better method is to core aerate your lawn using a core aerator; this is a tool with a long handle and hollow tine that pulls plugs of soil from your lawn.
After using your chosen aerating tool, your lawn will be left with lots of holes across the soil surface. These holes create new pathways for air, water, and nutrients to better circulate around the turf. When overseeding or seeding your lawn, a particular benefit of aeration is that it allows amendments and seed to fall deeper into the soil. This will improve the effects of your amendments; it also improves seed-to-soil contact while protecting your seed from being blown or washed away, or eaten by birds.
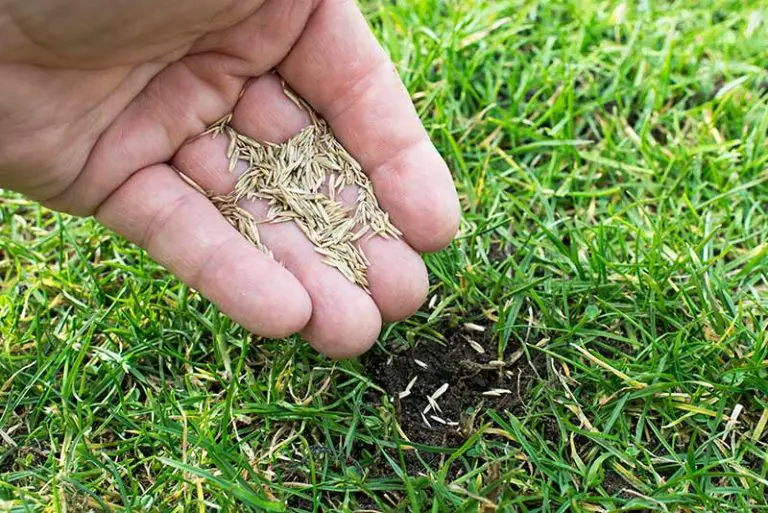
5. Test Soil pH and Nutrients
Before adding any amendments to your lawn, you first need to understand its current pH and nutrient content. This is one of the most important steps toward creating the ideal growing conditions for your new grass.
A soil test involves taking a sample of your soil and either testing it yourself or sending it to a professional testing lab. The results of this test will reveal your soil’s current pH level and nutrient content. From this information, you can then choose the ideal amendments to improve growing conditions in the soil in preparation for grass seed.
Conducting a DIY Soil Test: Your first option is to carry out a DIY soil test at home. The easiest way to test your soil is by using a soil test kit; these kits are low-cost and easy to use, and will produce basic information about the pH and nutrient content of your soil.
Sending a Soil Sample for Professional Testing: The alternative option is to send a sample of your soil to a laboratory for professional testing. This is a service likely offered by your local extension office, either for free or a small fee. The lab will test your soil sample for you, before sending you the results of the test. This detailed report will give you accurate information on your soil’s current pH and nutrient content.
6. Adjust Soil pH
From the results of your soil test, you should now have an idea of the current pH level in your soil. It’s important that your soil falls in the ideal pH range for grass growing; this is a pH level of 6.5 to 7.0. If your soil falls out of this range, you’ll need to amend it to prep the lawn for grass growing.
A pH level below 6.5 indicates overly acidic soil. If your soil has a pH level lower than 6.5, you need to amend it with pH-raising materials. The most common substance used to make soil more alkaline is agricultural lime.
A pH level over 7.0 indicates overly alkaline soil. If your soil has a high pH level over 7.0, you’ll need to acidify the soil. You can lower soil pH by adding an acidifying material such as sulfur to the lawn.
Based on the results of your test, choose the appropriate pH-adjusting material for your soil. Till the amendment into the top few inches of the planting area. You can assess whether the amendments achieved the desired effect by conducting another soil test.
7. Fertilize Soil
Your soil test will also indicate the current nutrient levels in the planting area. You can use this information to choose the best lawn fertilizer to replenish any nutrients the area lacks.
Lawn fertilizers come in a huge range of formulations to contain different amounts of each nutrient they contain. The formulation of any given fertilizer is listed as an NPK ratio on the product’s packaging; this value represents the amount of nitrogen (N), phosphorus (P), and potassium (K) in the fertilizer. Your soil test will reveal if the planting area lacks any of these primary nutrients; you should pick a fertilizer with the best fertilizer ratio to suit your soil’s individual needs.
In general, the best type of fertilizer to use is a slow-release, organic fertilizer. While chemical fertilizers are effective and fast-acting, they are worse for the environment and provide no long-term benefits for your lawn. Slow-release organic fertilizers, on the other hand, release their nutrients gradually as they decompose. This will keep the planting area fertilized for a long period of time after the initial application.
Regardless of the results of your test, it’s a good idea to fertilize your soil with a starter fertilizer before seeding. Starter fertilizers are specially formulated to contain the ideal balance of nutrients to support the growth of new grass. These fertilizers are ideal when preparing soil for grass seed; they trigger the germination of your new seed and provide it with the right nutrients for its healthy establishment.
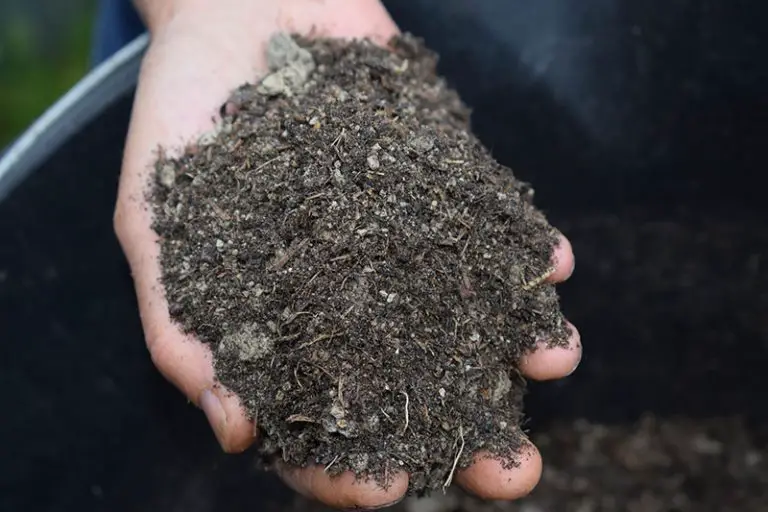
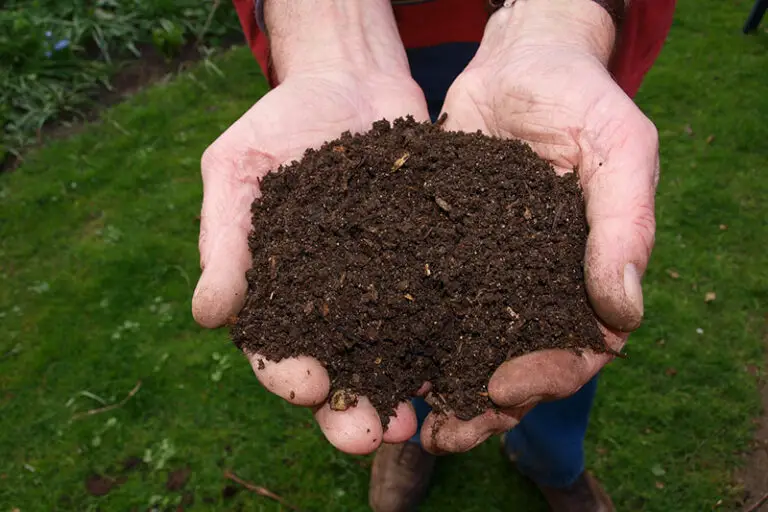
8. Add Organic Matter to Planting Area
Grass plants thrive when growing in soils rich in organic matter and lawn-friendly organisms. To further improve conditions in the planting area, you can amend the soil with a layer of organic matter.
Substances that will add organic matter to soil include compost, well-composted manure, peat moss, pine needles, and other types of organic mulch. Either add a top-dressing of your chosen material or till it into the top 6 to 8 inches of the planting area. Not only will this improve the fertility of the soil, it will also help to improve soil drainage and aeration; this is particularly beneficial for those trying to improve clay soil.
9. Install Irrigation System if Desired
This stage of the process is a great time to install an irrigation system in the planting area if you don’t already have one.
There are many types of sprinkler systems that you can install in your lawn to keep your grass well-watered. Watering grass seed is a particularly meticulous process that will require a lot of labor if carried out manually; an in-ground irrigation system will make it easy to provide your grass seed with the right amount of water throughout these crucial stages of growth.
10. Grade and Level Planting Area
You should grade and level the soil as a final step to prep the ground for grass seed.
At this stage in the process, you will have finished adding your different amendments to the planting area. It’s likely that the soil will be uneven and ungraded after the previous steps; you will therefore need to grade and level the soil in the planting area before seeding.
When you grade the soil, make sure that the grade slopes downward away from the foundations of your property. This is essential to ensure that water from rainfall or irrigation drains away from your property, protecting your buildings from water damage. You should then level the soil by filling in dips and flattening mounds to create a flat, even seeding bed.
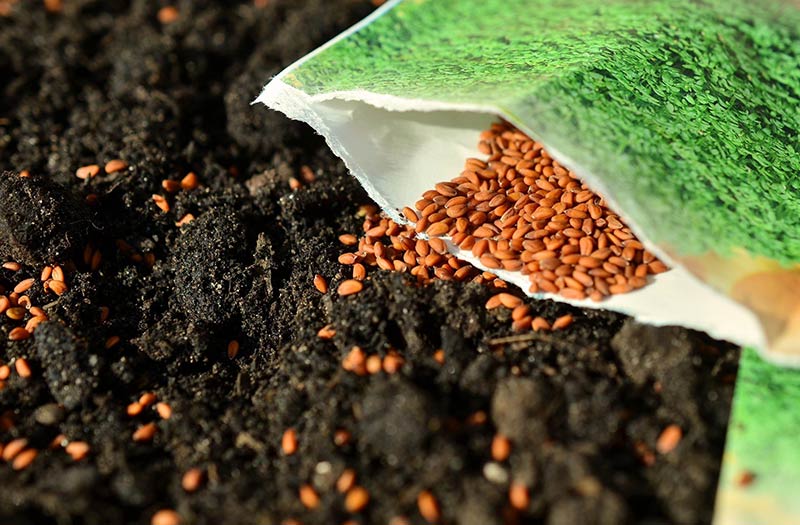
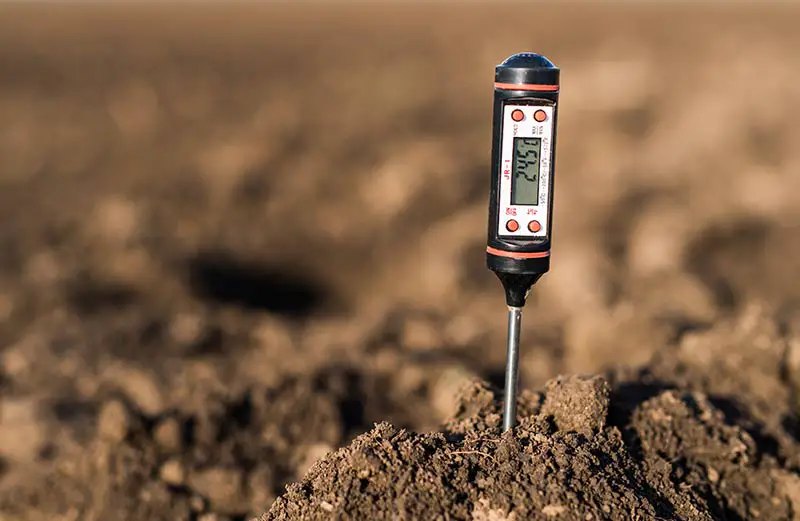
11. Wait for the Best Time to Plant Grass Seed
For the fast and successful germination of your grass seed, it’s crucial to plant at the right time of year. The best time of year to plant grass varies depending on the type of grass you’re trying to grow.
All grasses fall into one of two categories, being either cool-season or warm-season. These two grass types differ in their growing habits; cool-season grasses grow most actively in cooler climates and lower temperatures, while warm-season grasses thrive in warmer climates. You need to plant your grass seed at the correct time of year in accordance with its active growth period.
If you’re planting a cool-season species, the best time to plant grass is in the spring or fall. Plant your seed when soil temperatures reach between 50 and 60°F.
If you’re planting a warm-season species, the best time to plant grass is in the late spring to early summer. Plant warm-season grasses when soil temperatures are somewhere between 64 and 100°F.