Fertilizer Burn: How to Fix Fertilizer Burn on Grass
When it comes to fertilizing your lawn, less is definitely more. Applying too much fertilizer or fertilizing too often can quickly lead to fertilizer burn, especially if you opt for a chemical or quick-release fertilizer. Depending on the level of damage, it is possible to fix fertilizer burn on grass.
The best way to fix fertilizer burn on grass is to remove and flush out the excess fertilizer as soon as you notice the damage. If the grass is severely burnt down to its roots, you may need to replace the grass by reseeding or laying sod.
Read through this guide to understand what causes fertilizer burn and how to fix it on your lawn. We have also included some tips on how to avoid fertilizer burn on your grass in your future fertilizations.
What is Fertilizer Burn?
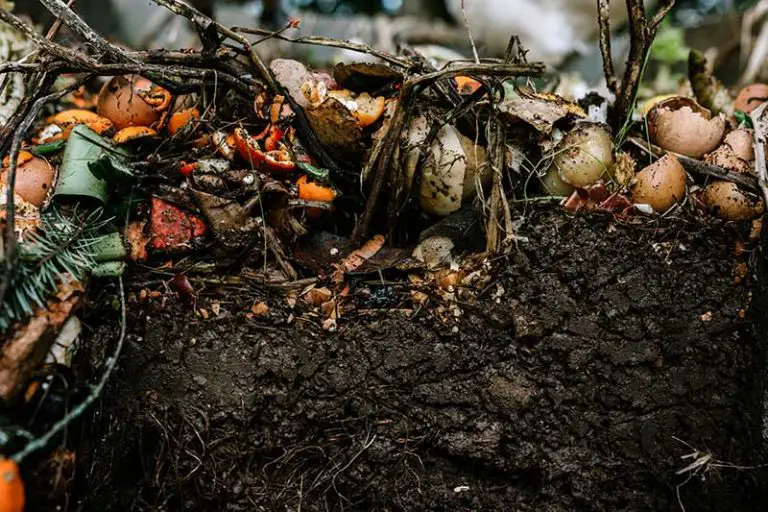
Fertilizer burn is the name given to the damage of plants or grass caused by overfertilization.
As you probably already know, chemical fertilizers contain the primary nutrients needed by plants to grow. This includes nitrogen (N), phosphorus (P), and potassium (K) in varying amounts, depending on the type of fertilizer. In addition to the nutrients, chemical fertilizers also contain mineral salts.
Over time, as you apply fertilizer to your lawn, these salts build up in the soil. When you apply too much fertilizer or fertilize too often, the build-up of salts in the soil rapidly increases. This abundance of salts draws moisture from the soil, causing the soil and nearby plants to become overly dehydrated. The dehydration from the salt build-up ultimately results in fertilizer burn.
What Causes Fertilizer Burn?
Using the wrong type of fertilizer, or applying the fertilizer to your lawn incorrectly are the main causes of fertilizer burn. The damage can be exacerbated by hot weather or could be worse in areas frequented by pets.
Type of Fertilizer
When choosing the type of fertilizer to use on your lawn, you have the option of using a chemical or organic fertilizer. Organic fertilizers are made from organic, naturally occurring materials. While they are slower to act than chemical fertilizers, they are far more gentle on the grass and typically do not cause fertilizer burn.
Inorganic fertilizers, on the other hand, are made from a synthesized mixture of chemicals. They come in a format readily taken up by plants, often being in water-soluble or quick-release formulas. This type of fertilizer works quickly to release its nutrients and salts, making it more likely to cause fertilizer burn to grass if you overapply it.
Incorrect Application of Chemical Fertilizer
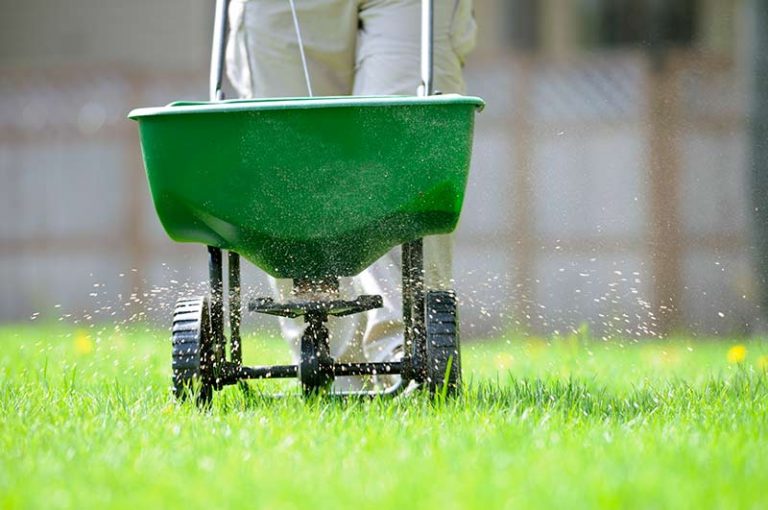
Fertilizers are highly beneficial for lawns when applied correctly in the right quantities and at the right time. You should only fertilize your lawn a maximum of four times throughout the growing season; any more than this will overload the soil with too much nitrogen and other nutrients that it doesn’t need.
Also, all fertilizers are different and come with their own rate of application. When applying fertilizer, it’s crucial to check the application rate for your chosen fertilizer and to set your spreader accordingly. It’s also important to know how to apply fertilizer using the best method that avoids over or under-fertilizing spots of your lawn.
Warm Weather
Fertilizer burn is caused by the dehydrating effects of the salts contained in chemical fertilizer. Therefore, you’re most likely to face this issue with your plants or grass over summer. Your soil will already be in its driest state at this time of year, leaving it more susceptible to the drying effects of chemical fertilizer.
Pet Urine
Fertilizer burn on grass can be exacerbated if your lawn is used by any pets. Pet urine, particularly from female dogs, can weaken and burn grass on its own; with the addition of fertilizer, this can lead to patches of severely burnt grass. If you’re a pet owner, it’s likely that you’ll notice the worst patches of fertilizer burn in the parts of your lawn that your pet frequently urinates.
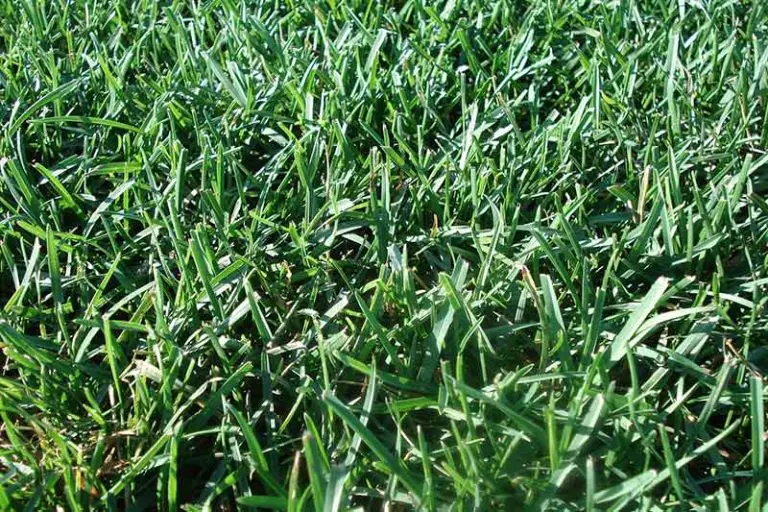
What Does Fertilizer Burn on Grass Look Like?
The main symptom of fertilizer burn on grass is discoloration of the grass blades. It has the same effect on grass as underwatering, which causes the grass to turn yellow or brown, before dying off completely. The discoloration ranges in severity depending on the extent of the burn.
Fertilizer Burn Symptoms on Grass
- Yellow tips on grass blades
- Grass blades turned yellow or brown completely
- Shriveled or dried out grass
- Dead grass
- Damage in concentrated strips or patches
Fertilizer burn on grass starts at the tip of the grass blade and works its way down the plant. Initially, the tips of the grass will start to turn yellow and shriveled. The discoloration will spread down the blade before the whole grass plant turns yellow or brown. When the grass plants die off, the blades turn completely brown, and they will feel dry and crunchy.
Dehydration from underwatering typically affects the whole lawn. With fertilizer burn, the damage will appear in streaks or concentrated patches. You may notice that the burn has occurred in strips across the lawn where you have overlapped areas during application. Alternatively, it could appear in patches where you accidentally spilled fertilizer or if you forgot to clean up after fertilizing.
The damage appears similar to the symptoms of some lawn fungus infestations, such as brown patch lawn disease. You may need to investigate more closely to determine the cause of the damage; however, if you have recently used a chemical or fast-release fertilizer on your lawn then this is likely the culprit.
How Soon Does Fertilizer Burn Happen After Fertilizing?
You will likely notice the symptoms of fertilizer burn within a day or two of fertilizing if you used a liquid formula. If you have used a slow-release fertilizer, symptoms may take up to about two weeks to develop on the lawn.
Can Grass Recover From Fertilizer Burn?
Depending on the level of damage, grass can recover from fertilizer burn. As long as the grass is still alive, you should be able to revive your grass back to health. You can reverse fertilizer burn using the steps in the following section of this article.
Unfortunately, if your grass has turned brown and crunchy (i.e. it’s dead) then there’s little hope of reviving your grass. Instead of trying to save the old grass, you should instead focus your efforts on reseeding the damaged patches with new grass seed. We have also detailed this process later in this article.
How Severe is the Fertilizer Burn on My Lawn?
You can judge the severity of your fertilizer burn by analyzing the level of discoloration on the grass blades.
Mild Fertilizer Burn: The grass is slightly yellow to brown on the tips or entire blade, with discoloration appearing in streaks or patches. The grass blades still feel flexible to the touch and won’t break if you bend them. It’s possible to reverse fertilizer burn on grass in this state.
Severe Fertilizer Burn: The grass in affected patches is brown or tan completely. The grass blades are brittle and dry to the touch and will break if you bend them. It’s unlikely that you will be able to reverse fertilizer burn if your grass is in this state.
How to Fix Fertilizer Burn on Grass
Follow these steps to fix fertilizer burn on grass that is mildly burnt. The sooner you catch the burn, the more likely it is that your grass will recover.
Note: Regardless of the extent of the damage, you should still follow the rest of the steps in this section. Even if you’re certain the grass is dead, you need to flush out the fertilizer in the soil before replacing the grass.
1. Remove Excess Fertilizer if Possible
If you have used granular fertilizer and it’s still visible on the grass, remove as much of it as possible. Doing so will help to prevent any further damage from occurring.
You can use a broom or vet/dry vac to make this process easier. This step won’t be possible if you used liquid fertilizer or if your lawn has already absorbed the fertilizer.
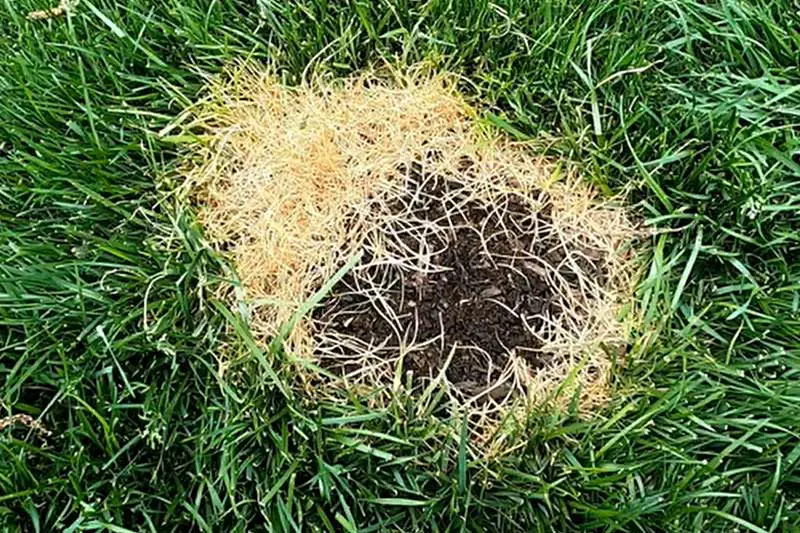
2. Check Grass Roots
Next, you should check your grass’ roots to assess the extent of the damage from the fertilizer burn. The damage starts at the vegetative level of the grass, so your grass roots may still be healthy despite the discoloration of the blades; healthy roots mean that your grass has a good chance of recovering from the damage. Root damage is less likely if you managed to catch the fertilizer burn early on.
Lift up a small cut-out section of your turf and take a look at the grass roots. If they look healthy and moist, your grass will fully recover with some watering. If the grass is brown and crispy down to the ends of its roots, it’s less likely that you will be able to revive it.
3. Water Damaged Grass
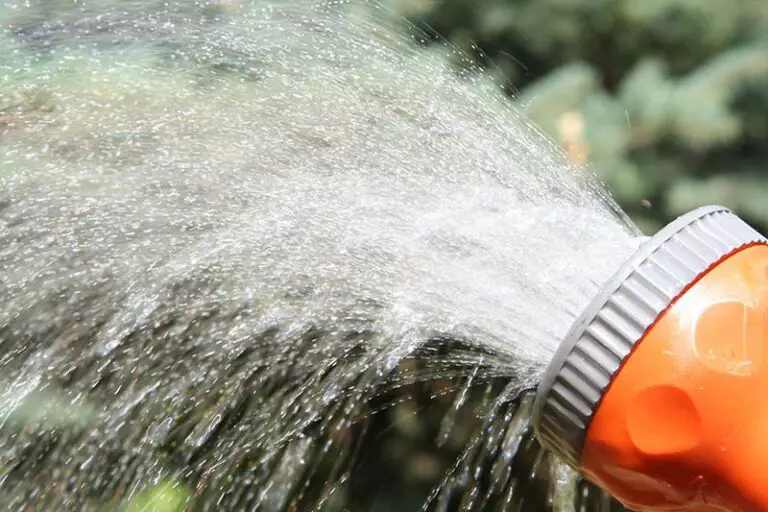
You’ll need to water the area thoroughly to begin the recovery process. Watering helps to flush the nutrients and minerals through the soil, decreasing their concentration on your grass plants.
On the first day, water the grass until the soil is completely saturated. You should water the entire lawn, not just the damaged areas, to prevent the chemicals from leeching into healthy turf. Using a sprinkler system is the best way to water your lawn as evenly as possible.
Water the lawn daily for at least a week following that, adding about an inch of water each time. Ensure that you carry out your watering sessions early in the morning, as this is the best time to water a lawn.
4. Wait, then Check Roots Again
If your roots are healthy, you should see new grass growth throughout the damaged area within a few weeks.
If you see no regrowth, or the regrowth is sporadic or thin, this is a surefire sign that the roots are dead. This means that there is no chance of reviving the grass with watering alone, and you will need to replace the areas with new grass. We have gone through this process in the next section.
How to Replace Dead Grass from Fertilizer Burn
After following the steps in the previous section, you may have determined that your grass is beyond repair. We have gone through the basic steps of replacing your lawn by overseeding or laying sod below.
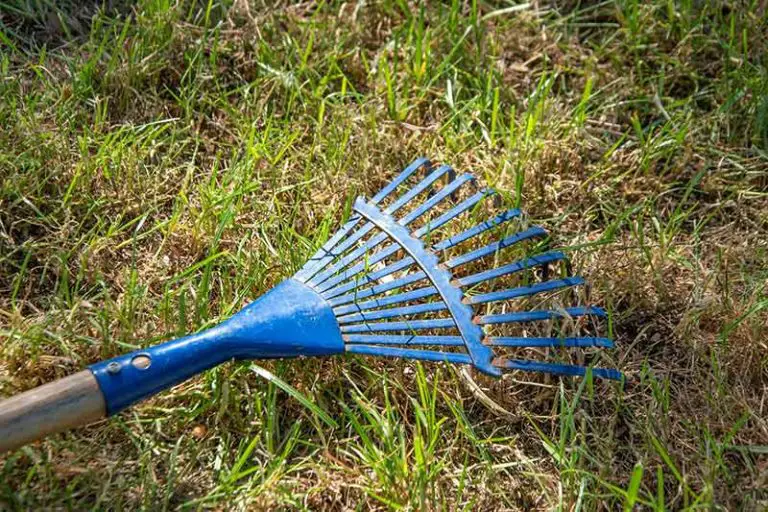
1. Remove Dead Grass
Begin by removing the grass from the areas that have fertilizer burn. For small patches of damage, you can use a rake to rake up the dead grass. Raking the lawn will also help to pull up thatch, which allows water to better permeate to the living grass.
If the damaged area is too large, you should instead use a sod cutter to cut the dead turf. You can then roll up the turf like a rug to get rid of it.
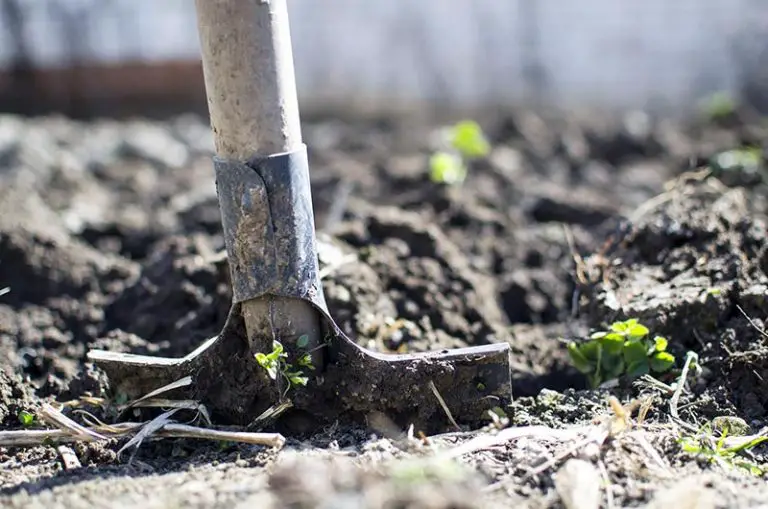
2. Prepare Soil for New Grass
You should now prepare the soil in the planting area for the new grass. Your soil should be free of the fertilizer that caused the burn after following the steps in the previous section. You now need to loosen the soil by tilling and aerating the lawn. This helps to reduce soil compaction and allows the new grass better access to water and nutrients.
Once you have tilled and aerated your soil, it will be in the ideal condition for the best activities to do after aerating, i.e. fertilizing and overseeding. First, test the soil to find out its pH and nutrient levels. You can do this easily yourself using an at-home pH test kit. Use the test to determine whether you need to raise or lower your soil pH to get it in the ideal range for your grass species. If your soil is lacking in any nutrients, you may also need to add soil amendments at this stage.
Finally, level the soil. Use the back of a rake and drag it across the soil surface to create an even planting bed.
3. Overseed or Lay New Sod
After preparing the planting bed, you will now be able to replace your grass. You can do this by either laying new sod or reseeding the area with grass seed.
Laying Sod
Sod is the fastest fix as it provides you with an immediate lawn. However, it’s also the most expensive. This is the best option if large areas of your lawn have died off.
All you have to do is lay the sod on the leveled soil in the planting area. Use a sod knife to cut the pieces down and fit them at the perimeter of the soil. Improve the sod to soil contact by walking or using a lawn roller across the newly sodded areas. Make sure that the sod is laid flat and evenly.
Reseeding Lawn
Your alternative option is to reseed the lawn. This method is much cheaper than laying sod, but requires a bit more patience, as you will have to wait longer before you have a full lawn again. This is a better option if your lawn only has smaller patches of damage.
Purchase the best seed for overseeding your lawn, i.e. one that’s compatible with the rest of your grass and your area. Refer to the label of your chosen seed to find out its recommended spreader rate and set your spreader accordingly. A broadcast spreader will enable you to cover more of the lawn quickly; a drop spreader provides more control over where you’re seeding but will take a longer time to cover the same area.
Make sure to cover the seeds with straw or garden fabric after you’ve sowed them. Uncovered seeds will grow, but they are vulnerable to the elements and may be eaten by birds.
4. Water New Grass
Whether you’ve opted to install new sod or reseed, you now need to give your new grass a good watering.
Watering New Sod
Water your new sod within 30 minutes of installation, adding enough water to moisten the top 3 to 4 inches of soil. This is essential to prevent the sod from drying out and dying. You should then continue to water the sod daily for the next week, doing so early in the morning and the late afternoon. Make sure to only add enough water so that the top ½ inch of the soil is moistened.
On the 9th day after installation, lift up a corner of the sod. If you have been watering correctly, you’ll be able to see new white roots starting to knit into the soil. Gradually reduce your water sessions to one session per day, adding enough water to moisten the soil to ¼ inch. Around day 20 after installation, you can establish your regular watering routine by adding 1 inch of water per week. Your sod lines should disappear after about 4 to 6 weeks.
Watering New Grass Seed
Water your new grass seed immediately after you sow it, adding enough water to moisten the top few inches of soil. From this point on, you will need to maintain a consistent level of moisture in the seeding area.
How often you water the seed will ultimately depend on the weather conditions in your area. If you’re in an area or season that isn’t seeing much rainfall, you’ll need to water the seeding area twice per day. The top two inches of soil should be kept consistently moist for the first week after seeding. Keep monitoring the moisture in the soil throughout the day and add water as necessary.
5. Mow and Maintain New Grass
For both sod and new grass seed, you need to wait until the grass plants have fully rooted before attempting to mow for the first time. This first cut is important as it helps the grass to develop deeper roots. However, cutting the grass too soon or too short will stress the new grass plants out.
Wait for the grass blades to be about 3 to 4 inches in height before mowing your new grass. You will be able to mow new sod about 14 days after installation. Leave the grass clippings on your lawn to use them as natural nitrogen-rich compost, or bag them to dispose of them or use them elsewhere around your home.
Continue to maintain your new grass following your regular mowing, watering, and fertilization schedule.
How to Avoid Fertilizer Burn on Grass
Fertilizer burn is easily avoidable by following the tips provided below. The key is being careful with applications and using the right type of fertilizer for your grass.
Fertilize at Right Times
Established lawns only require 2 to 4 fertilizer applications throughout the year. Fertilizing any more often than this will likely lead to recurring instances of fertilizer burn. The exact times that you fertilize will depend on the area you live in, but the general advice for your fertilization schedule is as follows:
For established lawns, your first fertilization should be in the early spring between February and April. Fertilize for the second time in the late spring between April and June, and the third time in summer between June and August. Do the final fertilization of the year in the late summer or fall, between August and November.
Apply Fertilizer at Half of Application Rate
We always recommend following the label of your products carefully, but with fertilizer application rates, this is bad advice. It’s best practice to apply your fertilizer at half of the rate that the manufacturer recommends for your chosen product.
If you are experienced with using your product, you can increase this amount as your lawn needs it. However, as an absolute rule, you should never exceed the recommended application rate for your chosen fertilizer.
Be Accurate with Calculations
When working out how much fertilizer you’ll need and your application rate, it’s crucial to be accurate with your calculations. Application rates are based on the area of your entire lawn, which you can find out by multiplying the length and the width of the area.
Take each of these measurements at least twice to ensure you get the most accurate figures possible. Make sure not to include areas where you do not intend on applying fertilizer.
Take Care With Fertilizer Application
Careless applications of fertilizer are one of the biggest causes of fertilizer burn. You should always follow the best method of application for your chosen spreader when fertilizing your lawn.
Be mindful of the hopper on your spreader – this is the part on the underside of the spreader that the fertilizer is fed through. Leaving the hopper open when you stop or turn during application may result in over-concentrated patches of fertilizer on certain areas of the lawn. Take extra care when handling your fertilizer around your lawn, especially when filling or unfilling your spreader. Ensure that the hopper on your spreader is closed before you attempt to fill it.
As an additional tip, try to avoid fertilizing your lawn on windy days. The wind may cause your fertilizer to blow onto already-fertilized areas of your lawn, causing concentrated spots of fertilizer burn. This is a particular problem with using a spray or liquid fertilizer. Only fertilize when the weather is calm, using a heavy large-granule fertilizer if you live in a typically windy area.
Avoid Fertilizing Dry or Stressed Grass
If your grass is already dry or stressed for any reason, avoid adding fertilizer to it. Grass in this state is unable to process fertilizer normally, and adding fertilizer can actually worsen its condition. Hold off on fertilizing the grass until it has recovered entirely from any kind of stress.
Encourage Pets to Urinate in Different Areas
As we’ve explained, pet urine can be a big contributing factor to fertilizer burn on your lawn. It’s typical behavior for animals to pick particular spots on a lawn to frequently do their business. As a pet owner, these are the patches you’re likely to see the worse damage from fertilizer burn.
Try to encourage your pets to urinate in different spots across your lawn to spread out the potential damage. See our article on growing grass with dogs to learn more about having a healthy lawn that both you and your pooch can enjoy.
Use Best Fertilizer For Grass
You should always use the best type of fertilizer for the specific needs of your grass. Every fertilizer is different; some are designed for specific stages of growth, such as starter fertilizer for newly seeded lawns. Others promise additional benefits like quick-greening, drought resistance, weed control, or pest control.
On top of this, different fertilizers contain different ratios of nutrients, the main of which being nitrogen (N), phosphorus (P), and potassium (K). The amount of each nutrient that a particular fertilizer contains will be listed on the packaging as an NPK ratio. For example, a typical NPK ratio for an all-purpose fertilizer is 10-10-10, meaning it contains 10% of each nutrient. You need to choose a fertilizer with an NPK value tailored to your soil’s nutritional needs.
To summarize, there are three main aspects to consider when choosing a fertilizer. You should first identify the grass species on your lawn and ensure that the fertilizer you choose is compatible with it. Then, decide whether you require a fertilizer with an additional treatment such as one of those listed above. Finally, make sure the fertilizer you choose has a suitable NPK ratio for your soil.
Types of Fertilizer that Won’t Burn Grass
The types of fertilizers least likely to burn your grass are:
- Organic fertilizers
- Slow-release formulas
- Granular fertilizers
Both organic and synthetic fertilizers are capable of causing fertilizer burn. With that said, the risk is greatly higher with synthetic fertilizers, or any type of fertilizer described as fast-release. For this reason, the best type of fertilizer to avoid fertilizer burn is a slow-release – and ideally organic – granular fertilizer.
Even though it takes longer for these fertilizers to work, your patience will pay off. Not only do they reduce the risk of fertilizer burn, slow-release formulas keep working to fertilize your soil for longer. This means your grass plants will stay healthy using less of the time, effort, and money you put into fertilization.