How To Connect Two Garden Hoses
Whether you are trying to design a lawn irrigation system, attach a soaker hose, or are simply just trying to help your hose reach a far away recess of your garden, being able to connect two garden hoses can reduce stress whilst gardening and help you avoid spending more money on one larger hose.
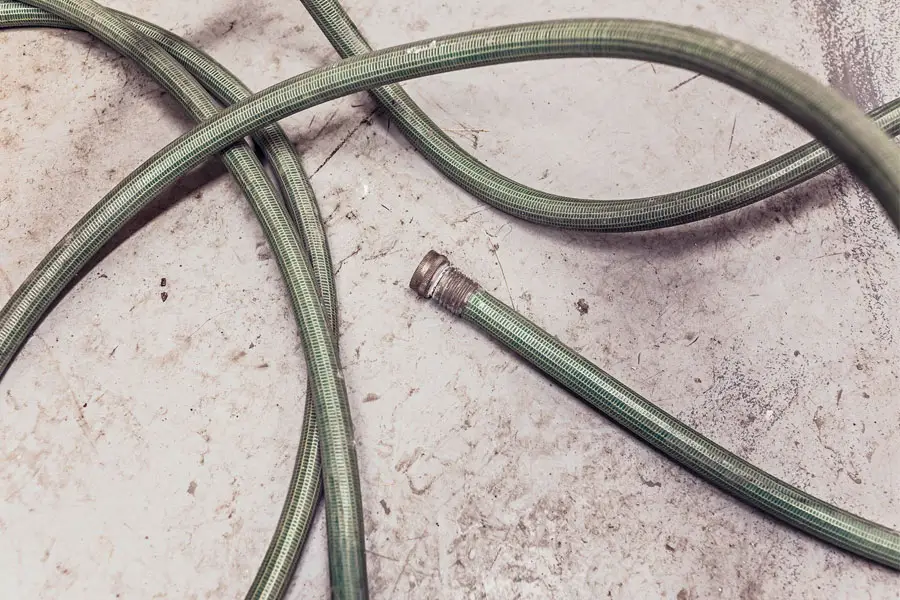
Connecting two garden hoses requires one with a male end and one with a female end. If you have two male-ended hoses, it’s easy to adjust one to create a female end. They should snap together fairly easily and be in working order once this is done.
Why Should I Connect Two Garden Hoses?
Garden hoses have plenty of different uses in and around the home. They can be used for installing irrigation systems, watering the garden, washing automobiles and bleeding radiators.
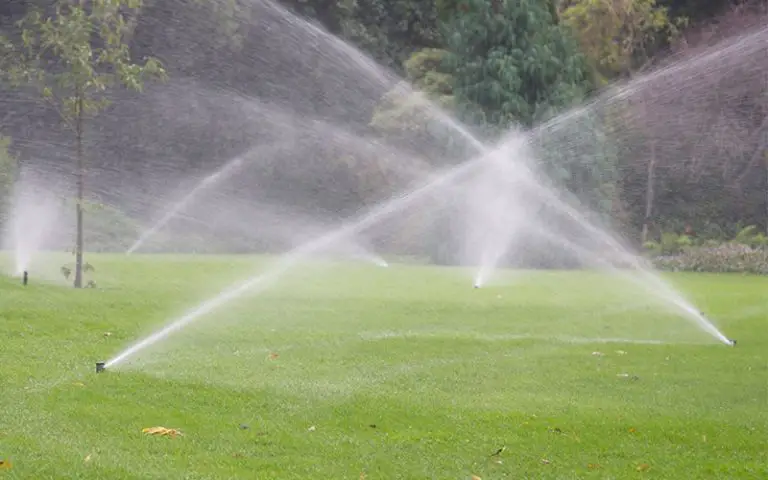
If you have a particularly large property, it’s possible that you’ll struggle to use a standard size hose. Most hoses are available in sizes 12ft-50ft, and sometimes that isn’t enough for some households. Connecting two hoses together can increase the length of your hose, allowing you to travel further with it and give your garden a much more even watering.
Connecting Two Garden Hoses
Garden hoses are available in standardised sizes, being 3/ 8’, 1/ 2’, 5/ 8’ and 3/ 4’ in diameter. The most common available hose diameter is 5/ 8’.
Each standardised garden hose connector should have a compatible “male” and “female” version. The male version has a visible thread on the outside of the connector, whilst the female version should have a thread on the inside. The male end of the connector should screw into the female one.
Most modern garden hoses have a preinstalled male end on their products. This is to make it easier to attach to faucets, irrigation systems etc.
Sometimes, however, it can lead you with two male connectors, meaning you will have to thread a female adapter onto one.
Before connecting two garden hoses, make sure that they are compatible. If not, make sure to purchase the correct equipment in order to connect them.
Your connectors need to be the correct size for your hose. This means that they need to fit the diameter correctly. Most garden hoses are 5/ 8’ in diameter, but your hose may be different and another of the standard sizes listed previously. The diameter of your hose is easy enough to measure using a ruler if you can’t remember what it is.
Replacing a Hose Connector
If you’ve found yourself with two male connectors, it’s an easy enough task to replace one with a female connector. In order to do this, you’ll need the following:
- Female connector that is the correct size.
- A utility knife.
- Measuring tape.
Once your equipment has been gathered, you can begin to replace your hose connector. You can do this by following these steps:
Cut a new edge
Using the utility knife, cut the hose at least 2 inches away from the current edge. This needs to be done neatly and evenly, lest your hose will be in danger of leaking once attached.
Prepare the hose
Make sure that the hose is prepared for the new attachment by making sure that the end is the right shape for the connector. Depending on the quality and material your hose is made from, it could mean soaking it in hot water for a minute or two to soften it up.
Add the new connector
Adding the new connector depends on the type of fittings that you have. There are three different types of connectors available which all do the job.
- Barbed fittings – Barbed fittings are the easiest to install due to the lack of tools needed for installation. They work by latching onto the inside of the hose with their barbed structure, which prevents them from coming loose.
- Compression fittings – Compression fittings work with two parts. They include a metal part and a plastic ring which fastens it. This fitting is the most long lasting type and is best for people who intend on using their double hose as part of an irrigation system.
- Clamp ring fittings – Clamp ring fittings are easy and quick to install. One part goes on the inside of the hose, whilst the other part screws over it to secure it.
Connecting the Hoses
Once a connector has been installed successfully, you can then fully attach the two hoses together. The connectors you have just added to your second hose serve as a female end, so it becomes a matter of simply screwing the male end into the other hose.
Disadvantages of Connecting Two Hoses
Whilst convenient and cost effective, connecting two hoses can also lead to some potential issues. The main issue that this can cause is a loss of water pressure, leading to a lack of water being produced. This could become frustrating, especially if trying to water an area of the garden. There are a few ways to combat this issue.
- Make sure the dual hoses are the right length for the garden. If the hoses are too long, even when you’re standing at the furthest distance in the garden- then it could lead to loss of water pressure.
- Make sure there are no leaks or kinks in the hose – leaks in particular could be the main cause of any loss of water pressure. You can check easily by turning the hose on and checking that there is no water spraying or dripping through the body of the hose.
- Water pressure can be lost through no fault of your own, depending on your location. There are ways to increase water pressure for sprinklers, which also work well for hoses.
Final Thoughts
Connecting two hoses is an easy, quick task that can potentially save you money in the long run. Whether you’re simply upcycling some old hoses or can’t find one the right length for your garden, there’s very little risk involved and the payoff is worth it.