How to Cap Off a Sprinkler Head
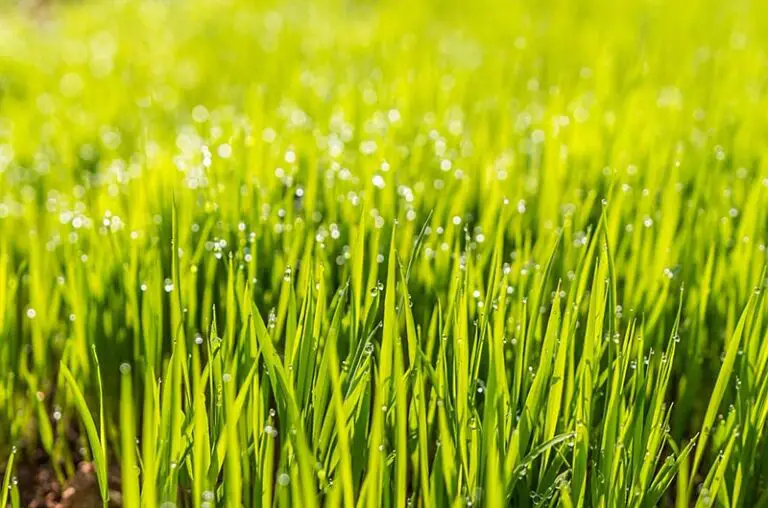
Even though the use of sprinklers can ease your workload around the garden and reduce time spent watering your lawn and flowerbeds, they still require occasional maintenance to ensure that they are working correctly and properly throughout the year.
Capping certain sprinkler heads is a fairly easy process which should be a part of your maintenance routine, especially if you find areas of your garden are being overwatered due to sprinkler head overlap or an increase in water pressure. Capping a sprinkler head only requires a flat cap, a couple of tools and can be done in no time.
What is Capping?
When designing a sprinkler system, it is important to be wary of the amount of water being used by the system. Sometimes, circumstances change or water pressure changes which can lead to areas of your lawn becoming overwatered or underwatered. Capping a sprinkler head is to ensure that specific problem areas are not being overwatered due to the density of sprinkler heads in that area. Capping is often done if a sprinkler system overwaters a specific area of grass, or if the terrain has changed and an area no longer needs as much water as it once did. It is simply easier to cap off a sprinkler head than make permanent changes to the rest of your sprinkler system.
When Should I Cap Off My Sprinkler?
A sprinkler head should be capped off if allowing the sprinkler head to continue as normal leads to an unnecessary amount of water being wasted. This could happen as a result of too many sprinkler heads being added to one zone, or the amount of water being needed to cover an area is decreased due to the garden landscaping changing.
Capping can also be done as an additional step when winterizing your sprinkler system to prevent any dirt or insects from making their home inside your sprinkler heads. Caps can add another layer of protection to your sprinklers during times of unuse.
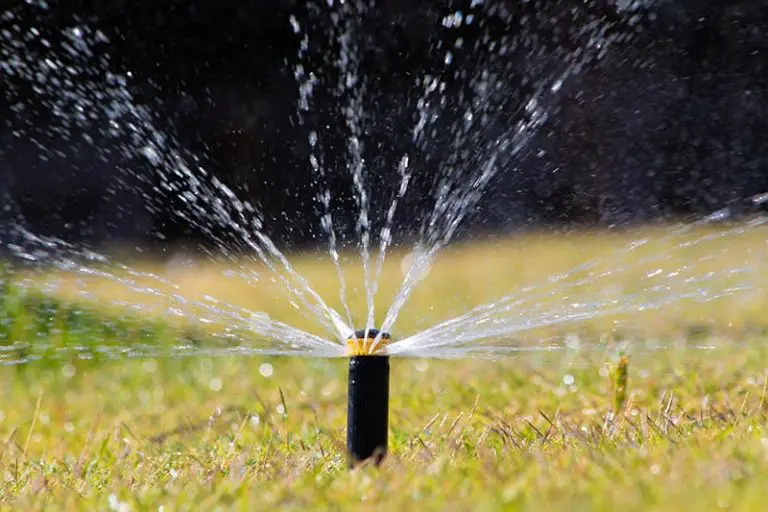
How Does a Sprinkler Cap Work?
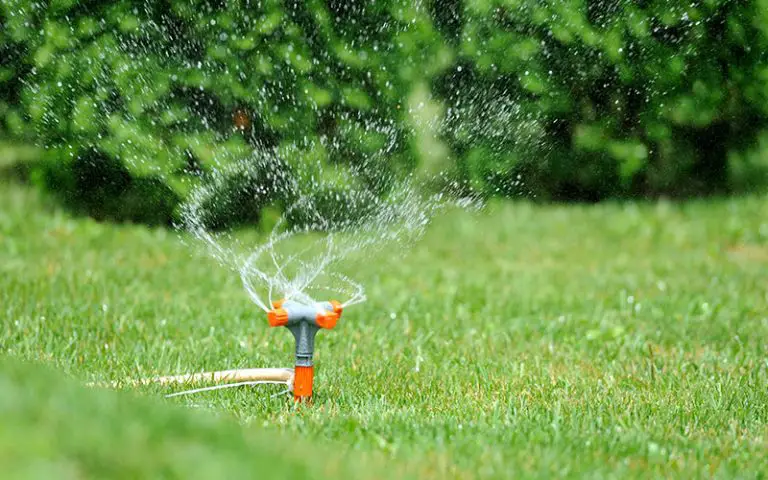
A sprinkler cap works by covering the head of a sprinkler, preventing any water from passing through. It effectively plugs the sprinkler head and allows water to flow through to other sprinkler heads on the system. Any potential pressure build up is relieved by uncapped sprinkler heads. When capping a sprinkler head, ensure that the cap is water tight and leads to no leakage, as it could lead to water pooling around the area in which the sprinkler head is placed.
How to Cap Off Sprinkler Heads
Capping off sprinkler heads is an easy process once you have the correct tools for the job. Depending on the sprinkler system you have, you may require the following:
- Shovel or trowel
- Pliers
- Wrench
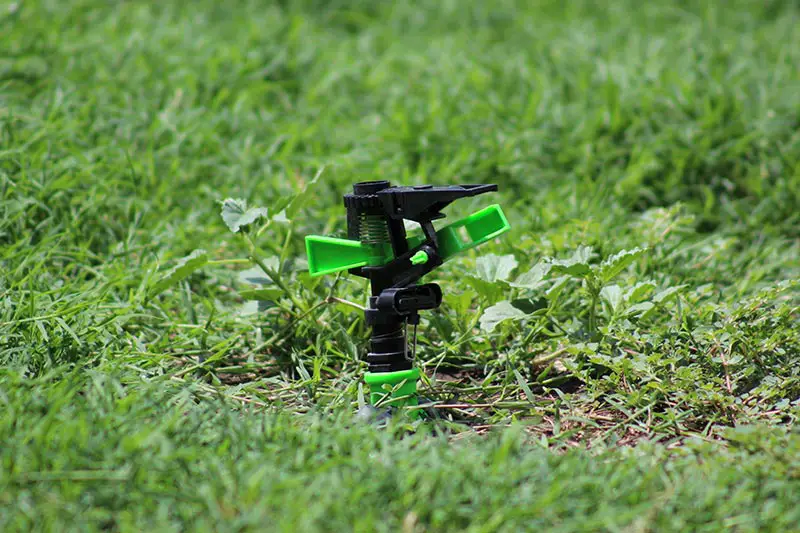
Additionally, you need to purchase the sprinkler head cap. Make sure to find one that is made specifically for your sprinkler system, or at least look for one that will be watertight.
Step 1: Turning the Water Off
When making any changes to your irrigation system, regardless of whether these changes are cosmetic or not, it’s always important to remember to switch the water supply to your system off beforehand, lest you find yourself getting soaked. Your sprinkler system should be turned off at the main valve to ensure that no water will run through it.
Step 2: Know Your System
Make sure that the sprinkler head that you’re planning to cap off isn’t the last one in the zone. Capping off your final sprinkler head leaves nowhere for the blocked water to go and can cause your water pressure to suffer as a result. You should be able to figure out which head is the last in line by either using your irrigation map or by making your own map and making note of which the last head is. A tutorial on how to find your sprinkler lines can be found here.
Step 3: Preparing to Cap
Once you’ve established which sprinkler head should be capped, the first thing to do is begin to prepare to cap it correctly and efficiently. Using a small shovel or trowel, begin to dig around the head of the shovel, making sure that the dirt is sufficiently cleared away from the irrigation structure.
Step 4: Remove the Sprinkler Head
Once the dirt is cleared, you can begin to remove the sprinkler head whilst referring to the system manual if needs be. If the sprinkler head is particularly tight, make sure to use a pair of pliers to pry it off.
Step 5: Apply the Cap
Make sure your irrigation lines are clean and damage-free before applying the cap. This will ensure that it is as water tight as possible and will be less susceptible to future damage. Wrap Teflon tape around it. This will increase the level of water tightness which is needed to prevent leakage. Ensure that the cap’s fit is tight and snug. Too tight may lead to damage to the cap in the future.
Step 6: Testing
Once the cap has been successfully added to the sprinkler head, make sure to test the system out by running it a couple of times. During these tests, watch out for any leaks or damage to the cap or sprinkler head. In addition to this, also keep a look out for any additional damage to the rest of your system, which could result in stagnant water or blockages in your pipes or sprinkler heads. Once you’re satisfied with the results, you can then fill in the hole around the sprinkler again.
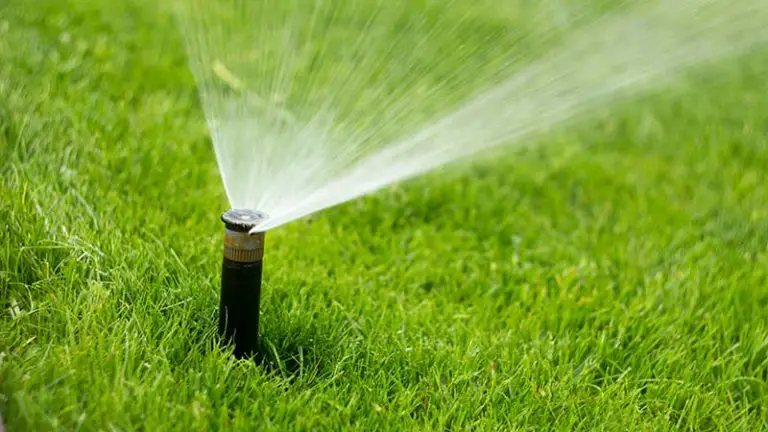
What can Affect Sprinkler Heads?
There are many different things that can affect the performance of sprinkler heads prior to winterization or maintenance. Whilst some of these issues can be avoided, others cannot be. It’s important to keep your sprinkler system working in the best possible condition by frequently undergoing maintenance to ensure that everything is working properly.
Clogged Sprinkler Heads
Clogged sprinkler heads can occur when debris and dirt has built up inside the system. This is generally an easy fix, but if left too long can lead to pressure issues or larger clogs deeper within the system. You can read more about unclogging a sprinkler head here.
Low Pressure
Low water pressure can affect the performance of a sprinkler head by minimizing the amount of water flow that they produce. Low water pressure can give the illusion that the sprinkler heads are malfunctioning or in other ways broken. Thankfully, you can increase your sprinkler head’s water pressure.
Final Thoughts
Whilst sprinkler systems are used for convenience, they still need to be properly maintained due to the many components which may go wrong if left unchecked. When investing in a sprinkler system, make sure to consider the different parts of ot and what can go wrong if they are neglected. Capping a sprinkler head is not something that every irrigation system owner needs to do, but it is a task that they need to be aware of in case circumstances change.