Easily Dethatch Your Lawn with a Mower Attachment
Over time, it’s inevitable for your lawn to accumulate a layer of dead organic matter known as thatch. When the thatch layer becomes too thick, it’s essential that you dethatch your lawn otherwise your grass plants will begin to suffer. You can use an attachment on your mower to complete this job with ease.
Dethatching your lawn with a mower attachment is simple. You fit the attachment on your mower in place of your regular blades, and run your mower across your lawn several times using the same motion as you would when mowing your lawn normally.
How Do Dethatching Lawn Mower Blades Work?
Dethatching lawn mower blades are an attachment that you can fasten to your mower to temporarily convert it into a dethatching tool. You can install and remove the attachment from your mower as and when you need to use it to dethatch your lawn.
Dethatching lawn mower blades are different from your mower’s regular blades. While regular mower blades are flat to cut across the grass, dethatching mower blades have tines that slice downward into the turf. The blades typically have two or more of these tines made of metal or heavy-duty plastic.
The majority of unbranded dethatching blades are designed to fit standard 20-inch lawn mower models. Many lawn mower manufacturers offer a range of dethatching blades to fit all the mower models they produce.
Do Dethatching Lawn Mower Blades Work to Reduce Thatch?
Dethatching lawn mower blades do work to reduce thatch, but their effectiveness depends on the extent of the build-up.
Dethatching lawnmower blades are highly effective when working on a smaller lawn and/or a light to moderate amount of thatch. For very light work, dethatching blades made from plastic will suffice. Moderate amounts of thatch can be tackled with more heavy-duty blades made from metal.
However, dethatching blades are not ideal if you have a large yard, or if your thatch layer is thicker than 1 inch. If this is the case, you should look into a more powerful alternative such as a power rake or electric scarifier. While these tools are more costly and laborious to use than dethatching blades, they provide better results and are less likely to damage your lawn.
When Should You Dethatch Your Lawn?
The answer to when you should dethatch your lawn will vary depending on a few factors. You need to ensure your grass is in the ideal condition to prompt a fast recovery from the dethatching process.
Therefore, you should dethatch your lawn during the period of most active growth for your grass type. For cool-season grasses, this means dethatching your lawn in the spring, late summer, or early fall; for warm-season grasses, it’s better to dethatch in the summer instead.
It’s also important to take note of the weather conditions in the weeks following your dethatching. Make sure there are at least three to four weeks of good weather after the day that you plan to dethatch.
How to Dethatch a Lawn With a Mower Attachment
Follow these steps to dethatch your lawn with a mower attachment without damaging your grass.
1. Mow Lawn
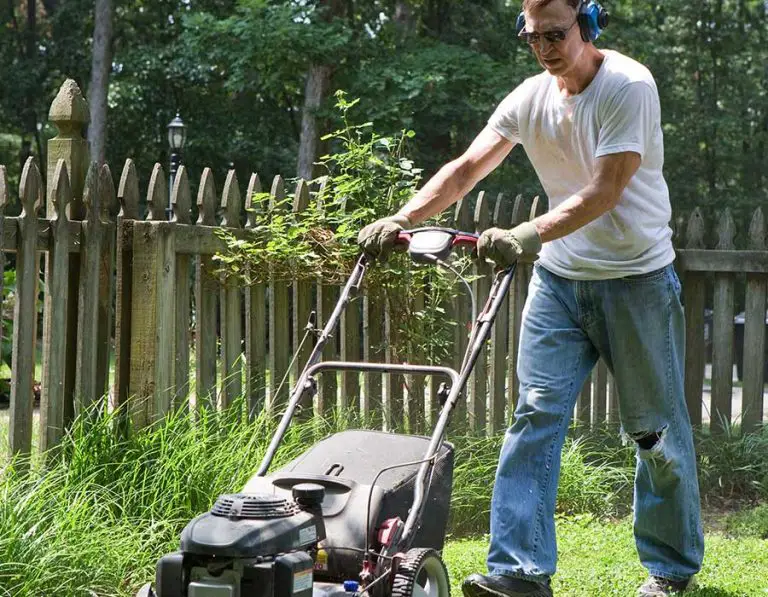
Before you start the actual dethatching process, you should cut the grass using your normal mowing blades. Attempting to dethatch the lawn while the grass is tall will impact the effectiveness of the process; the shorter the grass, the more successful your dethatching efforts will be.
Mow the grass as short as possible, doing so right up to the edges of the lawn. If you’re unsure how short you can safely mow your grass type, look up the best height range for its species.
2. Attach Dethatching Blades to Mower
After mowing the lawn with its regular blades, you’ll need to swap the blades out for the dethatching attachment.
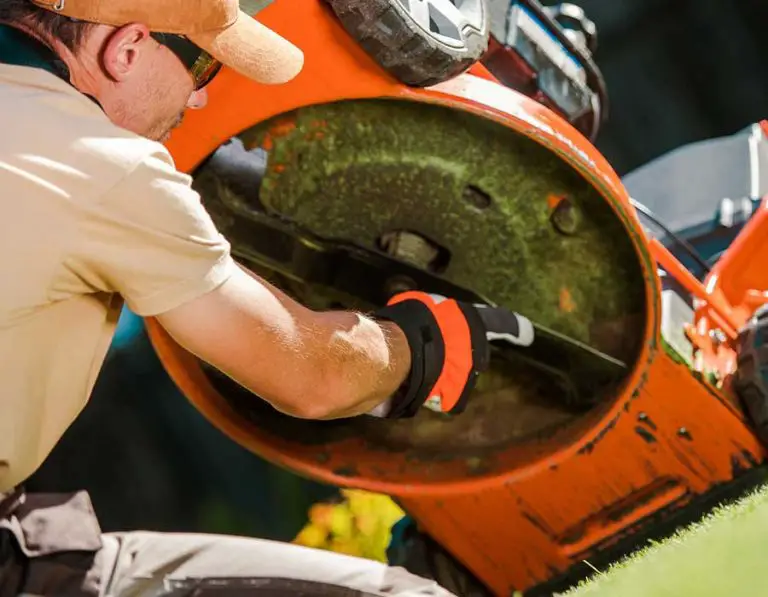
If you have a push mower, tilt it safely by angling it towards the handle end before propping it up with a heavy object. For riding mowers, set the cutting deck at its highest setting and use a ramp or lift to access its underside. Also, before working on your mower’s blades, disconnect it from its power source to prevent accidental injury.
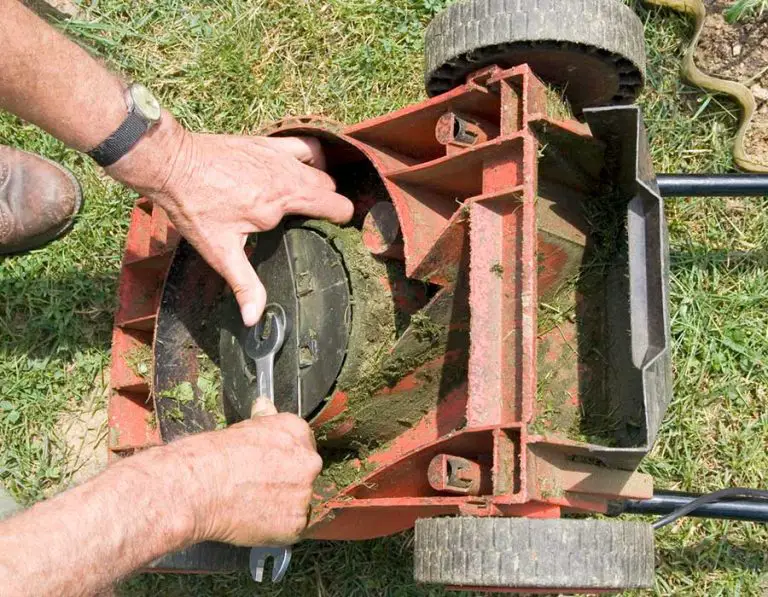
Loosen and remove the regular blades from your mower. In their place, attach the dethatching blades. Make sure to attach the blades facing the right direction; your blades may be marked to indicate the grass side. Once you attach the blades, reconnect the mower to its power source. Adjust the mowing height to a higher level than you would usually set for regular mowing.
3. Test Attachment on Area of Grass
Once the blades are on, test the attachment on a small area of grass. Run your mower over a patch of grass using the same back-and-forth motion you use for normal mowing. If working properly, the attachment should pull up dead grass, along with its footings and dead roots.
4. Adjust Attachment if Necessary
If the attachment isn’t working as it should, you’ll need to adjust the height on your mower deck. The easiest way to adjust the attachment to the right height is to set the mower on a sidewalk or driveway; adjust the height of the mower deck so the end of the attachment’s tines are just about making contact or slightly above the ground.
5. Mow with Dethatching Blades
With your mower set at the right height, continue to mow the rest of the lawn using the same motion as normal. Push the mower back-and-forth, and run over the entire lawn several times until the thatch layer is sufficiently reduced.
6. Finish Up the Dethatching Process
After you have been over the lawn with your mower attachment several times, inspect the thatch layer. If any thatch remains, you can finish off the job using a rake.
Finally, you should collect all of the grass clippings from the lawn. Dispose of the clippings properly by bagging them or placing them onto your compost heap.
7. Overseed, Fertilize, and Water Lawn
On completion of the dethatching process, don’t worry if your lawn looks a bit worse for wear. Grass will spread to fill bare spots in about 3 to 4 weeks with proper aftercare, including frequent watering and the application of a fertilizer.
However, it’s best practice to overseed your lawn after aerating to ensure the bare spots fill back in. A freshly aerated lawn is in the perfect condition to plant new grass.

