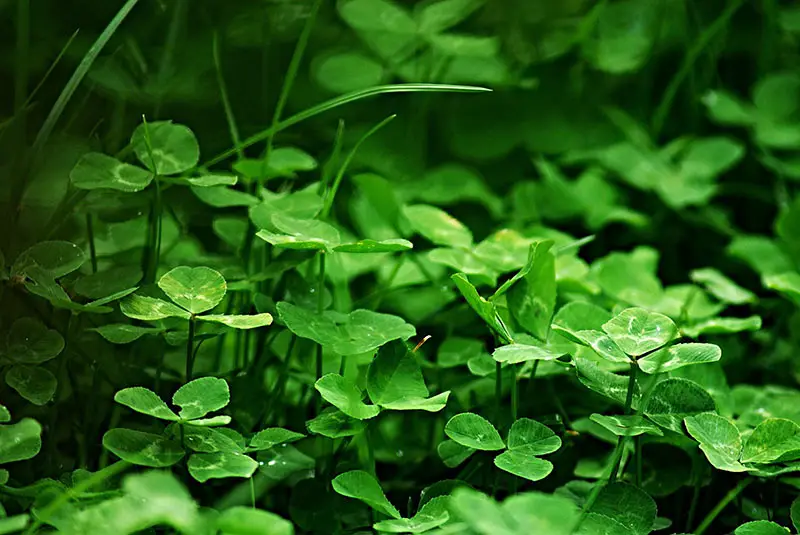
Planting Clover in Your Existing Lawn
Although clover is often regarded as a weed, there are many reasons why you should grow it among the grass on your lawn. This robust plant can keep your lawn green all year round, acting as a natural form of weed control and fertilizing your lawn simultaneously.
The process of planting clover on an existing lawn follows the same basic steps used in overseeding. You must prepare your lawn before sowing an appropriate clover seed, then follow up the process by watering the seed daily.
Benefits of Planting Clover in Existing Lawn
Many gardeners regard clover as a weed and try to kill it without understanding the benefits it can bring to a lawn. It can improve both the health and overall appearance of your lawn, making it appear green and thick all year round.
Clover Acts as Natural Nitrogen-Rich Fertilizer
One of the unique benefits that clover can bring to your lawn is that it behaves as a natural nitrogen-rich fertilizer.
Clover is what’s known as a ‘nitrogen-fixing plant’; it draws in nitrogen from the air, before releasing it back into the soil in a form readily available to the grass plants. It’s for this reason that clover often naturally flourishes in areas with nitrogen-deficient soil.
Nitrogen is one of the most important nutrients that plants need to thrive. By planting clover on your lawn, you can provide your grass with a consistent, natural source of nitrogen. This will reduce the amount of chemical amendments you have to add to your lawn.
Clover Acts as Natural Form of Weed Control
Clover can also be used as a natural form of weed control in your lawn. It’s a hardy plant that will outcompete and smother weed growth.
Invasive broadleaf and grassy weeds take over lawns when they have access to bare soil and sunlight. Planting clover in the bare spots in your lawn leaves less room for weeds to move in and take over the healthy growing grass.
Clover Can Keep Your Lawn Green All Year Round
When conditions don’t favor your grass’ growth, it will go dormant, turning your lawn brown and patchy. Clover, on the other hand, can stay green all year round, and can withstand drought and other stressful conditions that would affect your grass.
The type of clover that stays green all year round is Dutch white clover. Planting this clover species on your lawn will keep it looking green and healthy, even at times when your grass is failing to thrive.
Clover Adds Biological Diversity to Lawn
On its own, grass has a limited ability to support a biologically diverse habitat. Adding clover to your lawn helps to improve the diversity of your lawn, thus encouraging a more diverse insect population.
Clover produces nectar that attracts bees and other lawn-friendly insects to your yard. Although you may view these creatures as pests, they play a crucial role in the balance of the ecosystem; they help to sustain flowers, fruit and vegetable crops, and other plants, in addition to keeping the population of other lawn pests under control.
Clover Looks and Smells Good
Clover is generally a nice addition to have on your lawn. It has a pleasing appearance and gives off a light, fresh aroma. Comparing this to the chemical smell of artificial fertilizers, you’ll create a much nicer environment by planting clover on your lawn.
How to Plant Clover in Existing Lawn
Follow this step-by-step method on how to plant clover in your existing lawn.
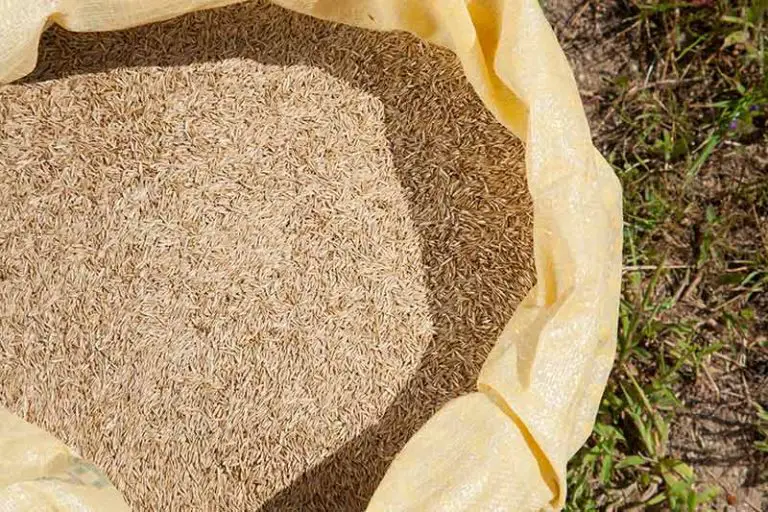
1. Purchase Correct Type of Clover Seeds
There are a few different species of clover, so you need to make sure you purchase a suitable type for your lawn. The two most common types of clover for lawns are Dutch white clover and micro-clover.
Dutch white clover
Dutch white clover is slightly taller than micro-clover, having smaller leaves and a more compact structure. It grows low to the ground, meaning it tolerates close mowing. This clover will effectively outcompete weed growth.
In some areas, Dutch white clover stays green all year round. It only requires 4 to 6 hours of sunlight per day in order to thrive.
Micro-clover
Micro-clover is the smaller species of clover you can grow on your lawn. It is more tolerant to traffic from people or vehicles. This type of clover is also fairly shade-tolerant, however, it will do better in areas that receive full sun.
Micro-clover will turn brown in winter when temperatures drop and it enters its period of dormancy. When mature, micro-clover produces roughly 90% fewer blooms than Dutch white clover.
2. Get Soil in Good Growing Condition for Clover
Before attempting to plant your chosen clover species, you’ll need to make sure your soil is in ideal growing conditions.
Clover is a robust plant that will grow well in any soil type, whether you have sandy, loamy, or clay-heavy soil. However, in order to grow, clover requires soil with sufficient nutrients and a pH level between 6 and 6.5. A soil test will reveal whether your lawn has these proper conditions for new growth. You can either test your soil yourself using an at-home test kit or send a sample to a lab for professional testing.
If the results of your soil test reveal that your lawn is the wrong pH or lacking any nutrients, you’ll need to amend it before planting. Amend your soil with fertilizer and/or a pH adjusting material if this is the case. The most common material for raising soil pH is lime, while sulfur is used to lower it. If fertilizing, avoid using a high-strength fertilizer that may burn the roots of the young clover seedlings.
3. Prepare Lawn for Planting
Beyond pH adjustments and fertilization, there are a few more steps to preparing your lawn before planting the clover.
You need to give the clover space to become established among the existing growth on your lawn. To do so, adjust the height on your mower deck and mow the lawn as short as your grass type allows. This is also a good time to dethatch the lawn using a rake or mower attachment.
You will also need to remove any weed growth and other unwanted vegetation before sowing your clover seed. If you use a chemical herbicide, make sure to wait before planting as per the directions for your chosen product.
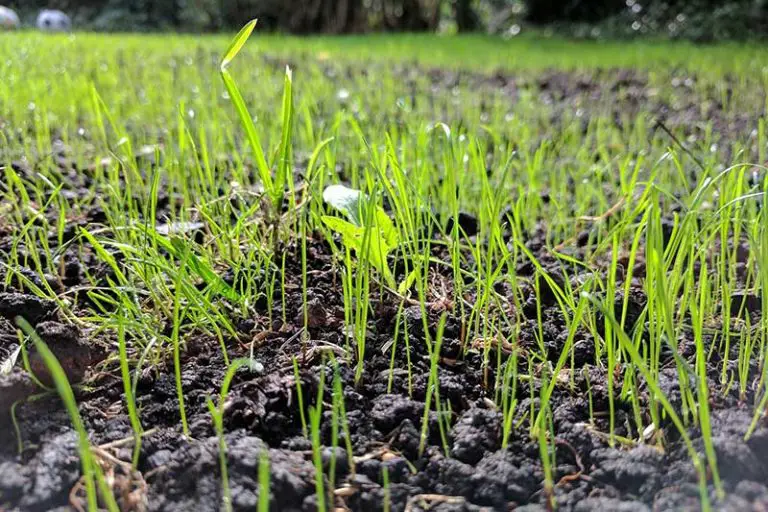
4. Plant Clover Seed in Lawn
Once you’ve prepared your lawn, you can start planting your clover.
There are two ways you can go about this; either blend the clover seed with an appropriate grass seed for overseeding, or mix the seed with sand or compost to ensure it spreads evenly. You can spread the seed by hand if working on a small area, but a broadcast spreader will ease the process for larger areas.
If seeding with Dutch white clover, you will need to seed at a rate of about 1 pound per 1000 square feet. If seeding micro-clover, seed at a rate of about 1 pound per 300 to 600 square feet. Refer to the instructions on your chosen seed for exact directions on ideal seeding rates and spreader settings.
Spread the seed across your lawn using a criss-cross pattern to ensure even distribution. After sowing the seed, compress it into the ground by walking across the lawn or using a lawn roller. This will improve seed-to-soil contact, thus improving the chances of successful germination.
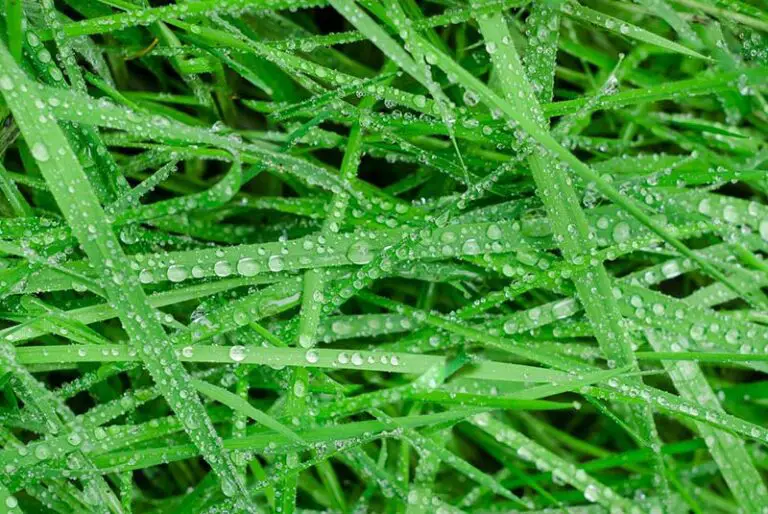
5. Water Clover Seed
In the days and weeks following planting, it’s crucial to keep the soil consistently moist to encourage the successful germination of your clover seed.
For the first two weeks, water the lawn once per day. If the weather conditions are particularly hot, you may need to water more frequently than this to keep the planting area moist. Similarly, you won’t need to water as much on the days that it rains. Under the right conditions, your clover should sprout in 7 to 10 days after planting.