What is Hydroseeding?
Hydroseeding, or hydraulic mulch seeding, is a method of reviving or growing a new lawn that’s used as a speedy and inexpensive alternative to planting traditional grass seed or laying sod. It involves spraying the planting area with a hydroseeding mixture similar to a slurry, and is particularly useful for large or inaccessible areas on slopes that would otherwise be difficult to plant.
While it’s a fast and reliable option to getting a lawn full of lush, healthy grass, hydroseeding requires more skill and experience to carry out than its alternative methods, meaning that you’ll likely need the help of a professional hydroseeding company to see the best results in your lawn.
What is Hydroseeding?
Hydroseeding is an effective method of sowing seeds using a machine called a hydroseeder, then promoting fast and healthy growth of seeds thanks to the hydroseeding mixture used to spread the seed. It’s carried out by using a sprayer to cover the planting area with the water-based hydroseeding mixture, or ‘slurry’, made up of seed, mulch, fertilizer, and tackifier, and occasionally several other additional substances that promote fast germination and provide a host of benefits to the growing seedlings. It isn’t used as often as the more traditional methods of seeding by hand or laying sod and is more commonly used on commercial properties, however, it is becoming an increasingly popular choice for residential properties due to the fact that it’s a fast and inexpensive method of growing a lush, green lawn.
What is Hydroseeding Used For?
Hydroseeding is most commonly used for:
- Reviving and beautifying lawns
- Preventing soil erosion or stopping it
- Reducing or completely eliminating dust pollution
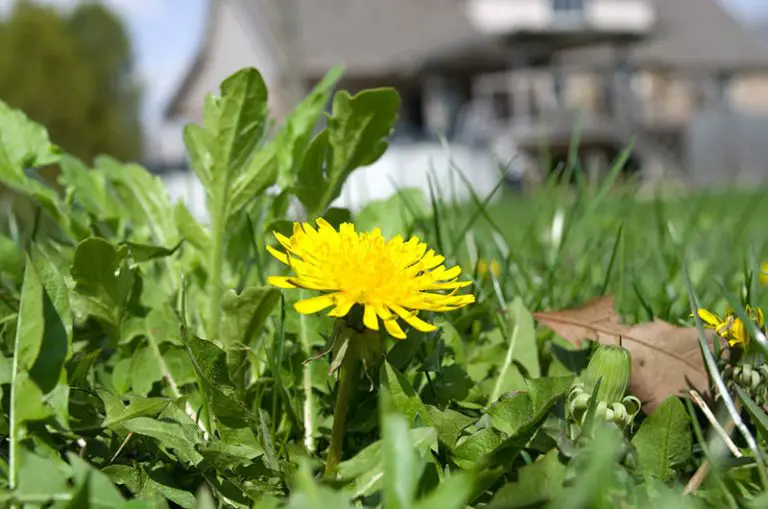
- Preventing weed growth
- Growing grass on large areas, from large lawns to athletic fields or parks
- Growing grass on steep slopes and otherwise inaccessible planting areas
Benefits of Hydroseeding
Hydroseeded Lawns are High Quality
If the process has been carried out successfully, lawns that have been hydroseeded will be far more healthy, green and long-lasting compared to the alternative methods of sod or seed. Hydroseeded grass seeds will germinate quicker, have a deeper root establishment and will be more resistant to adverse external conditions. The seed mixtures used in hydroseeding also tend to contain fewer weed seeds.
Hydroseeded Lawns are More Healthy
The many beneficial substances that make up the hydroseeding mixture create the ideal environment for the grass seed to grow quickly and strongly, enhancing their process of germination and encouraging them to grow a deep root system into the soil. Hydroseeded lawns tend to see consistent, full growth, and have greater resistance to disease and weeds.
Hydroseeding Enables Better Coverage
Hydroseeding ensures that the new grass seed is spread evenly throughout the planting area, and the hydroseeding mixture forms a barrier that stabilizes the seed, as well as helping to retain moisture, fertilizer, and any other beneficial nutrients present in the mixture. The result of this is that you get a thick, lush and overall more uniform lawn than the traditional method of seeding. Another huge benefit of hydroseeding is that it enables the application of seed onto large, sloped, or otherwise difficult-to-access areas.
Hydroseeding Offers Erosion Control
The seed, mulch, tackifiers, and other substances that make up the hydroseeding mixture bind the slurry to the soil. This helps the soil to retain moisture and protects the planting area from wind, rain, sun, and pests which all contribute to soil erosion.
Hydroseed Has Excellent Water Retention
Hydroseeding is able to retain up to 10 times its weight in water, and this ability sets it above any other method of seeding a new lawn in terms of water retention. The mulch and tackifiers used in the hydroseeding mixture anchor it to the soil and seal in moisture, then act to slowly release water and nutrients to the grass seed’s root system, constantly nourishing and replenishing it. This makes hydroseeded lawns particularly drought tolerant over alternative methods of seeding.
Drawbacks of Hydroseeding
Hydroseeding Requires Large Amounts of Water
Hydroseeding uses up huge amounts of water, as the process will require water during application as well as after. Even though watering new grass of any type is a laborious task, hydroseeded lawns far outweigh the water requirements of any other methods of seeding a new lawn. Lawn care experts recommend that you should water a newly hydroseeded lawn two to three times per day daily until the new seedlings have fully established.
It’s Difficult to DIY a Hydroseeding Project
While it’s possible to DIY your hydroseeding project, it’s extremely difficult to carry out successfully without the proper experience and know-how of a professional lawn care expert. Garden and hardware stores occasionally stock DIY hydroseeding kits that come with a hydroseeder and hydroseeding mix, and some may even offer hydroseeding equipment that is available to rent for about $300 per day. However, unless you have experience with this process, it’s recommended that you have it carried out by a lawn care professional instead to ensure you get the best results.
Precise Prep Work is Necessary
Proper preparation is essential before laying down any type of new lawn, but hydroseeding has particularly precise prep requirements to ensure the successful germination of the new grass seed. If you have sought the help of a professional hydroseeding technician, they will give you instructions on how to prepare your lawn before the application which you’ll need to closely follow. Also, the hydroseeding mixture needs to be applied immediately before the growing season of your grass seed of choice, so you need to make sure you plan out the timing of the application properly.
Hydroseeded Lawns Take Time to Establish
The fastest way to get a new lawn is to buy sod as this can be enjoyed straight away, whereas hydroseeded grass seed takes about 3 to 4 weeks before it becomes fully established and ready to mow.
Hydroseeding Can Have a Negative Environmental Impact
The impact of hydroseeding is less of a concern when carried out on smaller areas, however larger commercial applications of hydroseeding can have a damaging effect on the local environment. Commercial hydroseeding applications such as those applied to the large grassy areas along roadways can negatively affect the surrounding vegetation, and the application of fertilizers during the process can also cause run-off issues.
Hydroseeding vs Sod and Seed
More Efficient Application than Sod and Seed
The traditional process of sowing grass seed by hand then covering it with straw to protect it can be time consuming and exhausting. If you don’t take care to keep the straw constantly wet, your seeds are at risk of being blown around by the wind or eaten by wildlife, causing your lawn to grow in patchily. On the other hand, with sod installation, there’s no guarantee that every single piece of sod will survive. This makes hydroseeding the most efficient method of seeding a lawn, as the slurry texture of the mixture is unable to be blown away by the wind and ensures the constant fertilization of the growing seeds.
More Versatile than Sod and Seed
When purchasing sod you don’t really have any ability to pick your grass seed mixture and are unable to determine what exact blend of grasses you get. When buying grass seed to apply on its own, you are able to create a durable blend by mixing warm and cool-season grasses, but you miss out on the other additional benefits of hydroseeding such as the fertilizer and mulch. This makes hydroseeding the most versatile method of spreading both your desired blend of grass seeds and additional fertilizing materials.
More Cost-Effective than Sod
Despite the fact that sod is the quickest route to establishing new grass, it’s also the most expensive. If you don’t mind waiting a few weeks longer, then hydroseeding is a considerably more affordable option than sod to get a full new lawn.
Faster Growth than Seed
Sowing grass seed is the cheapest method of growing a new lawn but it takes the longest time from installation for the grass to become fully established, in some cases taking several months to get to this point. Hydroseed usually takes around 4-6 weeks to become a fully established, mowable lawn.
What is in Hydroseeding Mixture?
Hydroseeding mixtures include water, seed, mulch (or ‘hydromulch’), fertilizer, and tackifier, and can also contain extra beneficial substances such as soil amendments, biostimulants, herbicides, spray-on topsoil, and polymers for moisture retention. We have gone into more detail about each of these ingredients below:
Seeds
Hydroseeding doesn’t require any special type of seed meaning that most seeds can be spread with a hydroseeder, from any type of grass seed to wildflowers and erosion control seeds. Some of the most common types of grass seed used in hydroseeding include bluegrass, fescues, ryegrasses, Bermuda grass, Bahiagrass, centipede grass, and native grasses, to name a few.
Hydro-mulch
There are several different types of mulch that can be used in hydroseeding mixtures:
100% Paper Mulch
Paper mulch is made from cut up newspaper combined with a blue/green dye. It is an inexpensive yet highly effective type of mulch and is the best option for jet agitated hydroseeders.
Pourable Mulch
Pourable mulch can be made up of either a combination of paper and corn or paper and wood. They usually come in flake or pellet form and can be easily poured into the hydroseeder without causing spillage. They are ideal for smaller jet hydroseeders with smaller openings.
Wood Mulch
Wood mulches are made from byproducts of wood, and occasionally mulches come in a mixture of both wood and paper. Wood mulches retain a lot more water than paper mulches do, however they take longer to absorb the water meaning that they require a longer time mixing in the hydroseeder. It isn’t advised to use 100% wood mulches in jet machines, and after use in any type of hydroseeder it’s recommended to flush out the tank to prevent the mulch from clogging the machine.
High-Performance Mulch
High-performance mulches are essentially wood mulches mixed with additives that improve the mulches’ texture and how well they stick to the ground. They are best used for extreme erosion control jobs. They are the most expensive type of mulch, being 3 to 4 times more expensive than paper mulch, and need to be applied at a much heavier rate of around 3000 to 4000 pounds per acre of land.
Fertilizer
Most hydroseeders are able to spread any type of fertilizer, whether it’s granular, water-soluble, or liquid. It’s recommended to use a high phosphorus starter fertilizer when hydroseeding, but equally balanced fertilizers are also very effective. When using hydroseeders that have metal tanks, some prefer to spread the fertilizer using a fertilizer spreader as a secondary step, but this isn’t necessary if a hydroseeder with a poly tank is being used.
Tackifier (Hydroseeding Tack)
Tackifiers perform two functions in the hydroseeding mix. Firstly, they act as a glue to keep the mulch and seed in place, preventing it from being washed away even in heavy rains. Secondly, they lubricate the hydroseeder making it slick, allowing more mulch to be used in each load and minimizing the risk of the hydroseeder getting clogged. They are mainly made up of polyacrylamide, applied at 3 pounds per acre, and Guar, applied at 30 pounds per acre.
Bio-stimulants
Many people choose to add bio-stimulants to their hydroseeding mix to give themselves the best chances of a thick green lawn. These are natural, organic additives that help with seed germination and promote the healthy growth of the grass seedlings.
Herbicides
Herbicides can be added to hydroseeding mixtures to help combat weeds in the planting area. Some herbicides can obstruct the germination rate of some types of grass, so make sure you pick a herbicide that won’t interfere with your grass of choice, or add extra seed to compensate for the reduced rate.
Spray on Topsoil
Spray on topsoil can be sprayed directly onto the planting area, acting as a topsoil replacement that provides an improved growth media for the grass seed. They are particularly useful when hydroseeding a steep slope on which it would otherwise be difficult to apply topsoil.
Can You Hydroseed an Exisiting Lawn?
No, it isn’t recommended to hydroseed over an existing lawn. If your property is suffering from patchy or yellow grass, the best course of action is to either start over completely and grow a full new lawn from scratch, or look into overseeding, which is the process of adding new grass seed to the affected areas only.
How Much Does Hydroseeding Cost?
On average, hydroseeding a typical 5,000 to 10,000 square foot lawn for homeowners in the US usually costs between $500 to $4000. This averages out at about $0.06 to $0.20 per square foot, or $2000 to $4000 per acre of land. If it’s a smaller job, i.e. for areas less than 500 square feet, landscapers may charge an hourly rate instead, this usually being about $24 to $30 per hour.
When coming up with the rates they charge for their hydroseeding services, professional landscapers will factor in the cost of using their hydroseeding equipment. A 225-gallon hydroseeder can be anywhere from $1500 to $3000 to purchase outright. Larger industrial devices such as 2,500-gallon hydroseeders can cost as much as $18,000. You are able to buy your own hydroseeding equipment from lawn and hardware stores at a lower price, and you can also purchase hydroseeding spray mixtures for $20 to $80 per gallon.
How Long Does Hydroseeding Take to Grow?
The type of grass seed that was in the hydroseed mixture is one of the biggest determining factors of how fast your seed will germinate and grow. Grass seed growth times vary from species to species, so you would need to look into the germination rate for the seeds that were in your chosen blend. In addition to this, the time that it takes grass seed to grow depends on factors such as the preparation of the soil, the moisture of the soil throughout the growing process, and the amount of sunlight that the planting area sees, among several other variables that have an effect on plant growth.
When is the Best Time to Hydroseed?
It is recommended to hydroseed in spring and fall because at these times of year the warm soil temperatures and moderate amounts of rainfall help the growing grass seedlings to grow deep roots down into the ground. It’s important to be aware that while the heat of summer helps grass seed to germinate and grow more quickly, it means that you have to water the planting area more often to prevent the seedlings from drying out. It isn’t recommended to hydroseed in winter as temperatures will be too cool for the seeds to germinate, so they’ll likely remain dormant until the weather warms up again in spring.
How to Hydroseed
Hydroseeding is a process that requires quite a bit more technical skill than alternative methods of getting a new lawn, so if you’re inexperienced with this kind of gardening, it would be best to contact a professional team to take over the prep work and application. If you want to attempt a DIY hydroseeding job or you’re just interested in the steps of the hydroseeding process, read through the following sections where we have detailed the various stages of hydroseed prep, application and aftercare.
How to Prep for Hydroseeding
1. Choose your grass seed blend
One of the main benefits of hydroseeding is being able to choose a custom blend of different species of grass seeds to give your lawn a range of favorable traits. You should first consider the climate and weather conditions of the area that you live in. Then you can select your specific blend of grass seeds based on the characteristics you’d like your new grass seed to have, such as heat resistance, drought resistance, or disease resistance, giving your new lawn the best chances of thriving in your area’s climate. If you’re planning to carry out the hydroseeding job yourself and you’re unsure what blend you should go for, contact your local garden center for recommendations on the different types of grass seed available.
2. Carry out a soil pH test
Soil pH tests reveal the pH level of the soil as well as any nutrients that may be present in it. Grass seeds prefer to grow in neutral soils that aren’t too acidic or too alkaline, so the majority of grass species will thrive in soil that has a pH level between 6.5 and 7. Professional hydroseeding companies can perform this test for you as part of their service. If you’re carrying out the hydroseeding job yourself, you can purchase a soil pH testing kit from your local garden center, or send a sample to a professional lab for testing. If your soil test shows that your soil isn’t the right pH for your chosen grass seed blend, you can add the necessary pH adjusting materials such as lime, sulfur, or organic materials to get the soil within the optimal pH range.
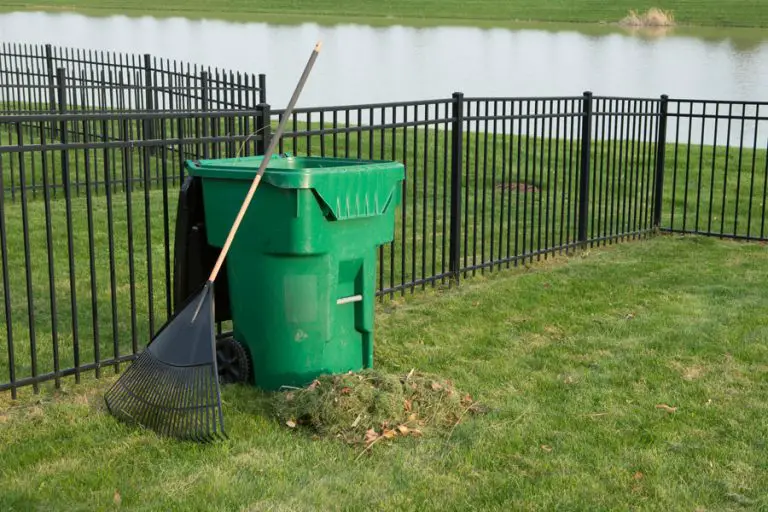
3. Clear the planting area
Hydroseeding mixture needs to be sprayed onto bare soil, so the planting area needs to be cleared before carrying out the hydroseeding job. All weeds need to be pulled up, as well as the removal of debris such as rocks, twigs and stumps to clear the space of anything that will interfere with the hydroseeding mix.
4. Grade the soil
The soil needs to be leveled and graded to provide a smooth surface for the hydroseeding mixture to be evenly applied onto. If you’re carrying out the job yourself, grade the soil to about 2.5 to 3 inches lower than the grade you ultimately want to achieve. Doing this will prevent the slurry from infiltrating your property or other structures that are at risk of becoming damaged from moisture.
5. Till the soil and add soil amendments
The planting area should be tilled to a depth of about 2 inches, then soil amendments plus any extra topsoil can be added to create the optimal conditions for the hydroseeding mixture. Choose a soil amendment such as an organic fertilizer or compost material and till it into the planting area along with a new layer of topsoil.
6. Re-grade the soil
After the blend of soil amendments and topsoil has been added, the planting area needs to be leveled again to ensure the soil is completely smooth. The topsoil can be further settled by using a water-filled lawn roller to even out the soil’s surface, but make sure to not compact the soil at this stage. This can be remedied by going over the planting area with a landscape rake and loosening the top ¼ inch of soil.
How to Apply Hydroseeding
1. Prepare the hydroseeder
Professional hydroseeding companies have their own top-of-the-range commercial-grade hydroseeding equipment, but if you intend to do the hydroseeding application yourself, you can rent or purchase your own hydroseeding equipment. Add water to the tank of the hydroseeder until the water is level with the agitating blades, then close the hose end of the tank, making sure that the pump and agitator are switched off. Switch the hydroseeder on and let it run for a few seconds, then turn on the agitator switch to engage the agitator. The agitator should start running at a relatively slow speed that will gradually mix the contents of the tank.
2. Fill the hydroseeder tank
Gather all of your custom hydroseeding mixture ingredients such as the grass seed, mulch, fertilizer, and additives of your choice. Start by placing small batches of the mulch one at a time into the hydroseeder’s tank. Next, add in your custom seed blend. Finally, add in the nutrients and other additives that you have chosen for your hydroseeding mixture, and allow the agitator to slowly but thoroughly combine all of the tank’s contents into a slurry.
3. Get hydroseeder into position
After you have let the agitator run long enough to combine your hydroseeding mixture, switch it off, and switch on the hydroseeder’s spray nozzle. If it isn’t already there, move the hydroseeder to the planting area, either by pulling it or carrying it depending on its size. Get into position in a part of your planting area that you are able to spray its farthest corner.
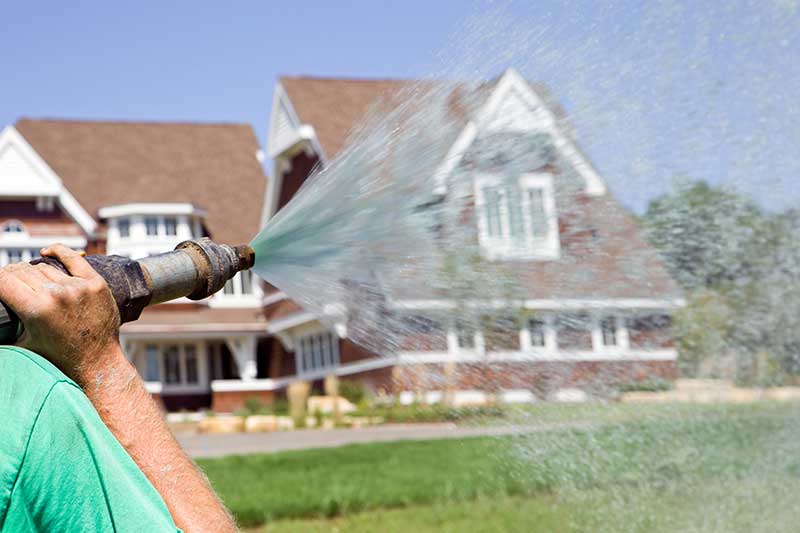
4. Apply hydroseeding mixture to planting area
Take the hose nozzle of the hydroseeder and place it over one of your shoulders. Switch the nozzle on, and starting with the planting area’s farthest corner, spray the area with the hydroseeding mixture using long, even strokes. From this point, work towards where you’re positioned, and continue to spray the hydroseeding mixture until the entire planting area is evenly coated, adjusting the spray settings if necessary. Try to minimize overspray into any other planting beds in your lawn.
How to Care for Hydroseeding
1. Wait a day for mulch to dry
Hold off on watering the planting area for the first day after the hydroseed has been applied – the mulch in the hydroseeding mixture needs to have fully dried before you begin watering it, and the tackifier in the mulch takes roughly a day to set. You can begin your watering routine as soon as the mulch is sufficiently dry.
2. Keep hydroseeded area constantly moist for first two months
At this stage, the key to successful germination is making sure the soil in the planting area stays consistently moist throughout the first two months. For the first few weeks, try to water two to three times per day for 10 to 20 minutes per section. After the first mowing, you can adjust your watering schedule so that you’re watering less often, but for longer periods of time to promote deep root growth of the grass plants. At all stages of growth make sure that you don’t allow the soil to dry out, while also looking out for signs of overwatering such as puddles and runoff.
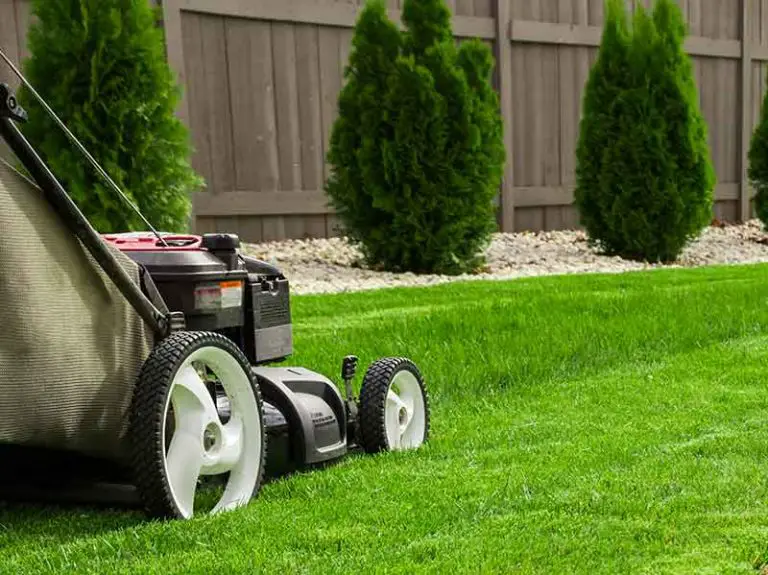
3. Begin mowing hydroseeded lawn after four weeks
You should first mow your hydroseeded lawn four weeks after planting, and from then you can begin mowing your lawn when needed. Before mowing, allow the planting area to dry out. Use a high setting on your lawnmower to keep the grass cool, thus avoiding disrupting the germination of the seeds, and try to only cut off about ⅓ of the plant. You may need to mow twice a week to begin with, and repeated mowing helps to promote strong root growth, as well as killing off some weeds. You won’t need to pick up the leftover clippings unless they start to smother the live grass.
4. Avoid traffic on lawn for first 10 to 15 weeks
For the first 10 to 15 weeks, try to avoid any traffic on the planting area like walking on it, or allowing children or pets to walk on it, otherwise you risk damaging your new lawn. When the grass has become established, it will be able to take light amounts of traffic, but it could take up to a year before it will be fully hardy against normal levels of traffic.
When to Fertilize Hydroseeding
1. Start with starter fertilizer
In the earliest stages of growth, your hydroseeded grass seedlings will benefit the most from a good starter fertilizer. This type of fertilizer is what should be applied in your initial hydroseeding mixture. Starter fertilizer contains higher levels of phosphorus, which stimulates root growth and is essential for the grass plants’ development. Try using Scotts Turf Builder Starter Food to get your new lawn off to a good start.
2. When lawn matures, move on to a high nitrogen fertilizer
Once your lawn has matured and your grass seed is fully established, usually around one month after application, you should start fertilizing your new lawn with a fertilizer that contains higher quantities of nitrogen. This nutrient stimulates vigorous top growth of your grass seed, helping the seedlings to grow strong green blades. If you notice the blades starting to go a shade of yellow or lime green, this is a sign that you need to apply a high nitrogen fertilizer to your lawn. Our favorite high-nitrogen fertilizer is the Maximum Green & Growth Lawn Food as it has been formulated to be 70% quick release and 30% slow release, meaning that it will continue to nourish your lawn for longer after you have applied it.
3. Continue fertilizing regularly for the next couple of years
In the first couple of years of growth, new lawns require regular and generous applications of fertilizer to enhance the density of the grass. Different types of grass will have different fertilization requirements, for instance some species such as Tall Fescue can perform well with lower amounts of fertilization as opposed to others like perennial ryegrass or Kentucky bluegrass. Weather conditions throughout the year will also have an impact on how often you fertilize your lawn. See our article When and How Often to Fertilize Your Lawn for more information on the best lawn fertilization practices.