DIY Compost Tumbler: Make Your Own Compost!
Compost bins create the ideal environment for the natural processes involved in composting to take place. In addition to keeping the bin topped up with organic matter, turning the compost is all you need to do to assist the busy microbes in their decomposition process. Compost tumblers are a type of bin that make this crucial step of the process simple, removing the labor involved in turning over a traditional compost pile with a fork.
You can make a compost tumbler out of a 55-gallon plastic drum, along with some other tools and materials. This is a low-cost project to create a DIY compost tumbler that can produce usable compost for you in as little as 3 to 4 weeks.
How a Compost Tumbler Works
Compost tumblers speed up the composting process by simulating the ideal conditions necessary for the natural decomposition of organic matter.
Creating nutrient-rich compost requires four elements:
- Organic matter, as a mixture of ‘green’ and ‘brown’ materials
- Soil, to provide the compost with microorganisms
- Air, as a source of oxygen for the organisms in the compost
- Water, to prevent the matter from drying out
When you combine these elements in a compost pile, bin, or tumbler, it kickstarts the composting process. As the organic matter decomposes, microorganisms in the soil eat the matter, turning it into waste. This breaks the matter down into its simplest form, producing a fiber and carbon-rich humus that contains nutrients such as nitrogen, phosphorus, and potassium. The microorganisms break down the matter using a process called aerobic respiration, for which they require oxygen to carry out. They also require water in order to survive and reproduce.
As the microorganisms carry out this process of respiration, they release both carbon dioxide and heat. Temperatures within a compost pile can reach as high as 100 to 150°F. And, as the temperature rises, so does the activity and reproduction of the microorganisms. This is how a compost bin or tumbler creates the ideal environment for composting, by assisting the pile in maintaining a constant high temperature. If you actively tend to a compost pile by regularly watering and turning it, you can produce compost in as little as 2 to 3 weeks; without a well-maintained bin, the composting process can take months instead.
Why Turning Compost is Important
As we’ve mentioned, one of the key elements of a thriving compost bin is the presence of oxygen. Therefore, it’s essential to turn the compost regularly to keep it well-aerated and to keep the microorganisms alive. Without air, the microorganisms will suffocate and die off, causing the process of decomposition to slow down.
There are several reasons why it’s important to turn compost, including:
Reducing Compaction – Without turning, compost can become compacted. This happens when the particles in the compost get too close, pushing out the spaces necessary for microorganisms to access air and water. Turning the compost helps to fluff up the matter which creates these essential pockets for the microorganisms.
Reducing Moisture Accumulation – If you don’t turn your compost pile, it can cause too much moisture to accumulate in the matter. As a result, the pockets in the matter are filled entirely with water, pushing out the space for air. Turning the compost pile helps to drain off this excess water thus allowing the air to fill the pockets instead.
Preventing Microbial Overconsumption – Although you want your microbes to be as active as possible, this may actually be detrimental without turning the pile. When the most active microbes at the center of the pile use up all of the nutrients and air nearby, they will die off. By turning the pile, you mix up the microbes along with the undepleted matter; this sustains the decomposition process evenly and consistently throughout the pile.
Preventing Compost from Overheating – Again, despite the fact that one of the purposes of the bin is to retain heat, overheating can be detrimental to the composting process. When the microbes are highly active, they can generate so much heat that the pile becomes uninhabitable for them. This causes them to die off, halting the decomposition process as a result. Turning helps to redistribute the warmest matter at the center of the pile amongst the cooler matter at its edges.
How to Make a Compost Tumbler
Compost tumblers are available for purchase, ranging in price from cheaper to more expensive models. If you feel like taking on a DIY job, you can make yourself an effective compost tumbler at a fraction of the cost of your average commercial tumbler. This method explains how to make a compost tumbler from a 55-gallon drum and some other common materials and tools.
Tools You Need:
- 4-in-1 Screwdriver
- Cordless Drill and Drill Bit Set
- Clamps
- Miter Saw
- Jigsaw
- Rivet Gun
- Pocket Hole Jig
- Safety Goggles
Materials You Need:
- Plastic 55-Gallon Drum Barrel
- 1” Flat Aluminum Strip
- 10’ 2×8 Plank of Treated Lumber
- 12’ 4×4 Plank of Treated Lumber
- (3) 8’ 2×4 Planks of Treated Lumber
- 6’ Length of 4” PVC Piping
- 3” Caster Wheels
- Exterior Screws
- Stainless Steel Nuts and Bolts
- Aluminum Rivets
- Hinges, Handles, and Latches
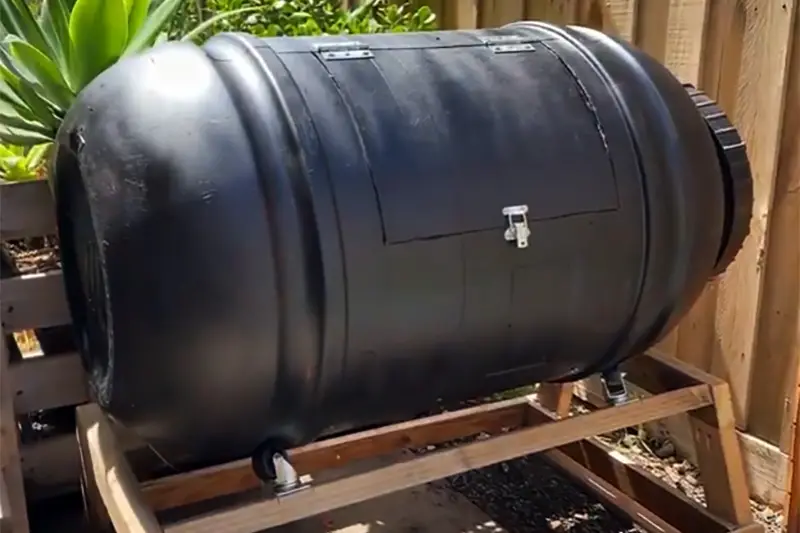
1. Purchase an Appropriate Drum Barrel for the Compost Tumbler Body
The main body of your compost tumbler is going to be a 55-gallon polyethylene plastic drum barrel. You can find a secondhand barrel by asking around establishments such as car washes, industrial manufacturers, and food processing plants. If you’d rather use a brand new drum or have a specific color in mind, contact a container company instead; you can purchase ‘tight-head’ models that have permanently sealed lids that are more suitable for the operation of the tumbler.
2. Mount the Opening for the Compost Tumbler Door
Once you have your barrel, the first step in making the compost tumbler is to mount the door opening. Cut a door panel in the barrel using a jigsaw, making the width slightly less than that of a wheelbarrow. Take your 1” aluminum strips and bend them around the sides of the door panel. Clamp them in place so ½ of the strip extends into the opening before fastening them with rivets or screws and nuts.
Next, cut some more aluminum strips to place on the top, bottom, and hinge sides of the opening. Clamp a strip each on the top and bottom of the opening. Mount the hinges on the bottom of the opening so you can pull the door downwards to empty the drum. Finally, add the latches to the drum barrel and attach the door panel.
3. Make Stirring Paddles for the Compost Tumbler
Now you need to make the inner mechanism that keeps the compost well-mixed. Start by using a jigsaw to cut an 8-foot length of 4-inch PVC piping, cutting this piece in half lengthwise. Cut both halves of the pipe to the same length, making them slightly shorter than the internal height of the drum. Put the halves back-to-back and fix them together using a drill and screws. Repeat this process to make a secondary stirring paddle.
Take note that there is a taper at the top and bottom of the drum; you’ll need to sand a taper onto the stirring paddles to make them fit. Once you’ve done this, mount the two stirring paddles parallel to each other, securing them with nuts, screws, and washers. Lastly, mount handles on the outside of the drum to enable easy rotation. If using a tight-head drum, remove the two threaded caps on the drum’s bungholes.
4. Make a Stand for the Compost Tumbler
Use your lengths of treated timber to create a stand for the compost tumbler. Cut lengths of timber for the legs, rails, and cross braces of the stand. Screw the leg pieces of timber to the rail pieces, then screw on more pieces of timber to form cross braces. Further strengthen the structure by adding some diagonal struts.
5. Mount the Casters on the Compost Tumbler Stand
Turn the stand you’ve just made so it’s flipped the right way up. On one side of the stand surface, use screws to mount two caster wheels so the drum sits in the recess of them. Use a board to pry the drum up, and place a spirit level atop it; once the drum is level, put the second two caster wheels in position and mark this on the stand. Fix the second two wheels in place with some more screws. To prevent lateral movement when turning the tumbler, add some more diagonal struts at this stage. Your tumbler should now be complete.
How to Start a Compost Tumbler
Once you’ve finished making your DIY compost tumbler, you can start the composting process straight away. To start off your compost, you need a combination of organic composting materials and a substance to use as a compost starter.
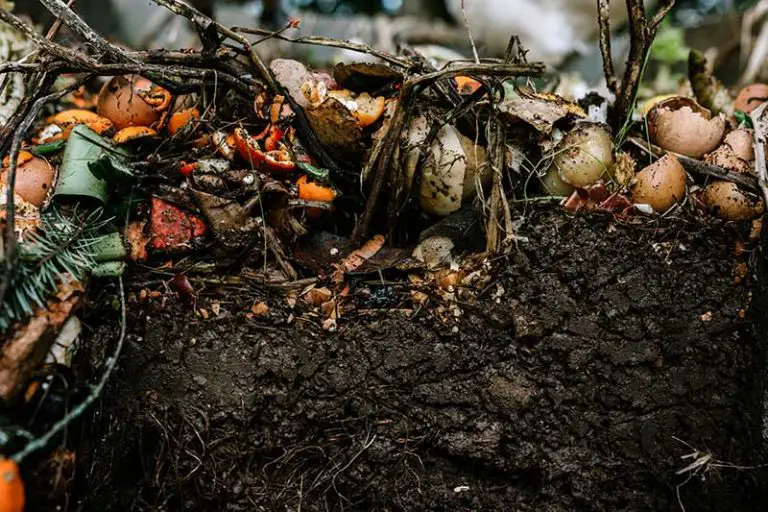
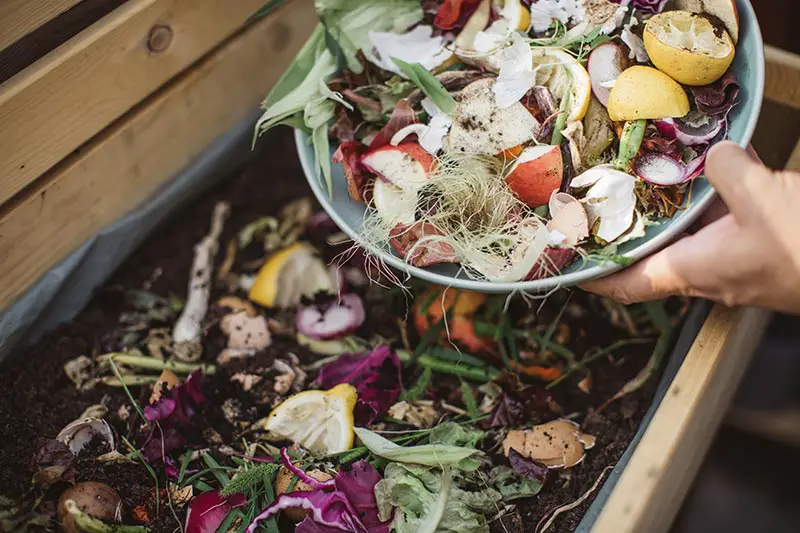
Firstly, gather a batch of decomposing organic material to start building your compost. The best combination of materials to use at this stage is a mix of kitchen waste with leaves or sawdust. Make sure that the brown and green materials you use are present in a ratio of 3 brown to 1 green.
Along with the organic matter, add a compost starter to get the composting process off to a good start. This can be a handful of old yard dirt, compost, or manure. The microorganisms in this matter will start working to break down the organic material in the compost immediately. This isn’t necessary for future loads of compost in a well-maintained tumbler; once you introduce the microbes to the compost, they will sustain and reproduce themselves continuously.
In this initial stage, keep adding organic matter to your compost tumbler every 1 to 2 days. Follow this schedule until you fill the chamber to be 4 inches from the top of the drum. After the initial stages, there is a range of matter you can continue to add to your tumbler; we explain this in more detail in the following section.
What to Put in a Compost Tumbler
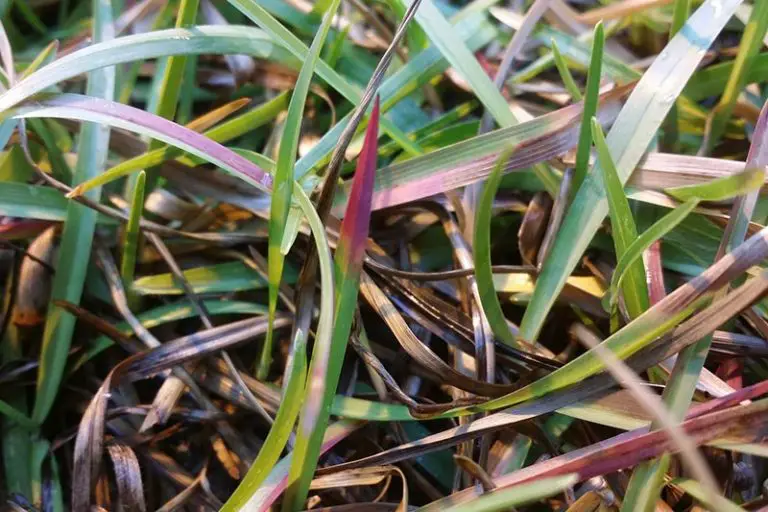
There are two types of organic matter that you can put into a compost tumbler, being either ‘brown’ or ‘green’. Brown materials are rich in carbon, while green materials are necessary to provide nitrogen. Both types of matter should be present in the correct ratio for best results from your composting activities.
Generally speaking, the universal rule is to have brown and green organic matter in a ratio of 3:1 respectively.
Brown Organic Matter
Brown organic matter provides the compost and microorganisms with carbon. The types of materials that fall under the brown category are typically fibrous or wood-based. These include:
- Wood chips and wood ash
- Sawdust
- Straw or hay
- Leaves and shrub prunings
- Pine needles
- Shredded paper, newspaper, and cardboard
- Coffee grounds
Green Organic Matter
Green organic matter instead supplies the microorganisms and compost with nitrogen. These materials come from decaying plant matter. Examples include:
- Food scraps from fruit and veg
- Tea leaves
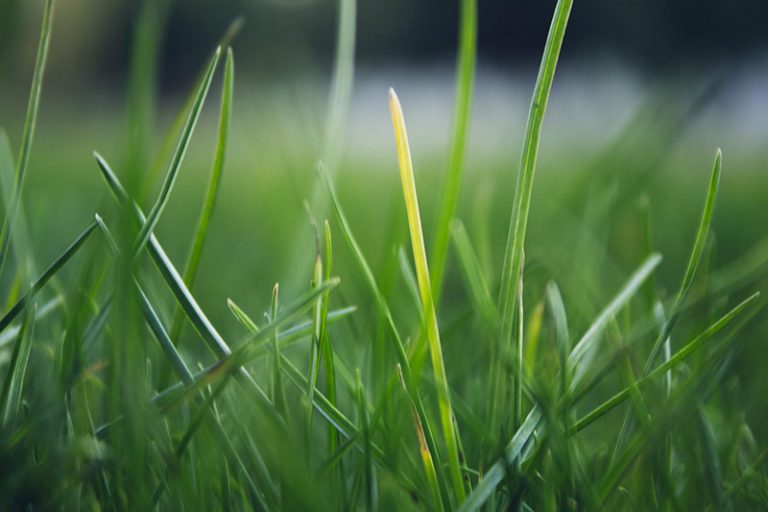
- Grass clippings
- Flowers and plant cuttings
- Seaweed and kelp
- Chicken manure
How Often to Turn Compost in a Compost Tumbler
For best results from your compost tumbler, you should initially turn your compost once per day. As your compost matures, you can reduce how often you turn the tumbler to every 3 to 4 days.
How often you turn your compost tumbler ultimately depends on the size of the pile, the amount of moisture in the pile, and the ratio of green to brown matter. To judge whether you need to turn your tumbler more often, keep monitoring it; if you notice slow decomposition, pest infestations, or a particularly foul smell, these are all indicators that you need to turn the tumbler more often. Take note that if your tumbler has a bad smell, turning it will initially worsen the smell before it improves.
How Long Does it Take to Make Compost in a Tumbler?
Your compost tumbler can produce usable, nutrient-rich compost in as little as 3 to 4 weeks. This is reliant on you keeping it well-maintained and stocked up with a good balance of green and brown matter.
Beyond your best efforts, there are other environmental factors that can also slow down the composting process. Those who live in cooler regions will likely have to wait longer before their compost is usable. If the conditions within the compost tumbler are too moist, this will impede the decomposition process. Another reason why your compost may be taking longer is having the wrong balance of green to brown organic matter.